Refreshing your Intercooler fins by hand. This isn't a tool holder!
The top mount intercooler can be a great looking piece when you open your engine bay… or the exact opposite. What makes the difference you ask, when all the fins are uniform and pretty! Maybe a “friend” decided to toss all the tools he was using up there, seems like a great tool holder right? Or you decided to use a high pressure sprayer to loosen some bugs and grime, only to find out now half of your intercooler is shut closed.
Well worry no more! With just a few hours and steady hand you too can have that intercooler looking factory fresh again. And here’s how!
Time frame
One of the best parts about this project is you can start and stop whenever you want, as long as you leave the intercooler in the car. My STi intercooler was moderately roughed up, it took me around 2 hours to complete. I recently went ahead and did this for my Forester which sports a 08+ STi intercooler (slightly bigger) but this intercooler has seen some stuff. I spent 2 hours on half of it. So the condition of your intercooler plays a big part into the time frame for this repair.
Tools
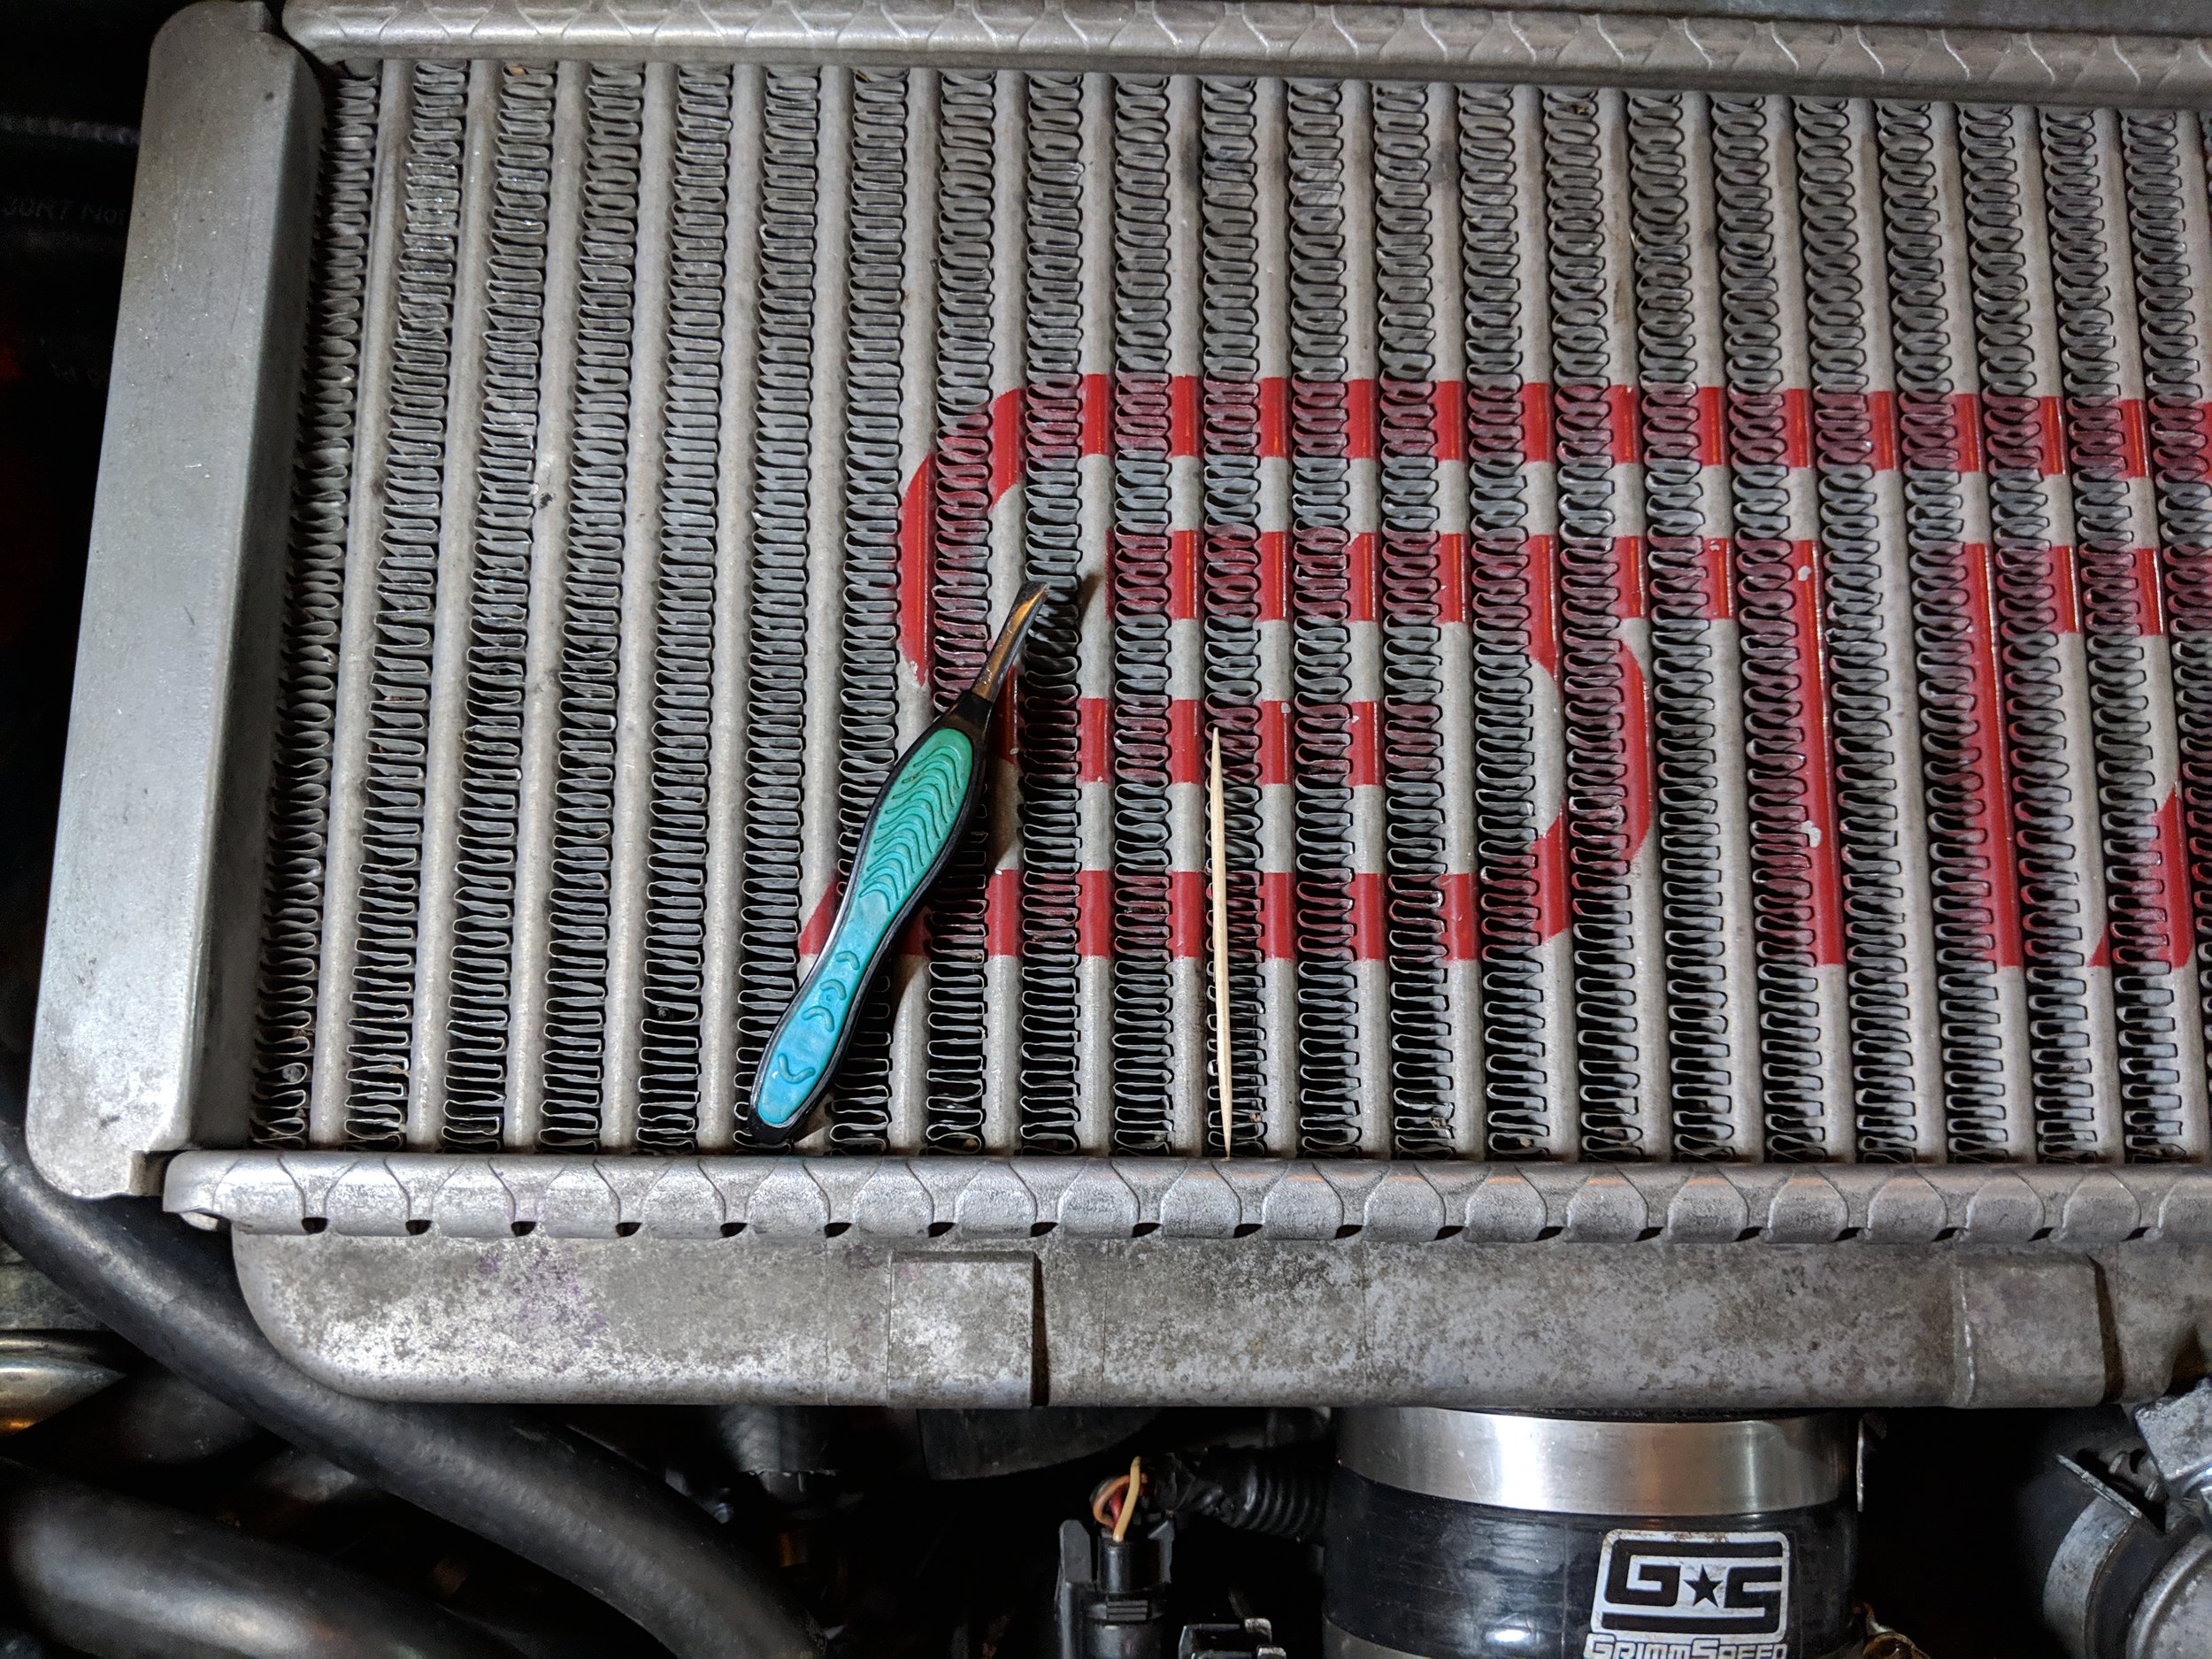
Very simple here! Find a quality set of tweezers you won’t mind holding for a few hours. Any toothpick should work, I used whatever was in the cupboard. But here is a picture!
Closest thing I could find, these should help keep your hand from cramping up. Tweezers set.
Yep, toothpicks! Any will work but if you need to see them here you go.
The two tools that completed this job, toothpick and a set of tweezers.
Starting the project!
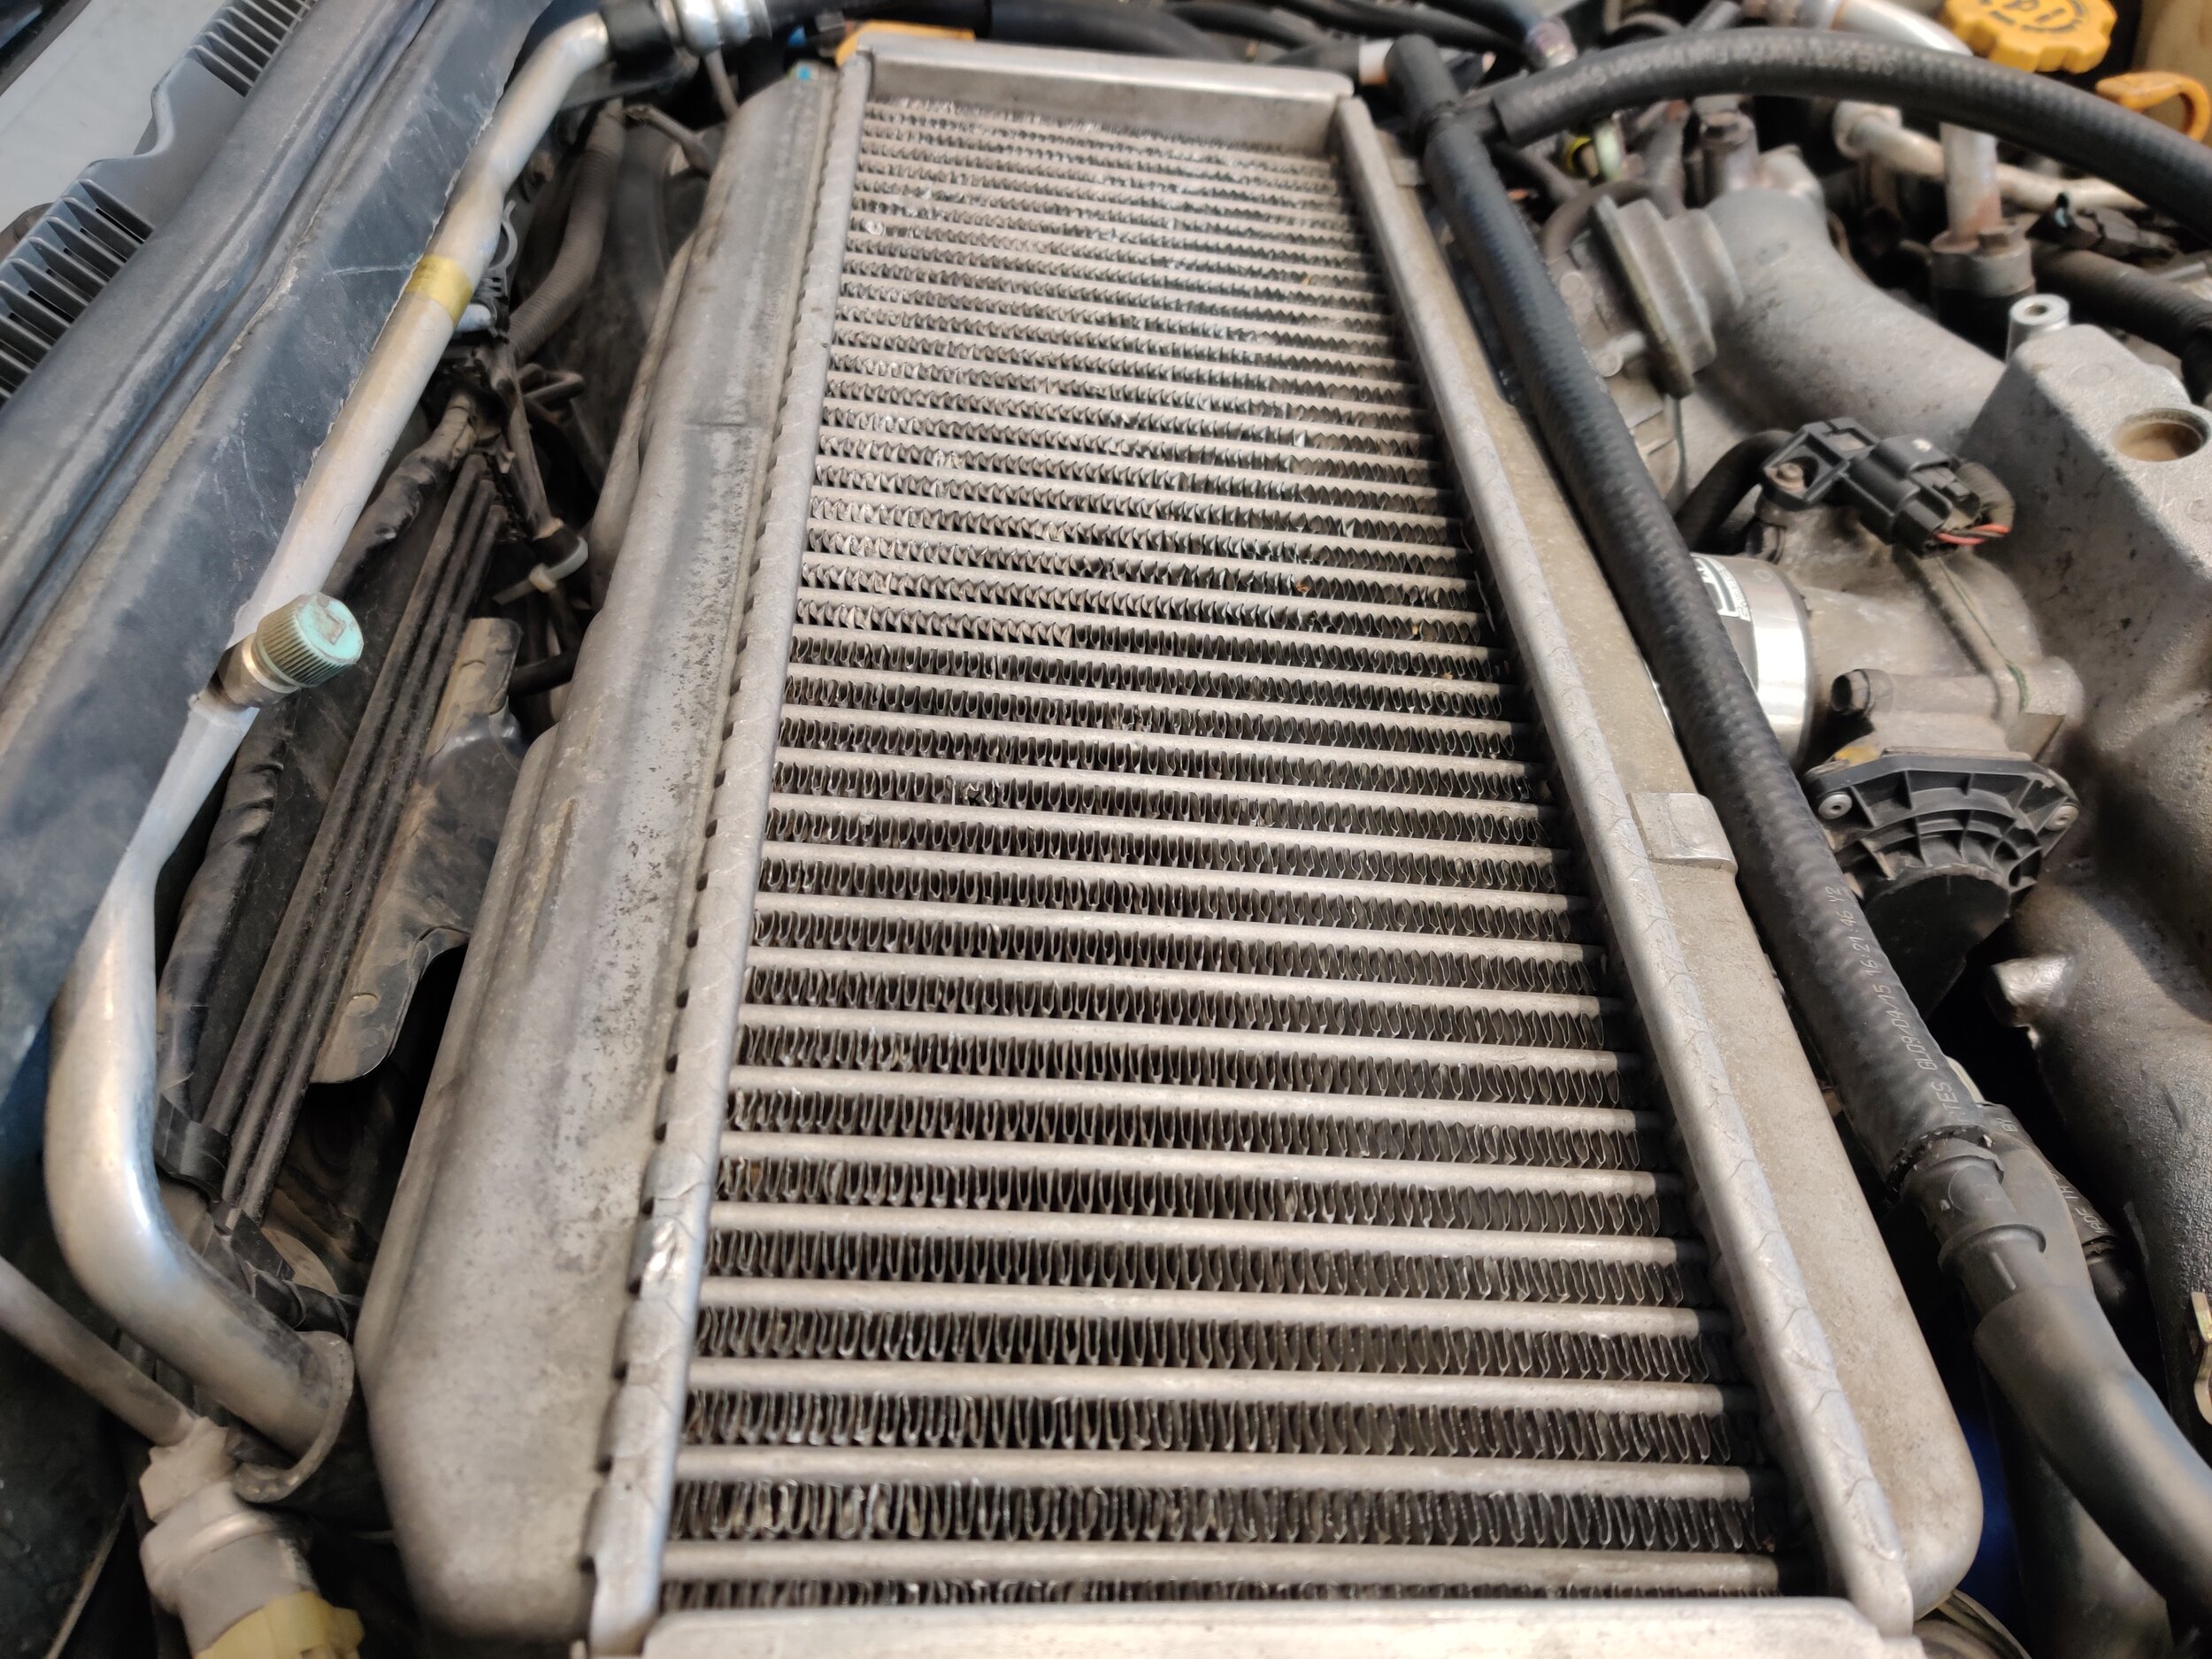
Having two vehicles with intercoolers I decided to do it all by hand. Armed only with my trusty wooden toothpick and pair of tweezers. I started my assault on the STi intercooler. It shows it’s at 110k miles with bugs and rocks wedged in deep and no appearance of having been treated to anything but blank stares as to why it is on top of the engine.
Here is where my Sti started at.
Side angle.
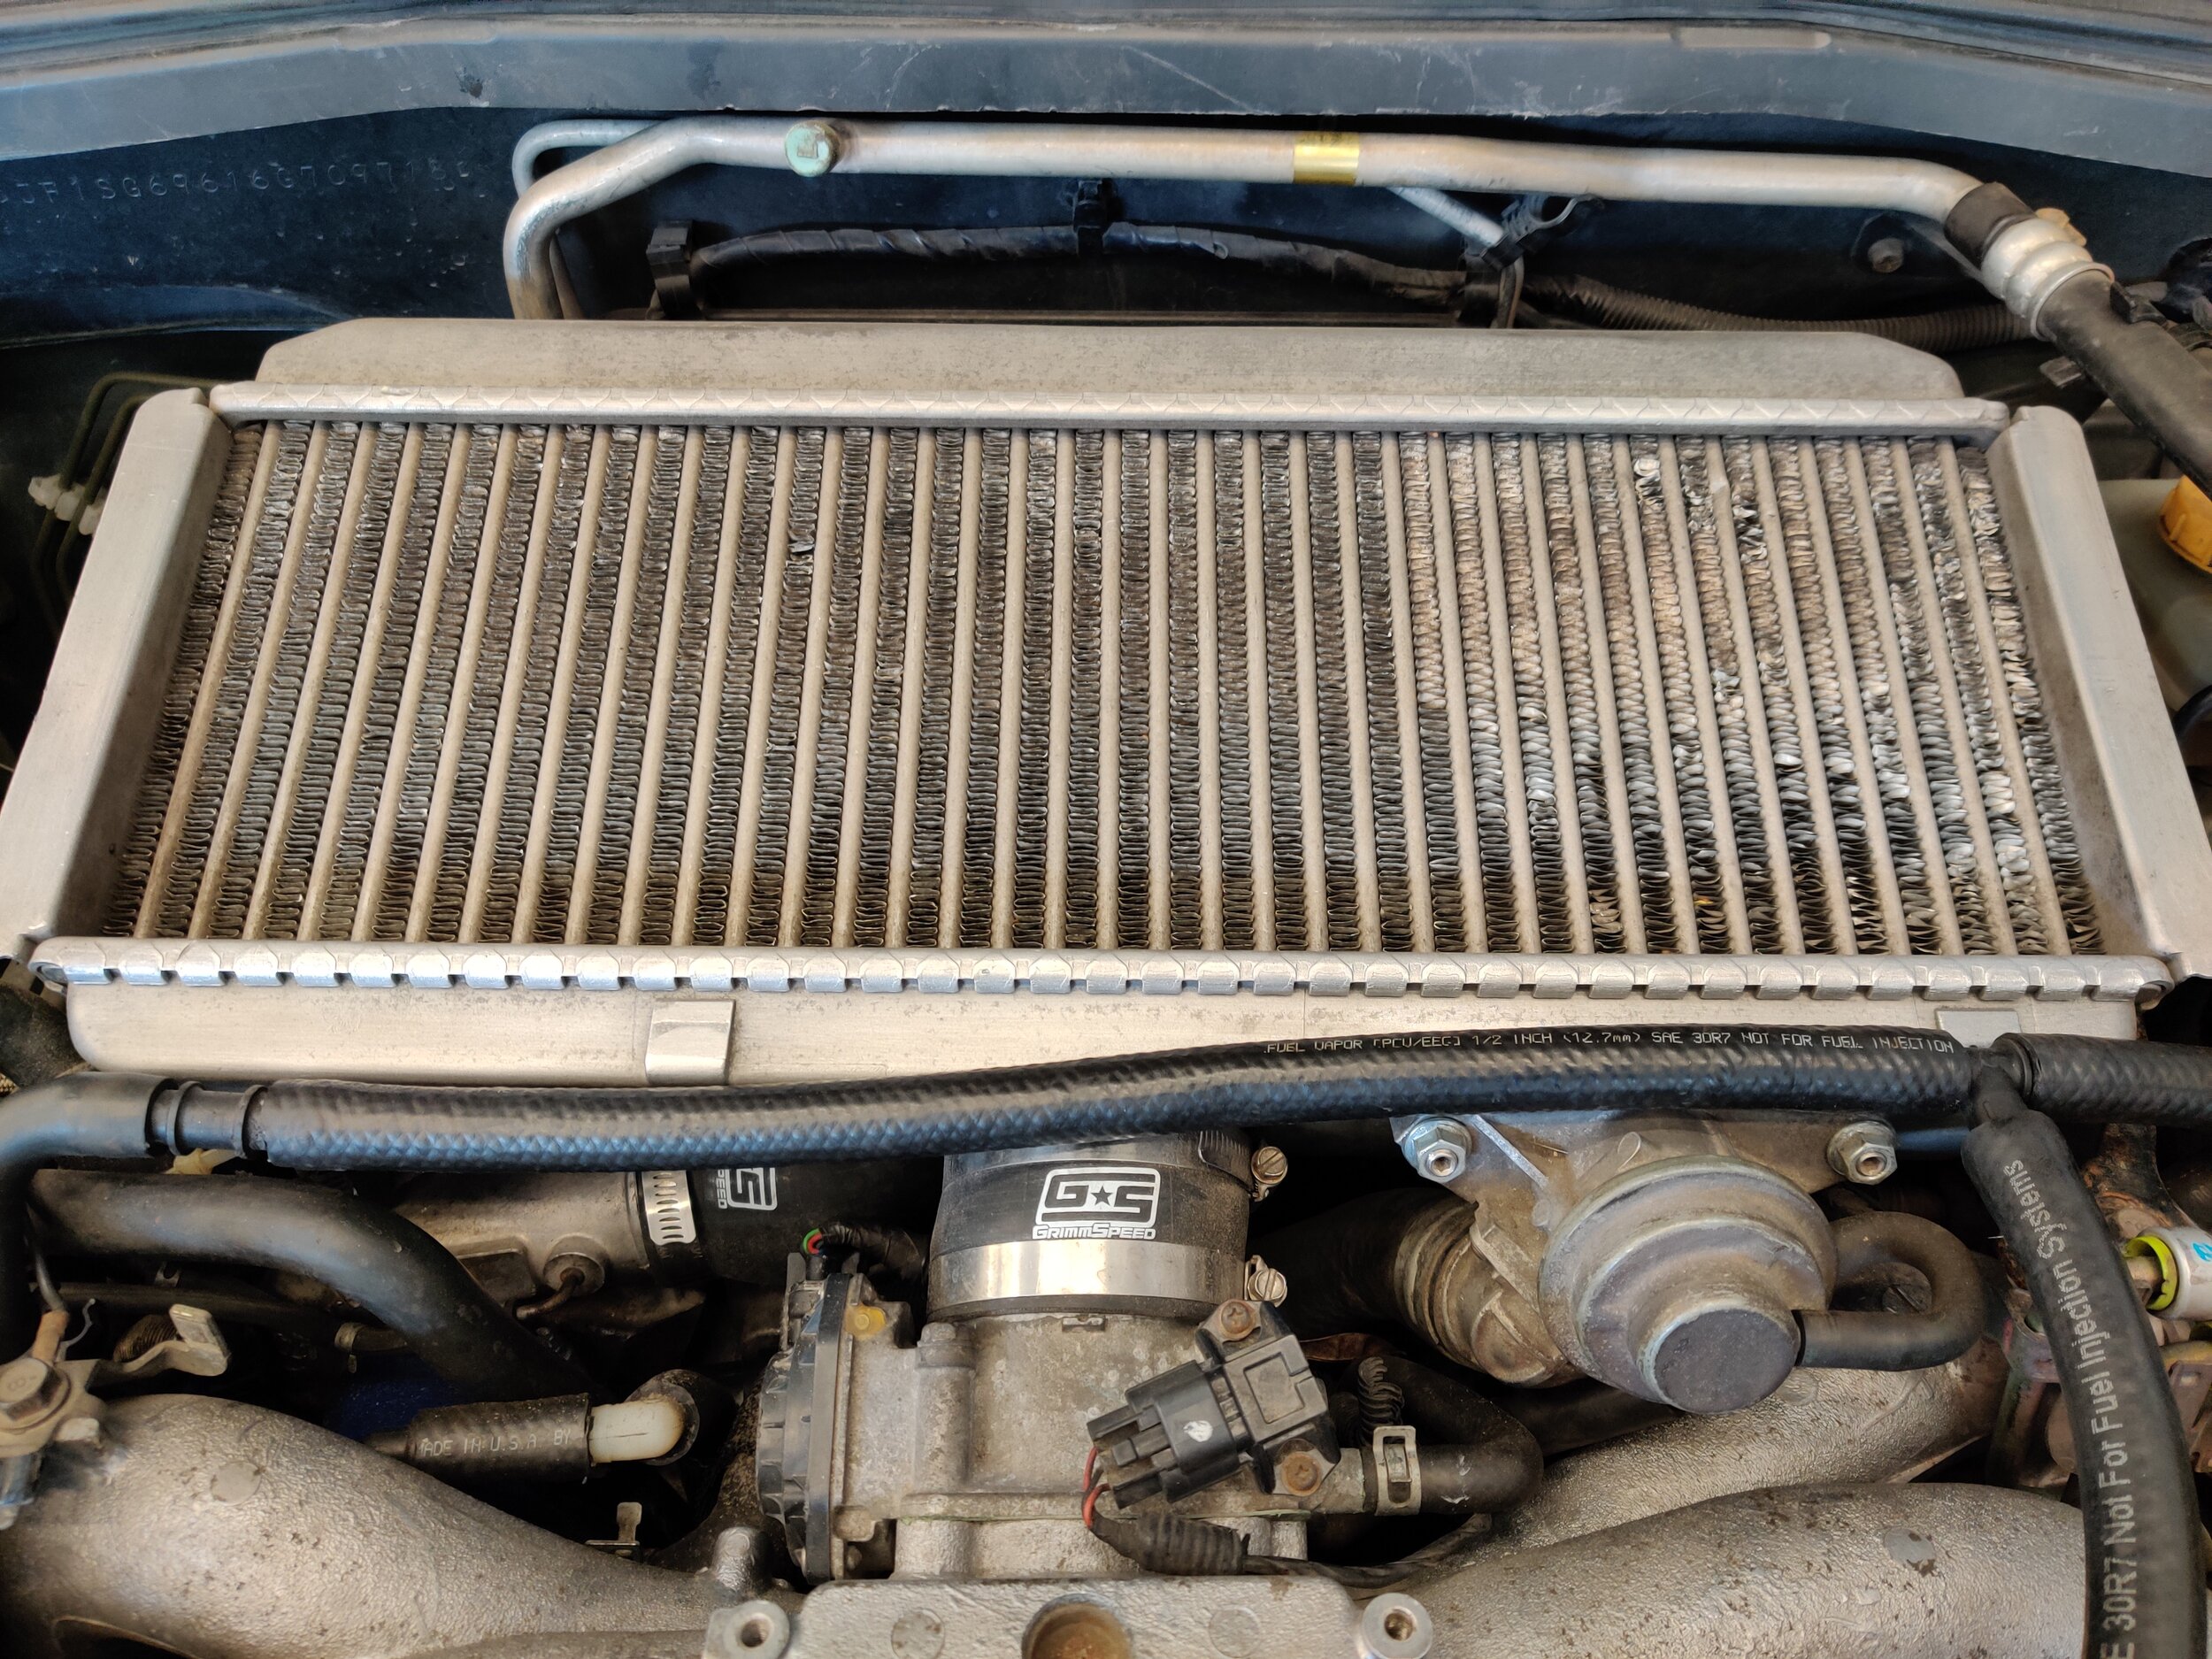
This is the sad state of the Forester tmic. Cheaply purchased for a reason..
Having a lot of free time was one necessity to this project. My first 30 mins of trial and error of figuring out the most efficient way to do this netted me 3 rows complete on the STi. But after that is was smooth sailing, making it through the rest of the intercooler in about two hours. Which if I am not mistaken would be 31 rows.
It is coming along but many more fins on the right side are there.
The Forester took around two hours to go from the passenger side to the center. Much rougher and more work needed to be done.
This was a lot of work! But I really enjoyed seeing it come along.
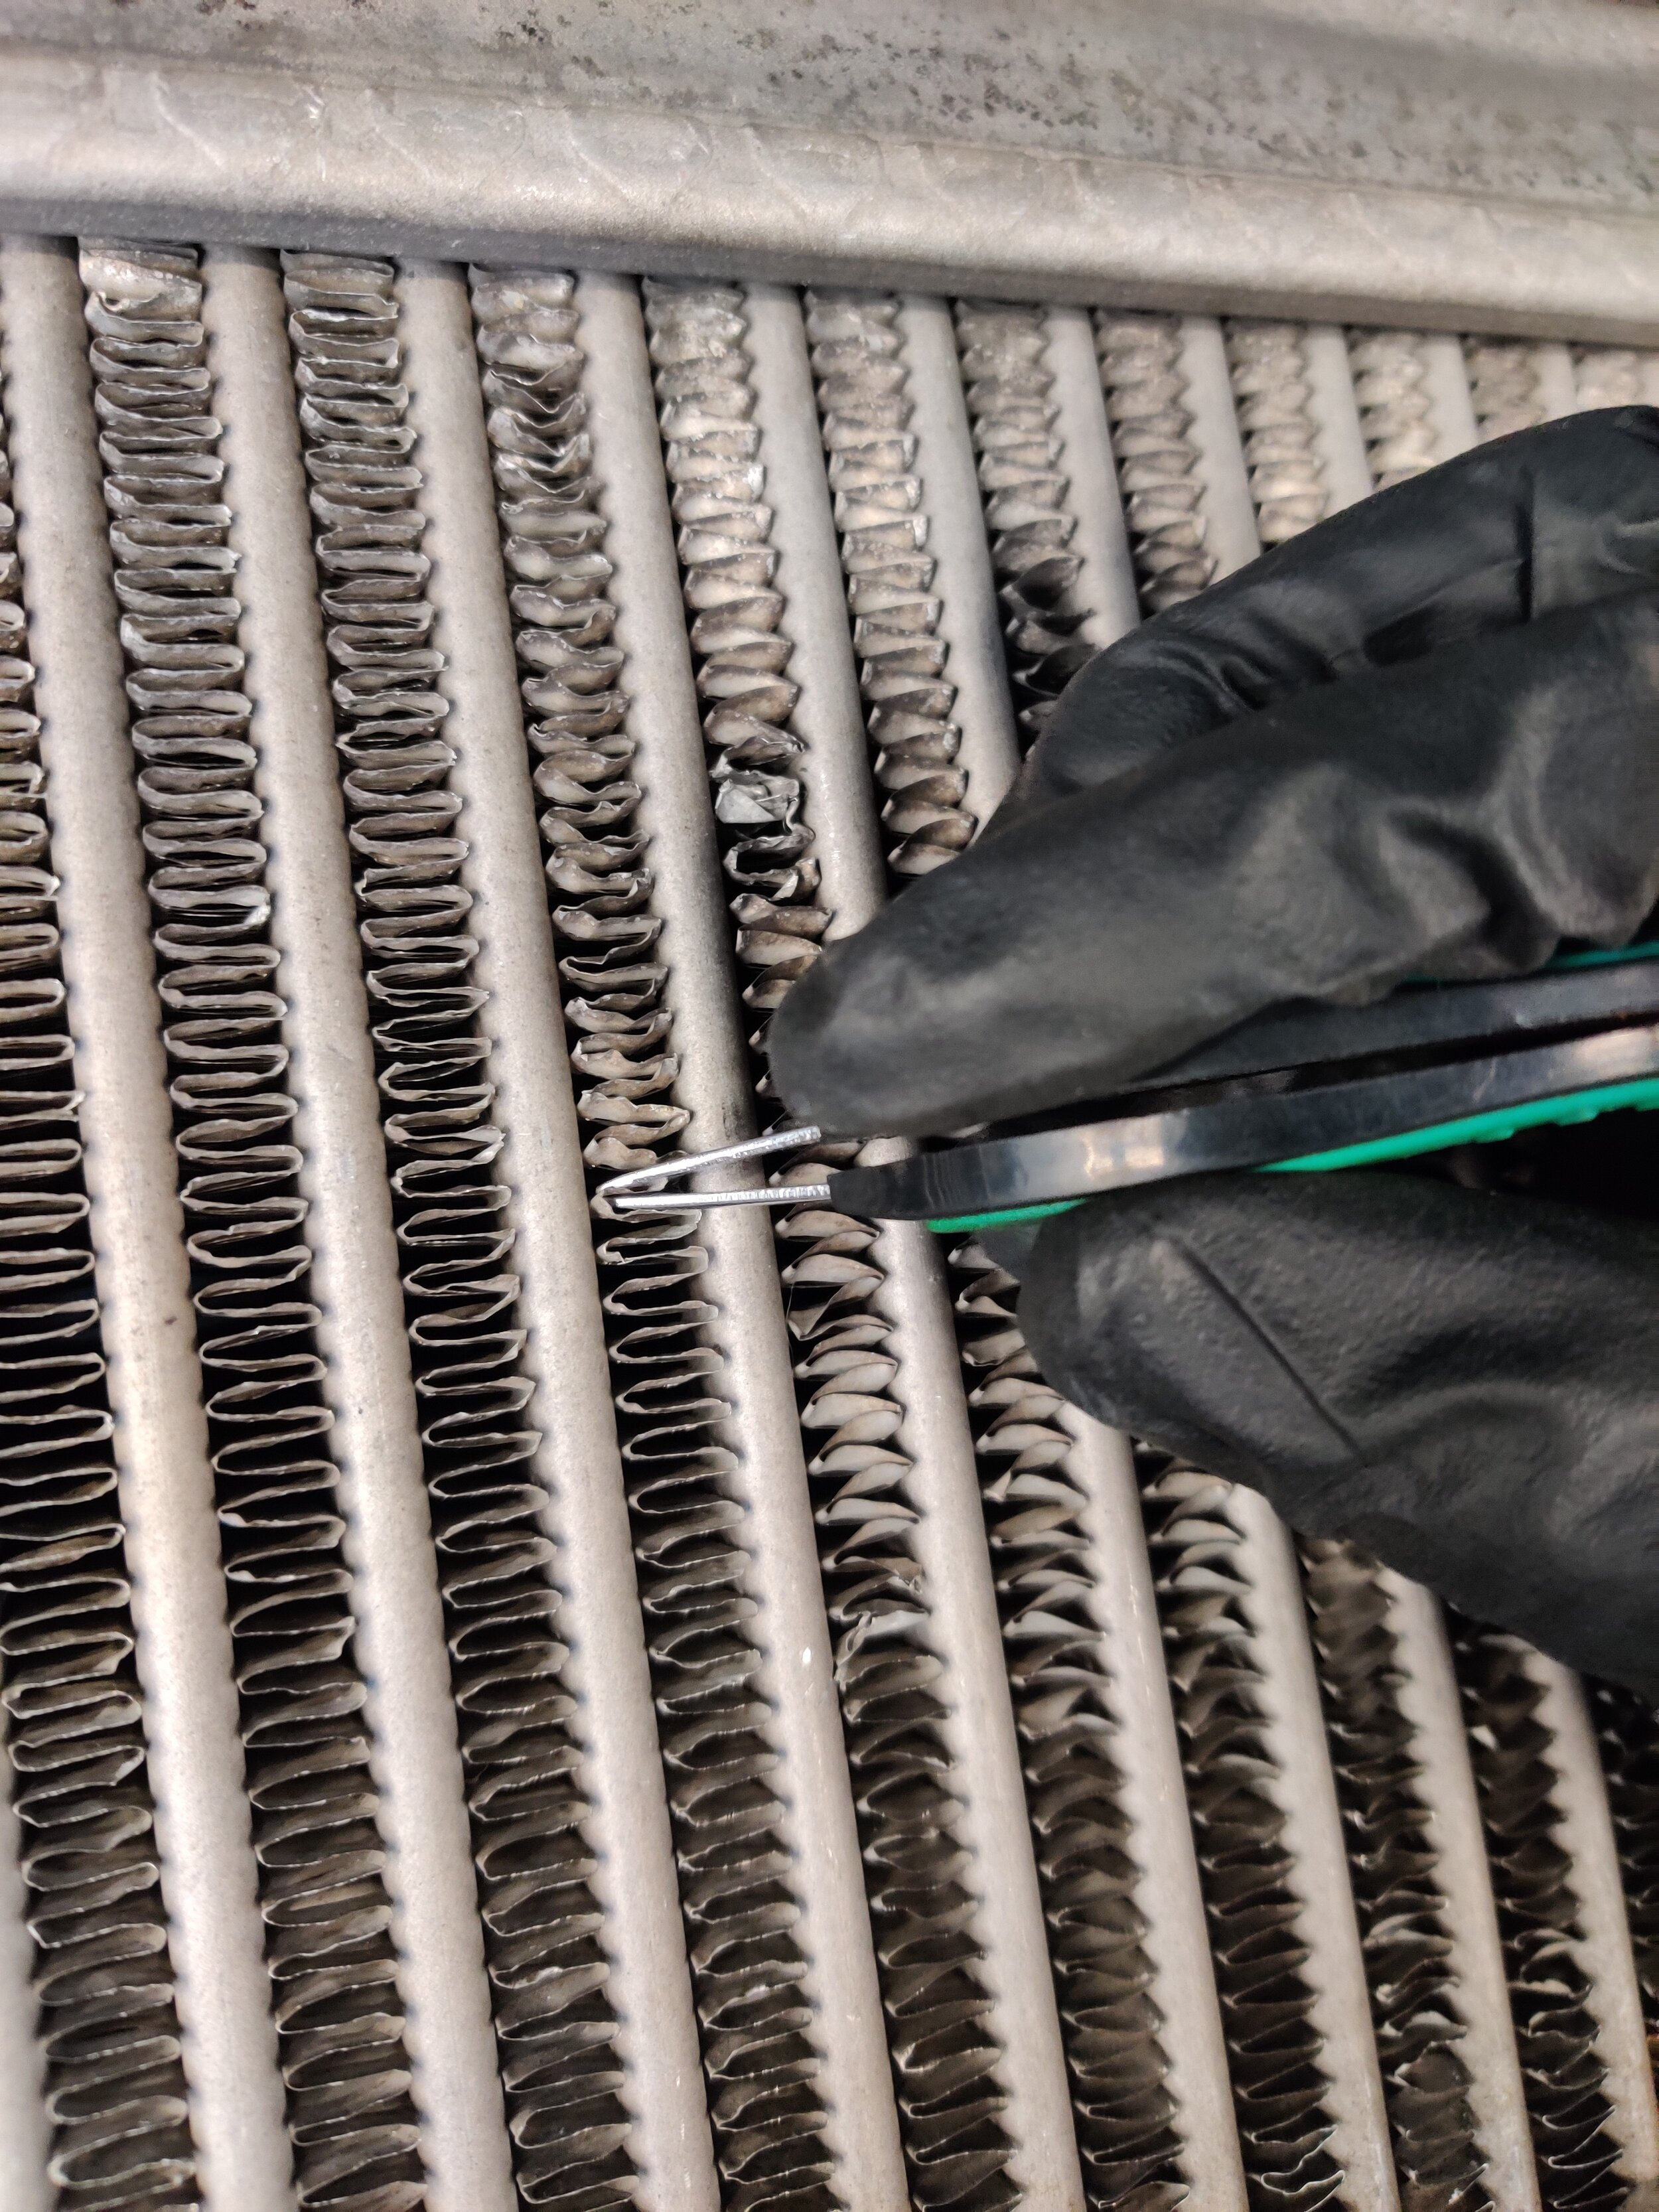
My technique was to use the toothpick for the fins that were smashed flat together as it helped separate for the tweezers. The toothpick is also very useful rolled over edges it quickly pushes them back up to level them back out with the fin. The toothpick is your best tool for breaking dirt, bugs and rocks loose that have lodged into the fins.
Pulling up with enough pressure to straighten but not tear them out.
The larger the tweezers the better in this. My set was about half the size of the fin and so I utilized two pinches per fin. Being right handed I found that pinched and pulling to the right swiftly straightened them to their original shape. I also found tweezing out debris(rocks, bugs, etc) to be quite helpful as the toothpick wasn’t a fix all.
Close up of the Forester, it was bad. Not sure what happened with it’s prior owner but it is getting some much needed TLC. Some fins had taken so much damage that you could only straighten them so far without further damage. But an attempt was made on each fin.
During the task at hand I felt it to be quite like a bonsai sand garden in which taking your time and enjoying the task provided the best results. It felt quite therapeutic and with every row completed you felt an invigorating sense of accomplishment.
Slow progress washing across the tmic.
I think for the Forester I may take it off the vehicle as leaning over it for so many hours was not the best… Update: But instead I just placed a mat across the delicate engine parts and laid on it working away! Wasn’t too bad but rearranging every so often is quite helpful.
More before and after shots.
Before
After
Amazing what a little bit of time and pateince can do.
Not as pretty as the STi but it started in a much worse state.
I wish I could say I have seen worse.. But this might be it.
Hooray!


