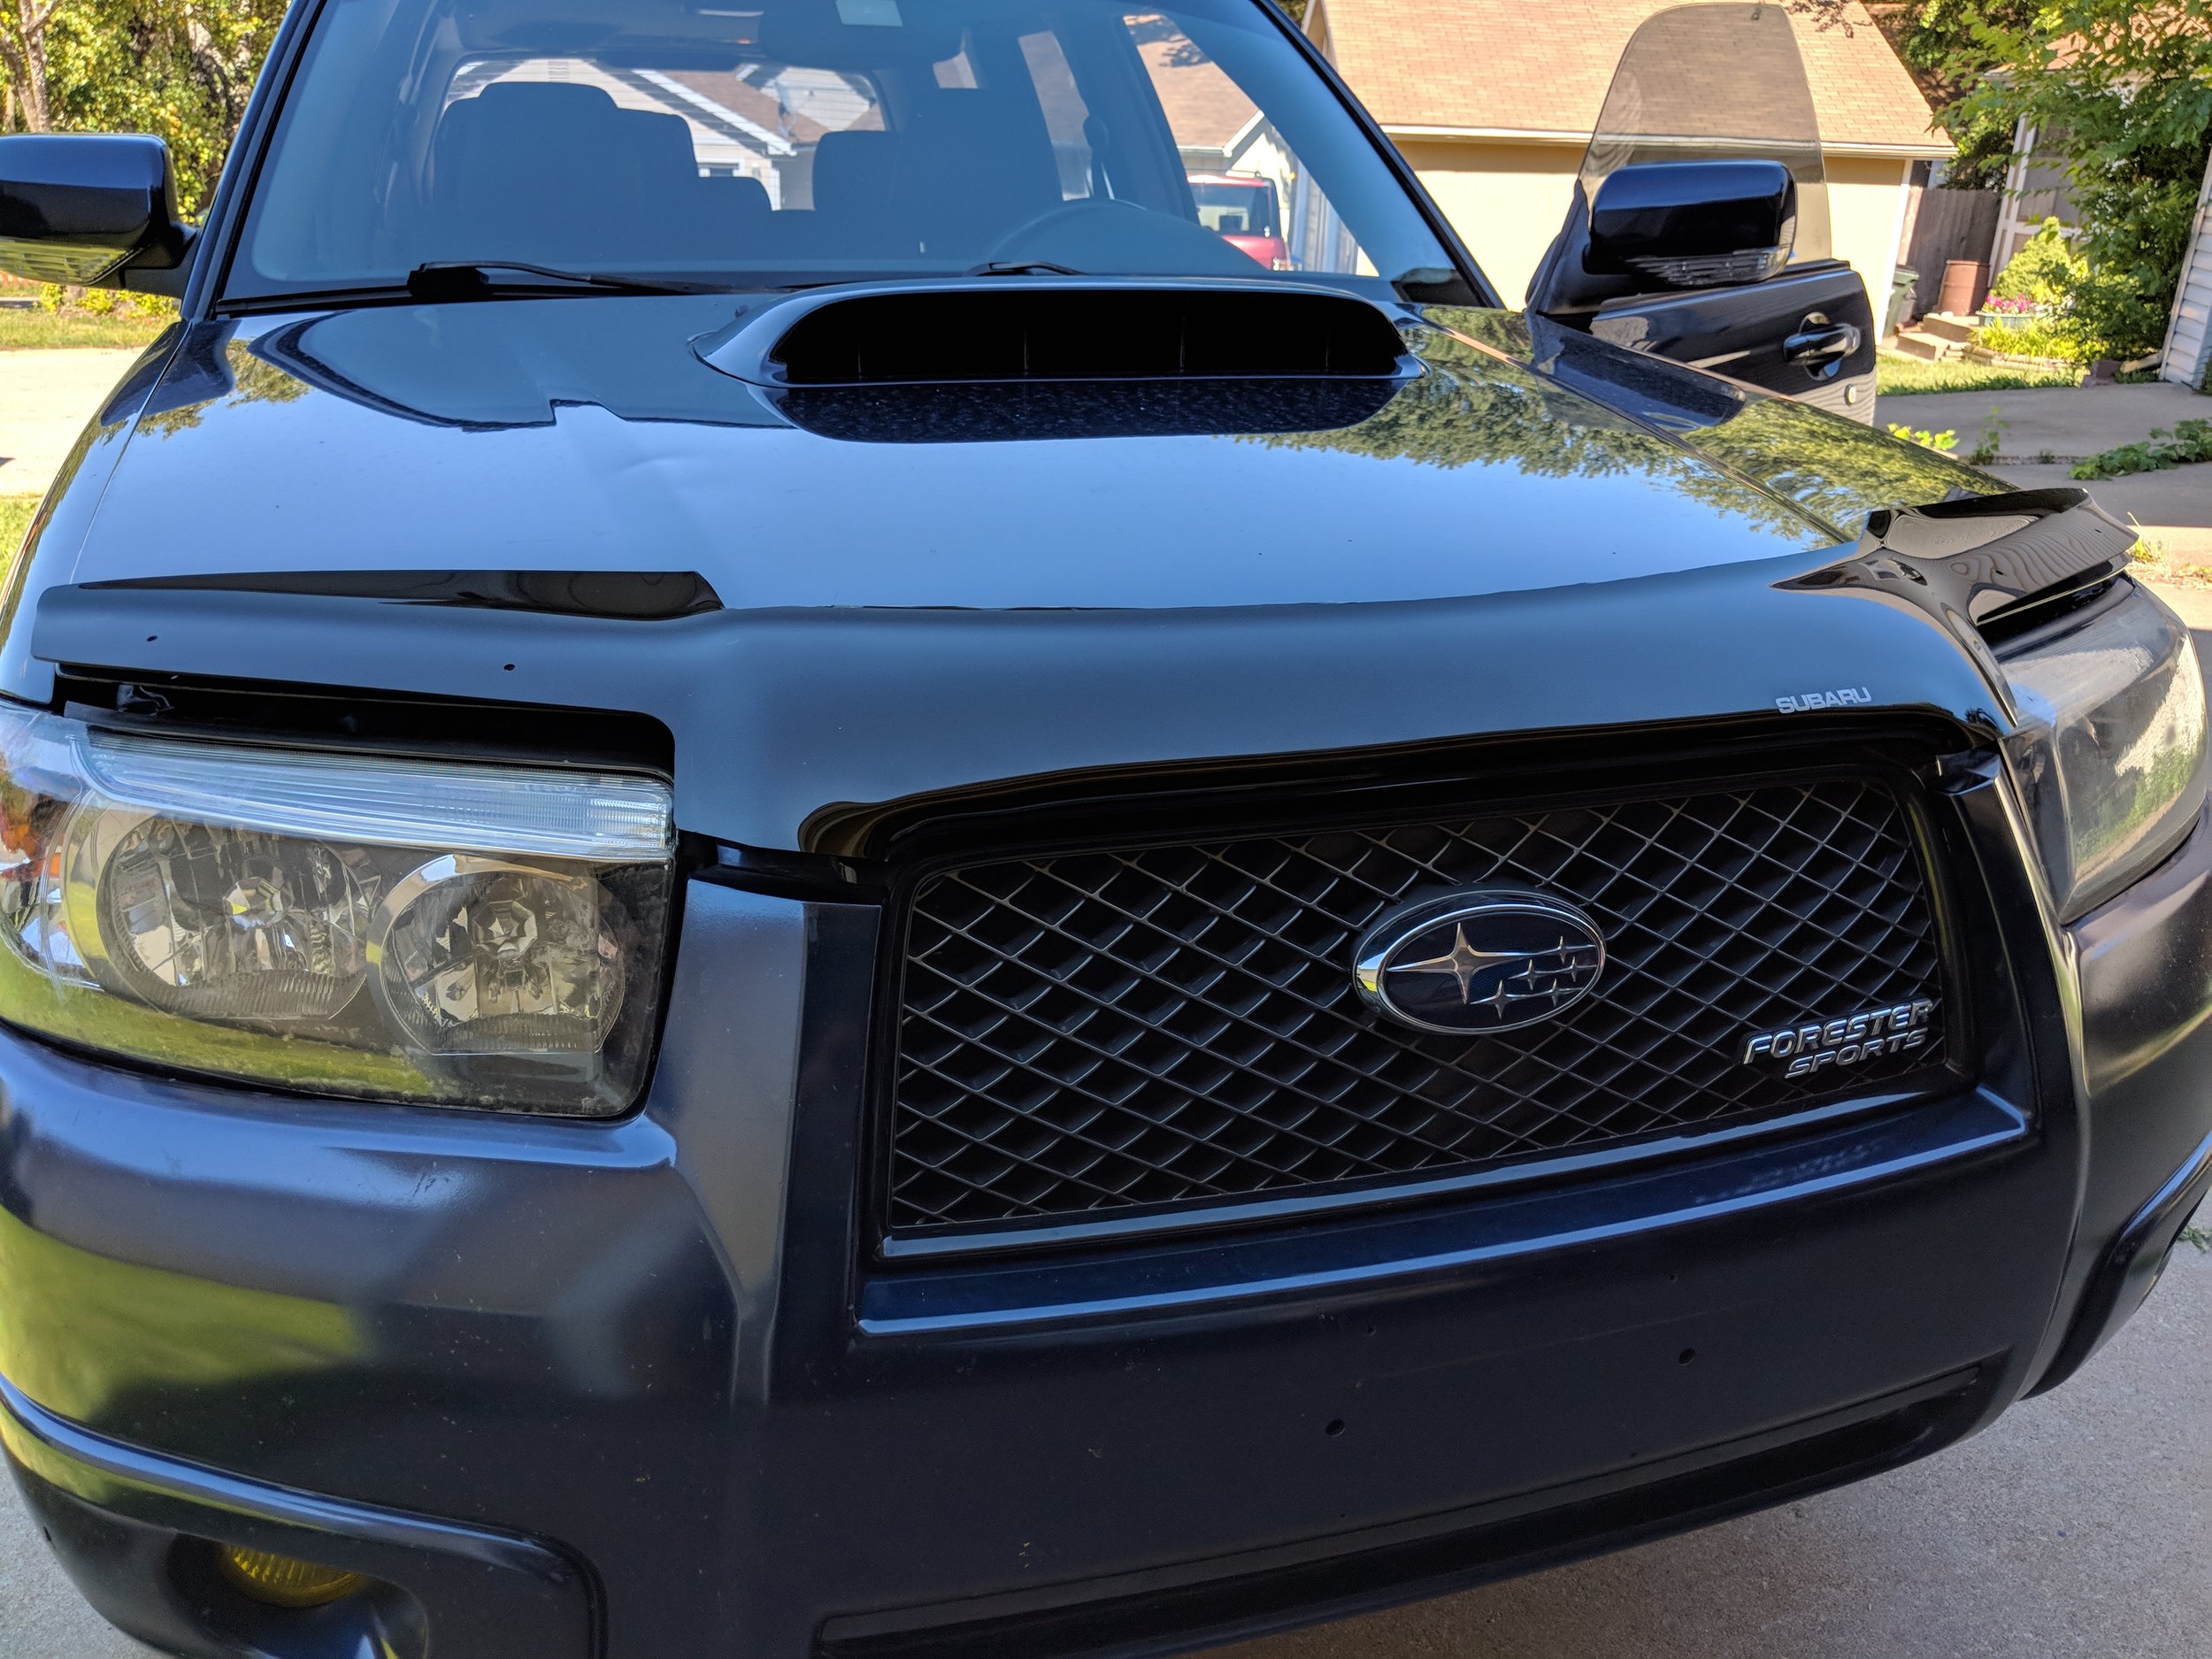
DIY: 06-08 Forester Headlight removal. Remove, replace, reinvent your Forester!
Are you ready to rip out your Forester headlights for a reseal, retrofit, or replacement? What holds them in and how can you get them out? Here is a little guide to help you get those headlights out with ease.
Target acquired. Not much holds these guys in so let’s take it apart to get to the juicy center! Shown: Depo sport headlights 07-08 (Blacked out housing)
Our tools list is pretty short here but these will make your life easier and your project will fly by. We will start with the sockets which are just a 10mm socket and ratchet. Now you can use a proper push clip remover tool or you can go for it with a a flat head screwdriver.
With you car parked and secured from moving we can start by opening up the hood. With the hood open we will locate the push clips that run in between the two headlights. These will be your first parts to remove and now you can decide whether to remove the grill from the bumper. I choose to remove it so that it can be set in a safe location.
Hood popped and ready to get to work. My installed headlights are Depo sport headlights 07-08 (Blacked out housing)
The clips just pop up and it releases the bottom half of the clip that locks it into place.
Wide view of the starting area. The center section of push clips for both the grill and front bumper.
Clips removed. Foreground shows the smaller grill clips.
After removing all the center clips we will go to start at either side of the front fender to bumper connection. Looking into the wheel well you need to pull back the inner fender to expose a single clip that attaches the bumper to the front fender. Removing both sides will bring us to the next step.
Inner fender liner on the opposite side of the front bumper. This will help you access a clip to release the sides of the bumper.
Inner fender clip that adheres the bumper to the fender. Not as easy as removing the clips at the front of the bumper. After that is removed we will pull directly on the front bumper from this location away from the car. This helps it pop off the bracket it snaps into.
Having these removed we can now move to the front bumper that latches underneath the headlight to the plastic and metal brackets. Grabbing the bumper from where it connects to the fender you will find it pops off with a bit of force, pull away from the car to complete this. After both sides are loose the bumper will start to fall forward. If you are working solo place a tire, cardboard box or soft item in front of the bumper can help hold it off the ground and keep it from being damaged by the concrete.
These blurry holes in the bumper clip into a bracket that resides under the headlight to further secure the front bumper.
Here is the bracket that holds the bumper on. The clips just snap in and will need a tiny bit of force to remove them.
Now you will be able to locate all 4 of the bolts that hold the headlights in. One is located on the top of the headlight, one near the backside side of the headlight and two more that are on inside near the grill location. Removing these leaves a white clip keeping the headlight adhered to the car. You can push in the small tabs on the top and bottom will release it from the car.
Upper bolt location under the hood.
Two final bolts located nearby the radiator area. All 10 mms so you don’t even need to change sockets.
Lower bolt found here near the fender. White tab located near the bolt needs to be released to free the headlight. It has a tab on the top side and bottom that will allow you to remove the light.
Headlight free of the car! A little close up of the Depo Sport headlights. Link below!
You can undo the sidemarker and turn signal socket near the fender side of the headlight on both sides. When those are removed all that is left is the main headlight socket that powers the high and low beam. Completing all that will leave you with a headlight in your hands or on the ground if you forgot to hold on to it. You can now return to your real project!
Side marker and turn signals can be seen near the fender opening. Main bulb harness plug resides in the middle of the head light pass through. It can be seen in front of the power steering reservoir and poking up on the driver’s side.
Congratulations, now your car looks truly menacing if it ended up like mine above.


