DIY: A/c o-ring replacement! Keeping your cool when the temps rise! [Professional equipment/operators necessary]
First off we will begin with a warning about working with your vehicles air condition system. If you do not have the proper tools and knowledge I suggest letting the pro’s handle this job. Do not release freon into the air, it is extremely messy, ingesting/breathing in freon can cause sickness and it is very harmful to the environment. Please heed these cautions and use common sense when working on an A/c system.
With Summer in full swing for those in the U.s. the heat can get to anyone. Without the proper amount of freon within your A/c system you will be wondering if rolling down your windows is a better choice. If you are not trained or have the proper equipment to remove the leftover freon from your system, this is the moment to find your favorite auto shop for assistance.
First lets talk about proper freon recovery, you should find a automotive service shop that is able to recovery the leftover freon. Then you should be able to make your A/c repairs and return the vehicle back to vacuum the system down and recharge it to the proper level. An improperly/overly charged system can have just as many problems as a undercharged system. If you feel all of this is outside of your scope, your favorite shop should be happy to work on your A/c system.

A/c machine hooked up, here we are removing the freon before our o-ring replacement.
With that being said let’s take a look at a few common areas that freon can leak through. Any o-ring connection will be high on the list of locations to check, the condenser’s location can allow a rock or other road debris to start a leak, and front seal of the A/c compressor. Using an A/c dye light and glasses you can look for dye, this is the easiest way for any DiY’r to locate a leak.
Tools
Taotronics UV light and glasses kit. Any escaped freon that has been dye’d (which is pretty much all freon) will illuminate the dye making a leak easy to find.

This can be your best friend when searching for A/c leaks. Taotronics UV light and glasses kit.

Here is the Uv light shining on the A/c compressor line.

Here is the difference with the glasses. The visible bright green area on the connection is likely the presence of A/c dye.
Pag 46 oil for 134a freon: When you are adding new o-rings and A/c components this is necessary to keep everything lubed up and sealed. Add this to any new o-rings to make sure they don’t tear when tightening the a/c lines down.

Typical pag oil that will get the job done. Pag 46 A/c oil

If you are removing the compressor lines, you can often find enough oil right inside the line connections.
Sockets/Ratchet: We will need a 10mm socket and ratchet to undo our A/c lines. My favorites are here but any should work.

You will most likely just need a 10mm but here is my go to set. Alongside my favorite electric ratchet , the Milwaukee electric ratchet. Grey Pneumatic metric socket set Milwaukee 3/8ths electric ratchet Gearwrench ratchet 3/8ths
A/c manifold gauge set:
Not shown or used. But these are a great tool to have to check your pressures and indicate that your freon level is either spot on or insufficient. With the gauges hooked up you can check your high pressure and low pressure reading to check your freon level via a guide sheet. These guide sheets show you where your pressures should be determined by the current outdoor temperature.
Now we will start with locating any leaks. Taking the Uv light our and glasses you can scan your A/c system from head to toe. After you check all the A/c connections and condenser for leaks you can take note of the leak areas for replacement. If you had no leaks, you can do one of two things, replace the upper A/c compressor o-rings and recharge the system. Or just recharge the system, The upper compressor o-rings deal with much more vibration and heat, so it is a good precautionary step to replace them.

These gauge are a great way for Diy’r to check their own a/c pressures and figure out where your freon levels are at. A/c manifold gauge set.
Install

The oily look of the expansion block on the fire wall could possibly be A/c dye. Double check it with your Uv light.
Your next step will be taking the car to your local auto shop to have the freon recycled out. And you can now return to your workshop to finish the task.

A/c machine hard at work, image above shows it in a vacuum state.
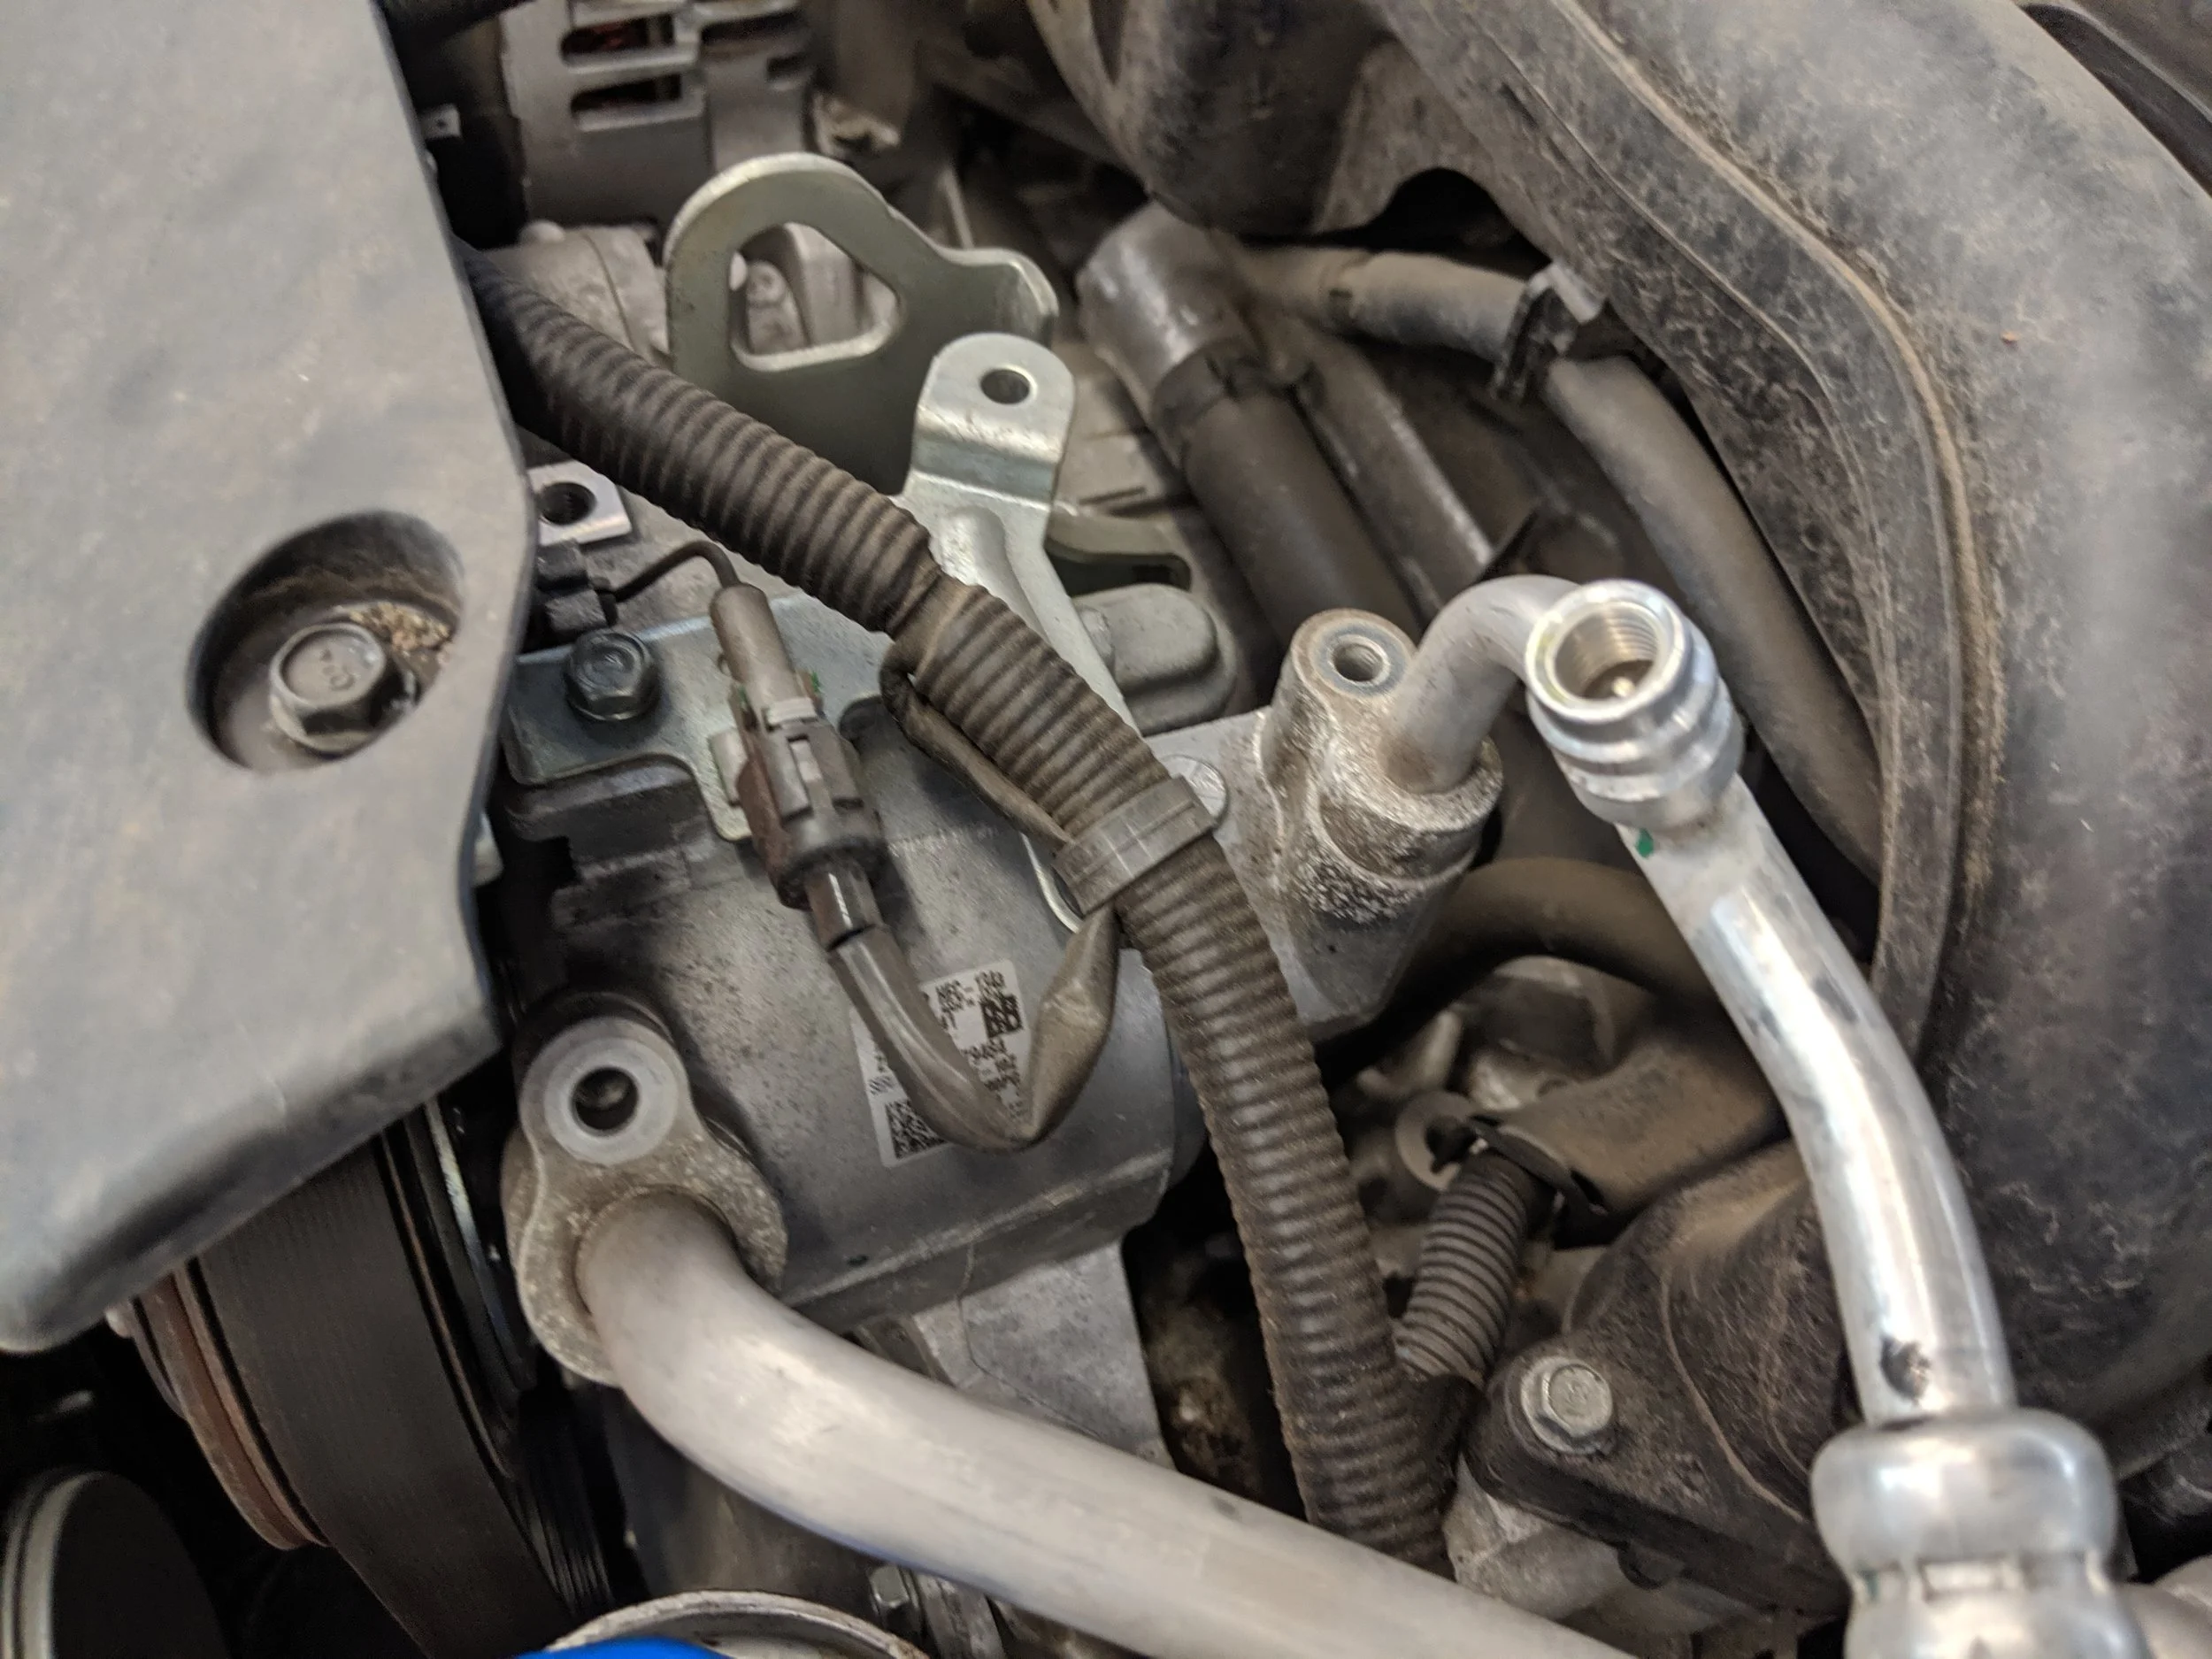
With the A/c system purged we are now able to open the system up. Locating the bolt(s) that connect the A/c lines is the first step. Located right on top of the compressor will be the high side and low side lines. Any of the A/c line bolted connectors have a chance of leaking, but the compressor will be a likely fail area.

One of the compressor lines and bolt. This allows you to remove the o-ring, make sure you have had the freon removed or you are will not have a good time. And neither will the atmosphere and air around you.

High side connection to compressor. Once again removing this bolt to access the o-rings.
With your trusty 10 mm socket and ratchet you can remove both lines. Once the lines are open and free you will want to move quickly. The longer the hoses are open he more humidity and moisture will be allowed into the A/c system, we will be taking care of those issues before charging it back up. After removing them you will now slide the o-rings off.
Both bolts removed. Now with a bit of force you can pull the lines off.

Lowside o-ring ready for removal.

High side connection with the line removed.
Replace both o-rings and slather on a bit of pag oil to keep the o-rings from tearing when the connections are cinched down. If you have an further replacement parts to install now would also be the time.

The old o-ring on the left and the new on the right. If you look colsely you can see how squared off and flattened the o-ring n the left is. This will easily allow for a bit of freon to leak out weakening the effectiveness of the A/c system.

These are two of the most common Subaru o-rings to replace. These are the two o-rings used in this repair. Subaru o-ring 73039TA020 and 73039TA040
Take care when running down the bolts into the aluminum threads, over tightening them can cause damage and ruin your day/compressor.

O-rings replaced and lines tightened back down.
With all your bolts and o-rings tight you can now return your vehicle to you trusted auto shop for a vacuum and recharge. Vacuuming your system will pull the car down near to 30 HG which will boil any moisture in the lines. Your altitude will dictate how many inches of mercury your system will drop to, too low of a number will indicate a leak.

A/c machine during a vacuum sequence. This is where you want your system to be, this will also boil off any moisture than made it’s way into the system while it was open for repairs.
With the system vacuumed down, the system will now be recharged. With the proper amount of freon in the system your A/c will be back in business.

Enjoying the labors of your work! Crank that A/c
Congrats! You have successfully resealed or replaced your A/c. With the system fully sealed and charged you will now be able to enjoy the icy cold A/c.
Amazon links:
Taotronics UV light and glasses kit.
Grey Pneumatic metric socket set
Milwaukee 3/8ths electric ratchet
Subaru o-rings 73039TA020 73039TA040