DIY: Power steering/Alternator belt replacement. EJ25. Say no to crack.......s in belts.
While we are often thinking of what would be the next modified or upgraded part for our cars we overlook those right in front of us. Many will think as long as the pulleys are spinning the belt is up to the task and can stay put in it’s pulleys.
A belt measuring tool can tell you the depth of your belt ribs. A belt rib that is too worn away can cause excess wear on your pulley bearings, which could cause their failure.
Many belts with excessive wear and cracks can perform without issue or noise, but what could happen. In the case of this belt you could easily lose the ability to steer your car and your battery will no longer be charging. If you have been hitting the gym every moment of everyday the power steering might be a big deal, but your battery won’t live long without it’s buddy the alternator. So, let us look at what needs to happen to change this belt out prior to it’s catastrophic failure.

If your belt looks like this… Well, it needs to be swapped out asap. Replacement belt links Subaru oem belt
or Gates belt
Time
This repair should take around 30 minutes or less. Not too many bolts and nuts to be removed and moved but it can take a bit for first timers.
Tools
Our tool list is short and sweet with two sockets necessary, a 10 and 12mm. Then your favorite ratchet and electric ratchet if you would like to speed up the process a bit.

With this socket set and above ratchets, you will be good to go. Grey pneumatic 3/8” 26 piece socket set
Install
We will begin with opening the hood to expose the engine. If you still have the plastic belt cover you will need your 10mm socket to remove the belts and place the cover to the side.

Some belt covers snap in place, some have bolts. Either is easy to remove.
Now you can do the next few bolts in any order but this is mine preferred order. I start with the tension block bolt that pivots the alternator allowing for it to apply tension to the belt. Next you can move to the bolt that mounts the other ear of the alternator to the A/c holder/bracket. Both just need to be loosened to allow the alternator to move up and down.

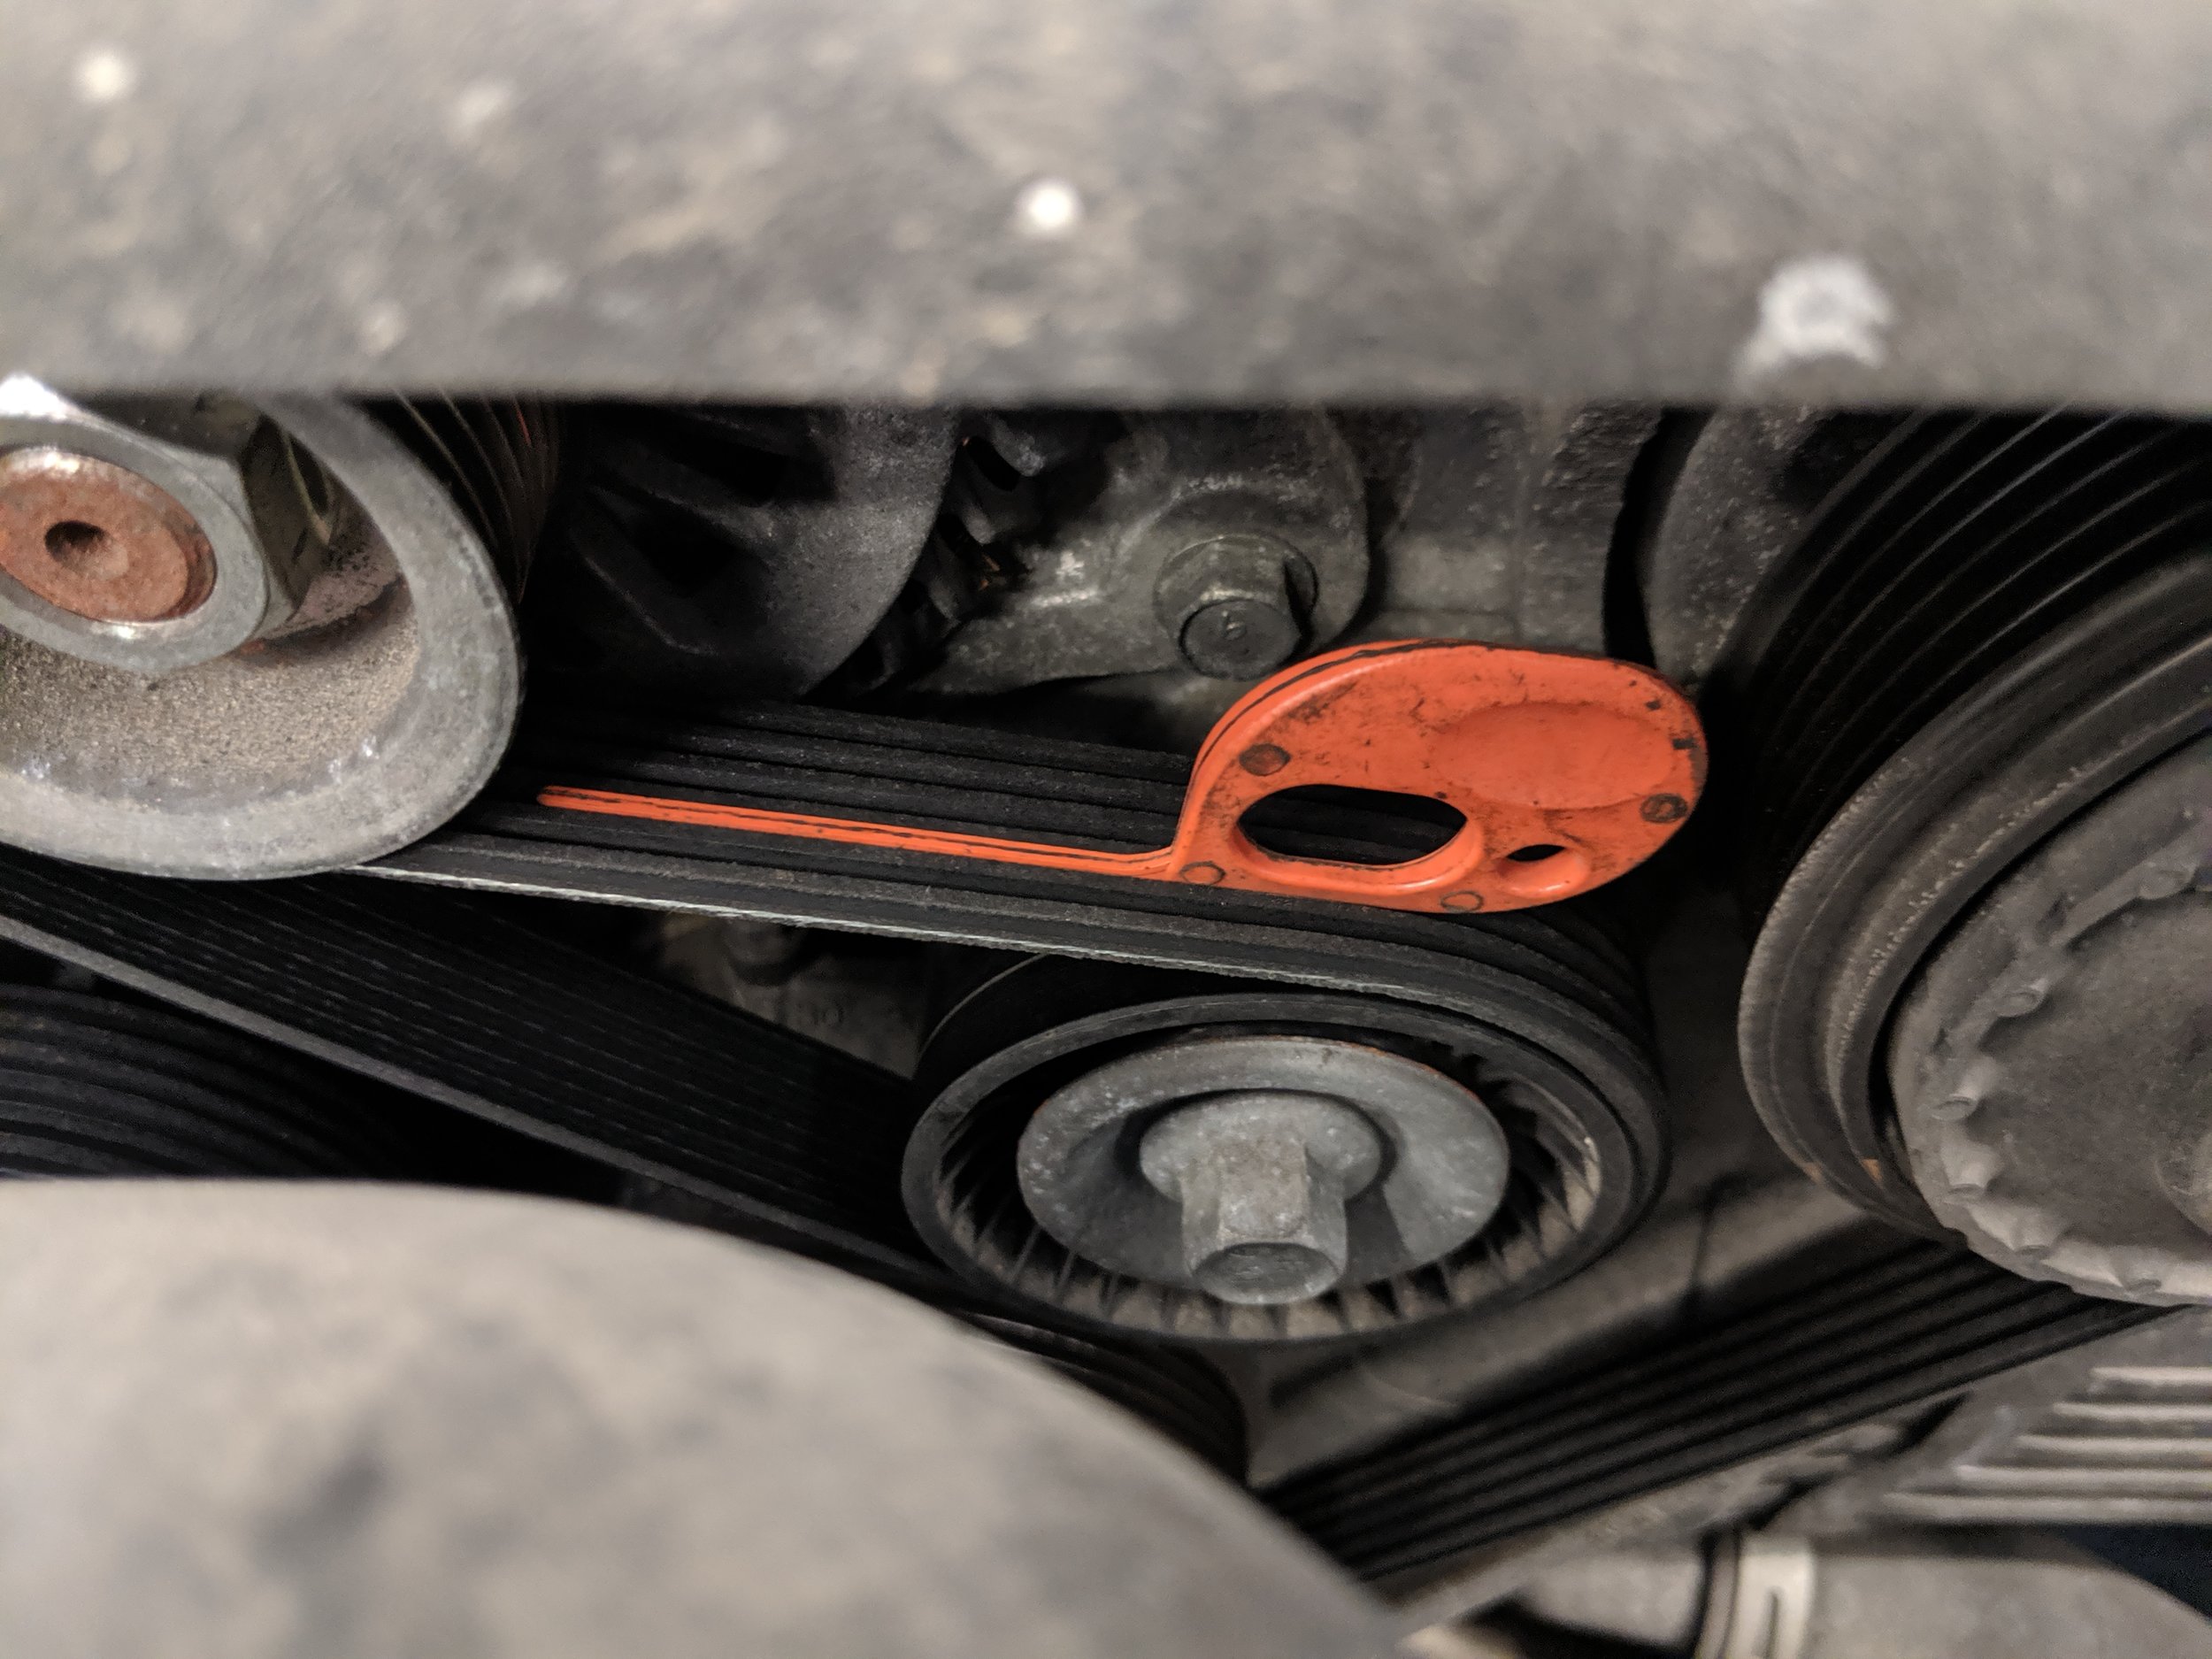
I like to start with this bolt. It is usually just underneath the belt, it holds the belt tension bolt from moving and the alternator in place.

The bolt on the opposite side of the Alternator. Loosen it up, this will allow you to pivot the Alternator soon to slide the belt off.
You can start backing out the tensioner bolt. This will slowly remove the tension from the belt and you will notice the alternator starting to sink. Once you have relieved enough tension you can stop and remove the belt.

Spinning this bolt out will release the tension from the belt and allow the alternator to sink. This makes removal of the belt possible. Milwaukee Electric 3/8 ratchet

You can always tell where the adjuster was at on the previous belt by the clean threads,. Dirty threads mean that part of the bolt was exposed to dust, dirt, etc.
With the old belt removed you can check that they are both the same size with the same amount of ribs. IF so you can now place it on the pulleys, if necessary you can relieve even more tension to slide the belt over.

The belt is out and we can check it side by side with the new belt to make sure we have the correct one.

This belt was long gone. If you have any one crack in your belt it is time to replace that sucker.
This is where I feel the Milwaukee electric ratchet comes in well, with it planted on the tensioning bolt you can start cranking it up. When the ratchet starts to slow down you will know that your tension is close to necessary amount. Another test is twisting the belt in you fingers, if it can easily be twisted all the way around, further tightening is needed.

Belt is on and tension is ready to be applied. I like to use my Milwaukee electric ratchet as it is a good gauge of belt tightness. Another great guideline is running the bolt back to where it was and checking your tension.

Watching the threads disappear you will know the belt is gaining tension. Grab it with your fingers and give it a twist. It shouldn’t be able to twist fully around.
Having set the belt tension you can now tighten the tension bolt that runs through to the alternator on both sides. Making sure everything is clear of the bolts and pulleys you can start the car up to test your work. If there isn’t a loud squeal when starting or a difficulty when steering the wheel, you close to done! Put the belt cover back on and enjoy a job well done!

Return to those two bolts you loosened to allow the alternator to move and run them down. We don’t want a loose alternator rattling around.
Congrats on completing your belt replacement. If you notice any squealing when you start up the car you can always undo your bolts and apply a bit more tension until the noise is silenced. Don’t go overboard as we don’t want to put excessive tension on the belt or pulleys, causing an early failure.
Amazon part links:
Grey pneumatic 3/8” 26 piece socket set
Milwaukee Electric 3/8 ratchet
Gearwrench extra long 3/8th ratchet
Amazon parts links: