Power steering pump replacement! Keep steering without whining!
Anyone that has ever had power steering problems knows just how frustrating it can be. The wild banshee screams from a pump ready to let go, the inconsistent feel mid turn or a complete loss of steering. If you have repaired every part around the pump, it might just be time to replace it. If you haven’t you can start with my starter fixes guide for power steering pumps, linked here.
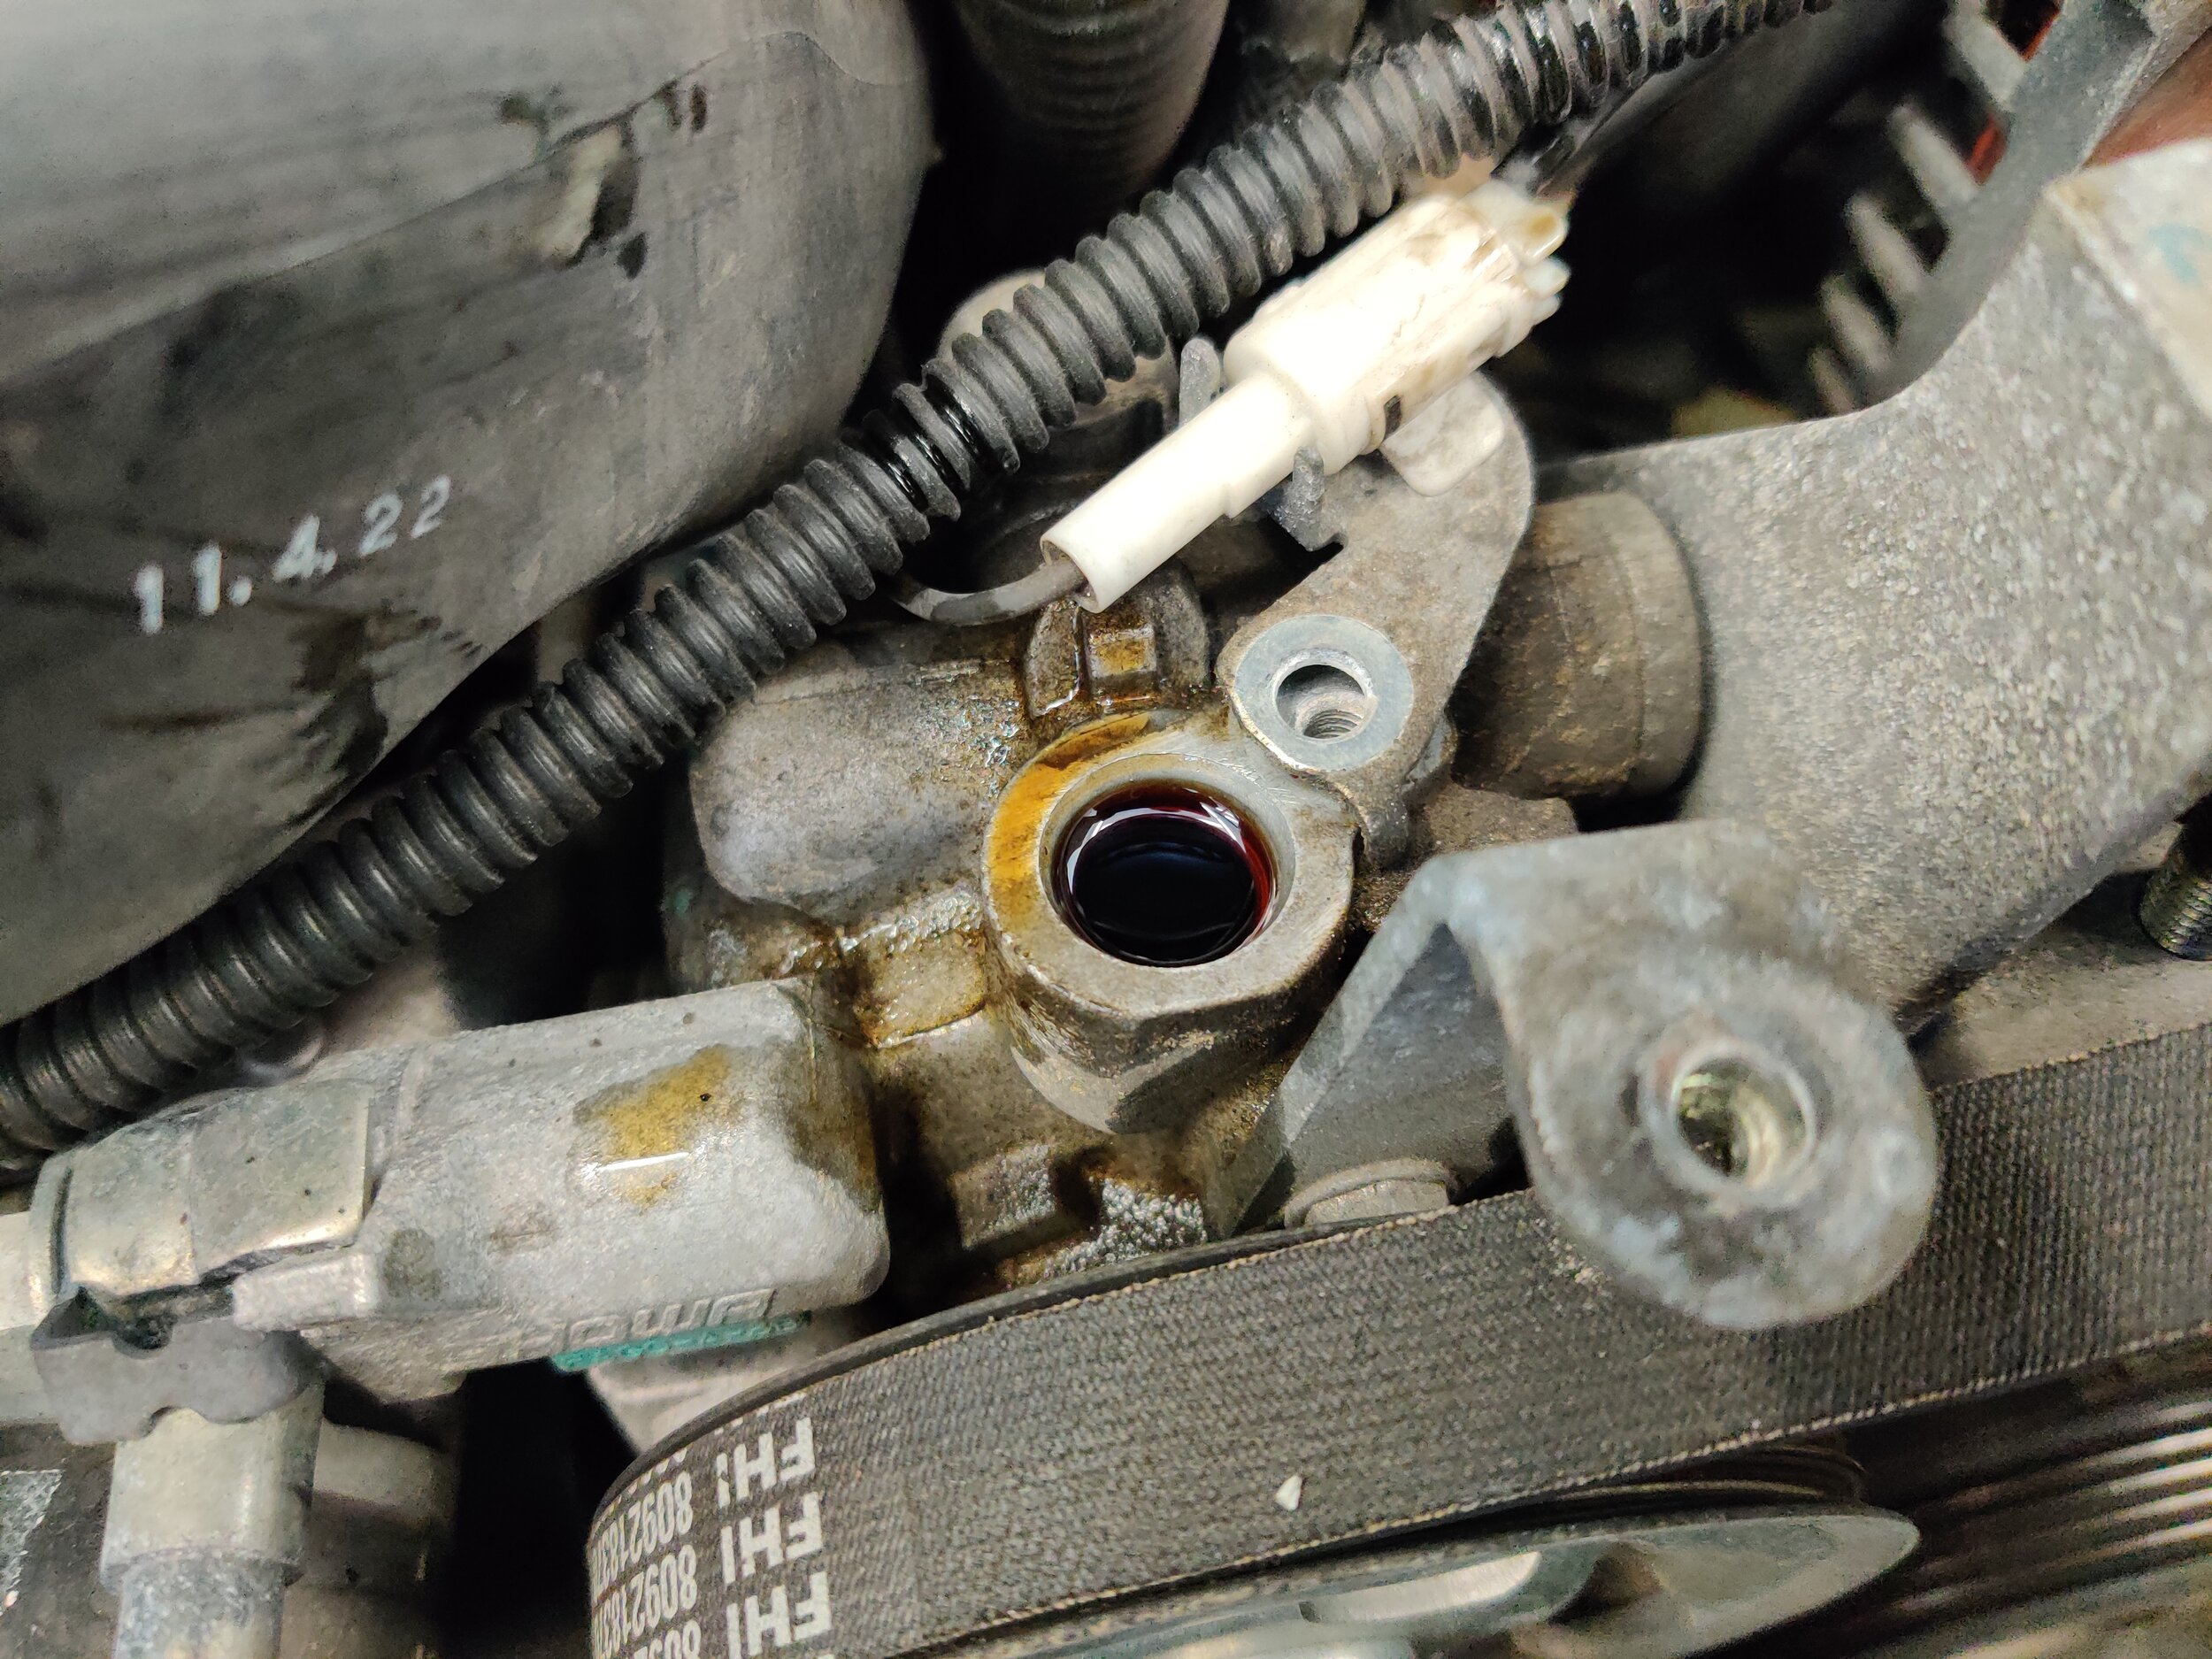
This is where I generally start, this o-ring often fails. Follow this link to find out more.
Obviously there are a few ways to go about that. You can buy a rebuilt or used pump and cross your fingers it is a good one. I personally went through three remanufactured pumps before giving up on that. Crack the thing open and rebuild it yourself.. I have done this and it lasted a few years until I started auto-crossing heavily. And the final option of biting the bullet and picking up that pricey oem pump. It’s a tough pill to swallow, but after I replaced it and started the car up to pure silence from the pump, I knew I had made the right choice.

These lines are similar on all Subarus but have just slight variations, make sure you pick the right pump and lines for your specific model.
Time Frame
This is a rather tricky install on turbo cars due to the amount of evap emissions hoses behind the pump. I would set aside two hours for first timers. Even with the right tools there are few bolts and nuts that are difficult to reach.
Tools
With every job comes the tools that help you succeed. Today’s tools are mostly hand tools, aka sockets and ratchets. A good ratchet is always an important tool to have. I use a Gearwrench long handle 3/8ths.
As always my Milwaukee power tools will be by my side to speed up the process. Milwaukee 3/8th impact Milwaukee 3/8th electric ratchet


With many tight places around a turbo motor, I would recommend a good set of ratcheting wrenches. Gearwrench ratcheting wrenches metric
Parts
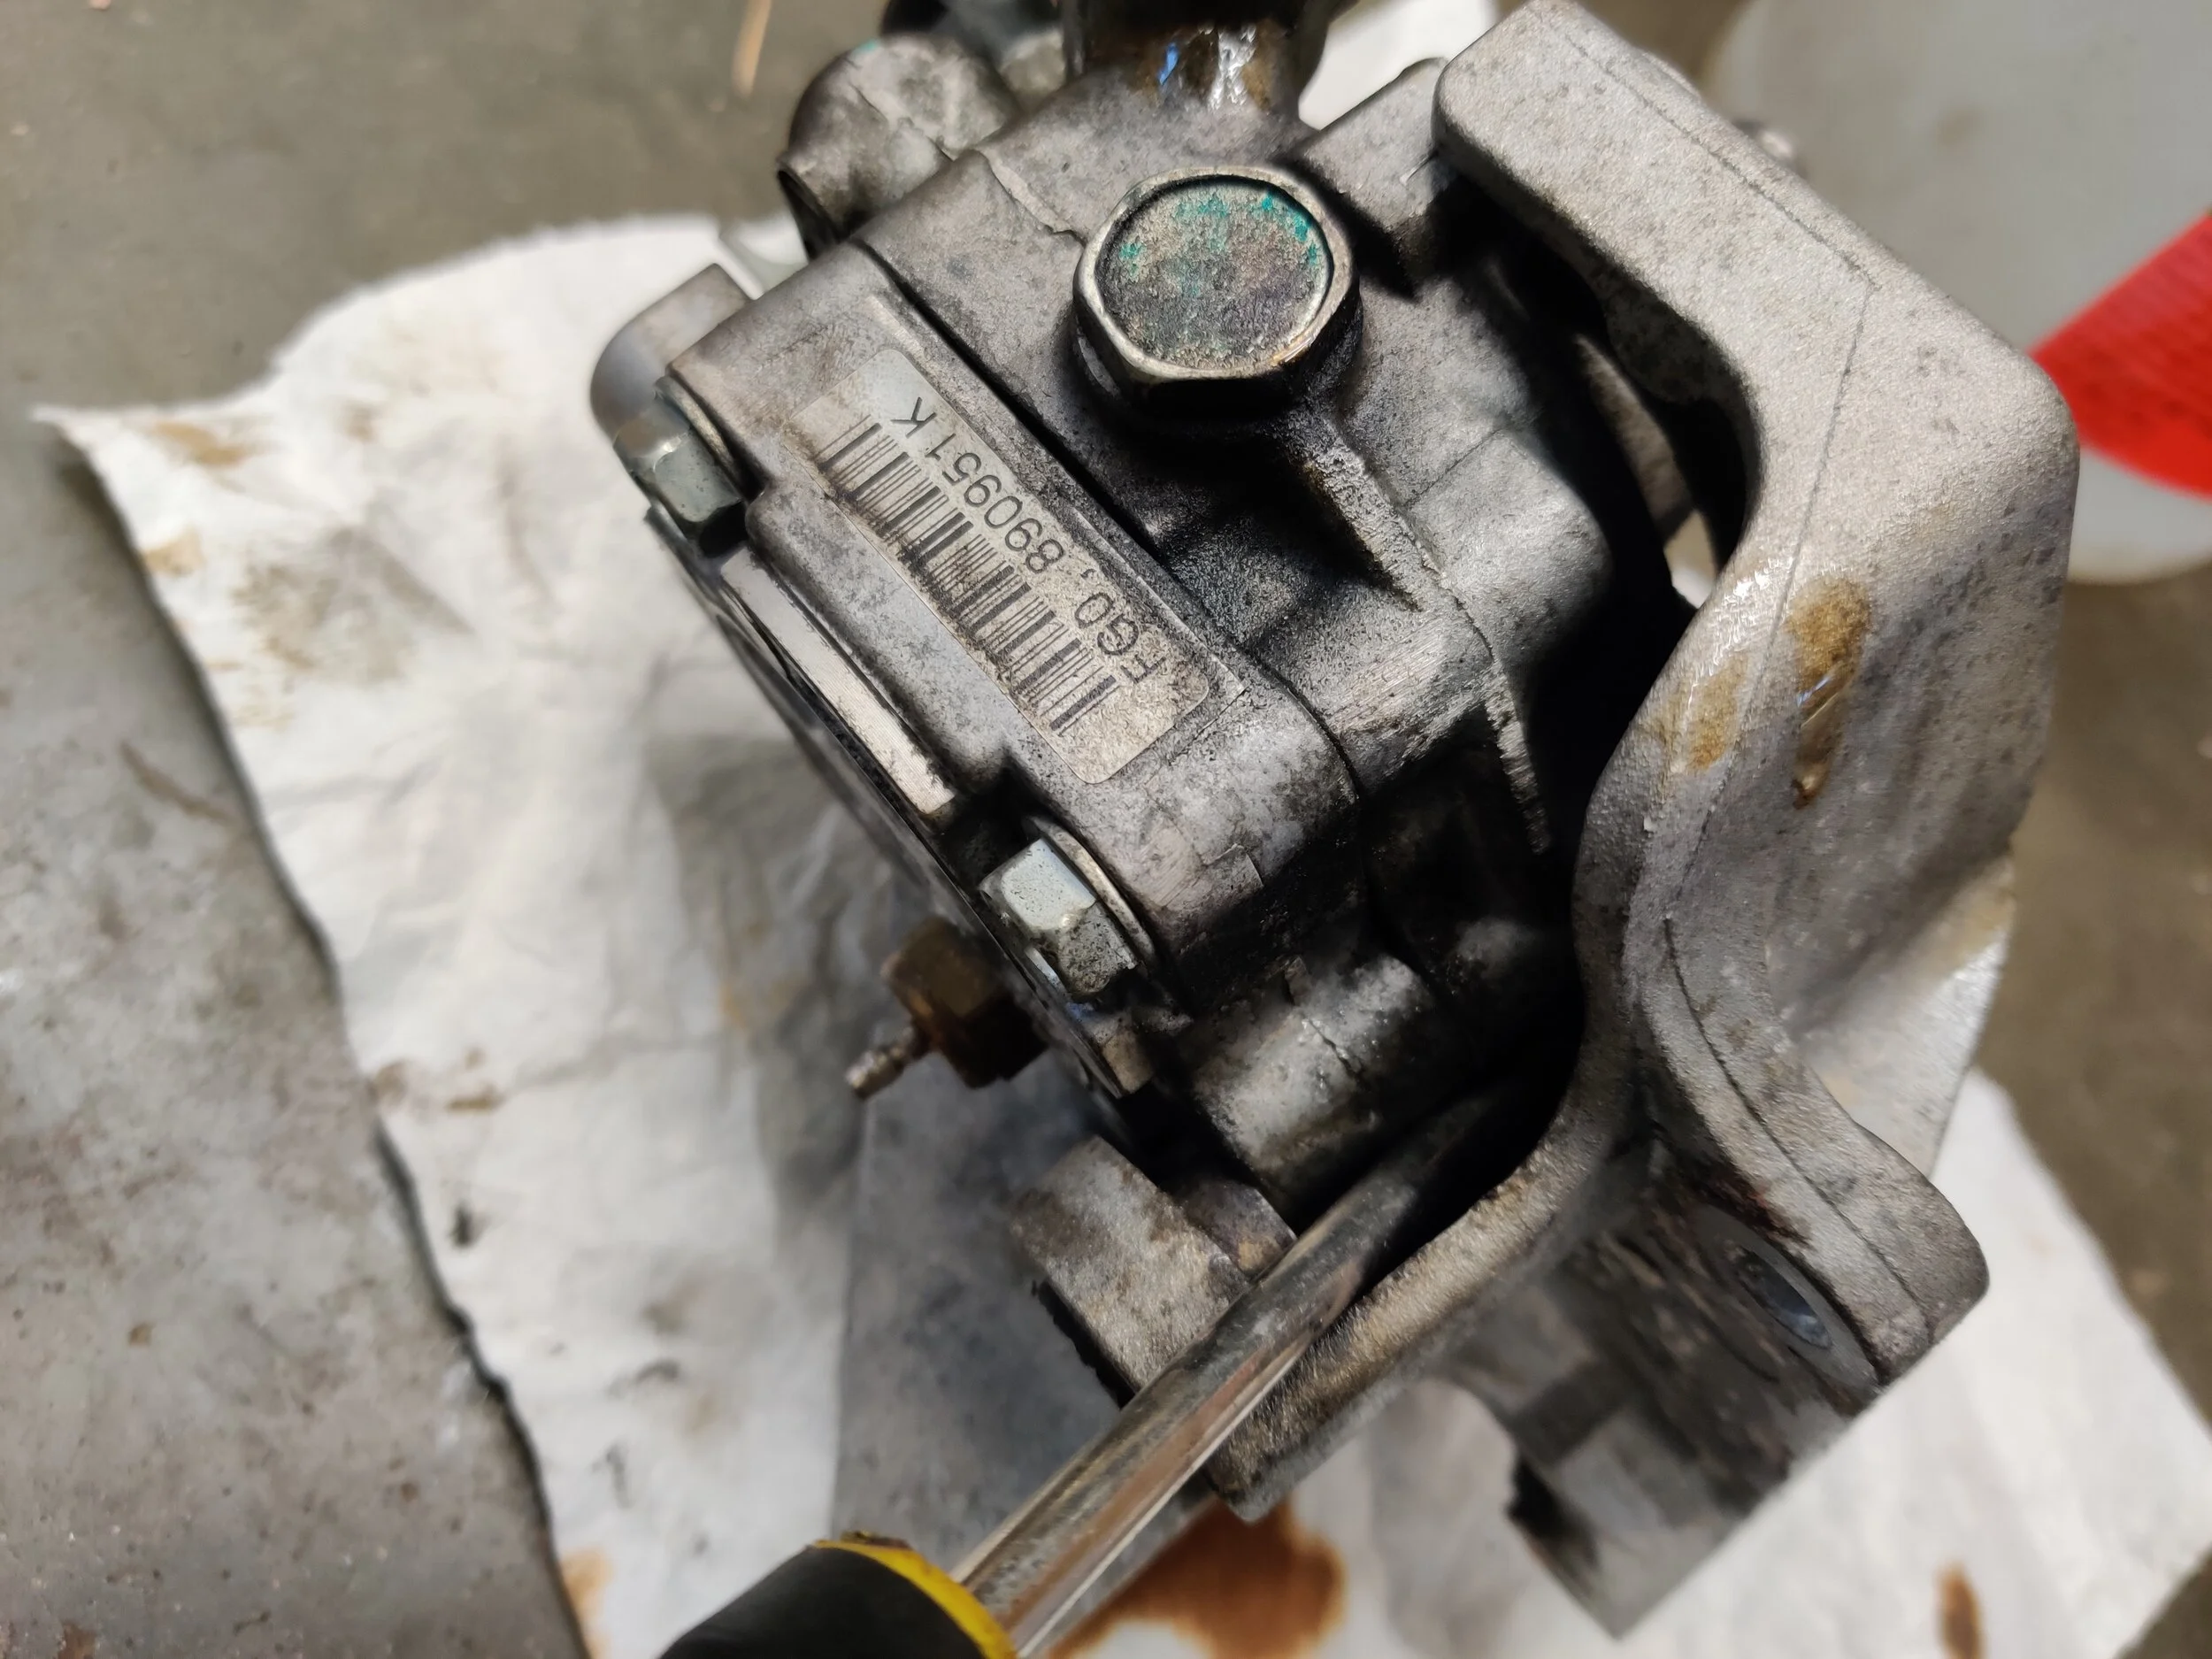
Of course a power steering pump is number one on this list. Find the proper unit that fits your specific model, there are a few variations to pumps over the years, so get the right one for your vehicle.

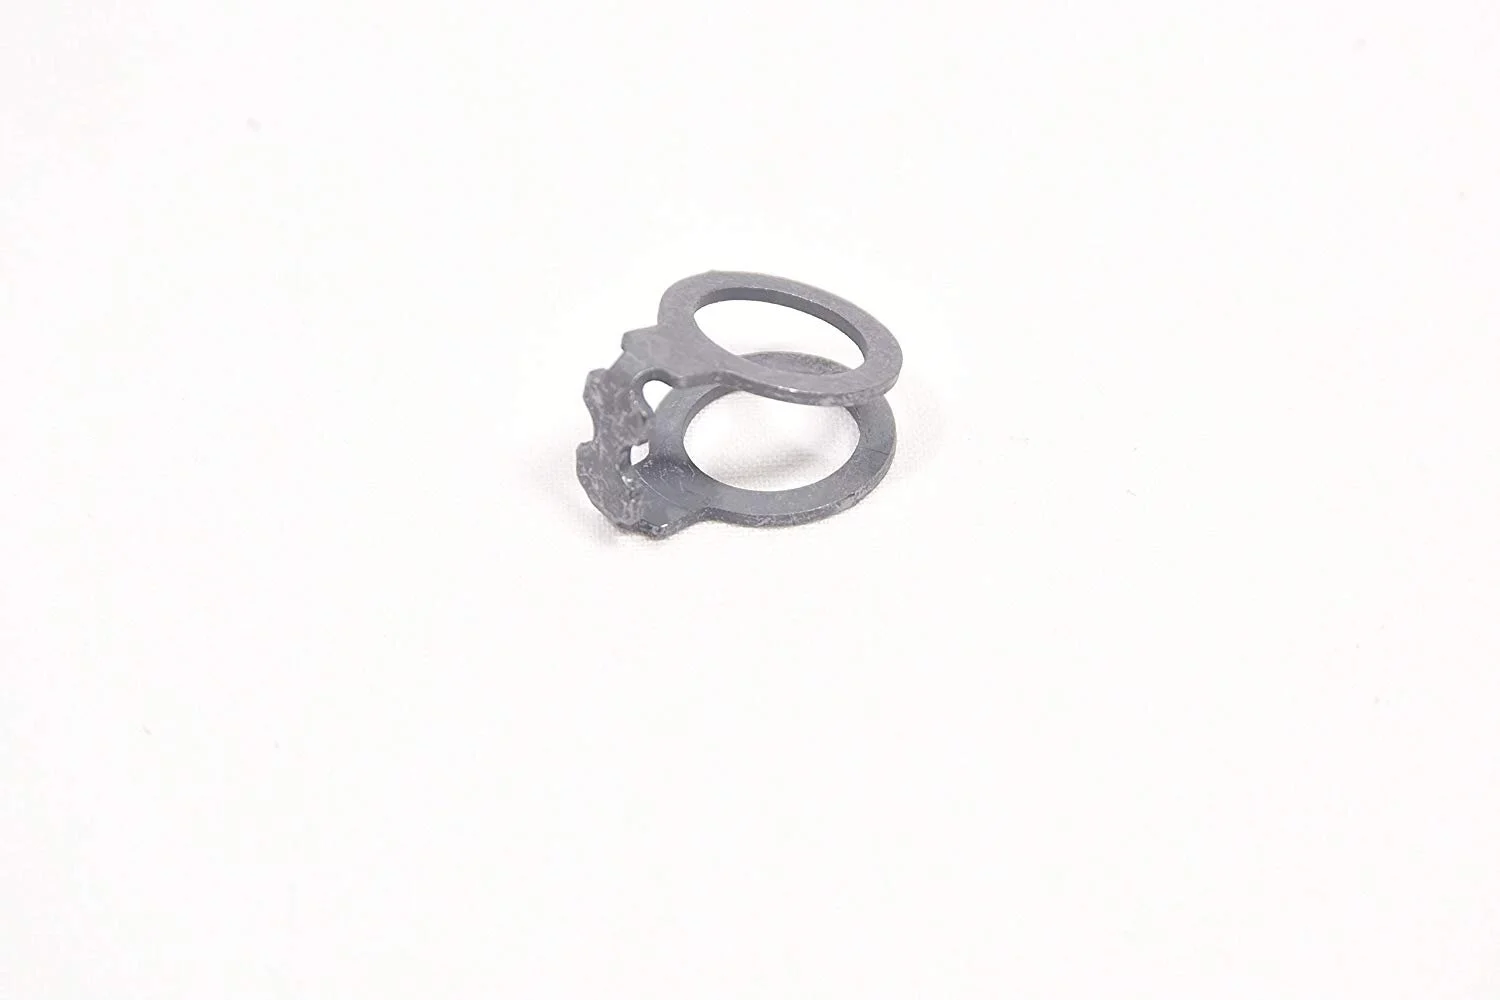
Next up it is highly recommended to replace the washer/gasket assembly that bolts the pressure line from the pump to the rack. Shown below
You can also take this moment to replace the suction line from the power steering reservoir to the pump. These get hard and brittle after many heat cycles, which can cause air to be pulled in through weak clamps, you definitely don’t want that.


Hose clamp, check for proper vehicle application.
Installation
Today’s installation will be on a 2013 STi, most turbo Subaru’s will be very similar with only the pressure line location and a few bolts being different. Overall the install is much the same but be aware it may not be exactly identical to your vehicle.
With your hood popped you will look to the accessories that reside front and center. If you have a belt cover now is the time to remove that and place it aside.

Next we will break the belt tensioner loose followed by the bolt that holds the alternator to the A/c bracket. Loosen that bolt to allow the alternator to pivot.

This bolt is for the Power steering pump belt tension and holds the alternator in place.

Loosen this bolt to allow the alternator to pivot.
You can now release the belt tension to allow the power steering belt to be removed. You may now also remove the bolt that runs through the belt tensioner and alternator.

Belt tension released. You can now remove the tensioner/alternator bolt too, Otherwise you can’t remove the ps pump bracket later.
You may now undo the small white connection on top of the pump. On to the suction line where you can release the clamp and slide the hose off. Lastly you can break the pressure line banjo bolt free. I usually drape the lines into a plastic bag or point them skywards to help keep fluid from dripping out.

Here is all three items next on the list. The white connector is up top, the suction line and clamp needs to be removed. and then behind it you can see the hard line(left side) that is the pressure line. Break that bolt free now to make your life easier.

This hose becomes quite tough and the clamp starts to do less and less over time. Replacing both of these at the time of the pump is a great idea. Removing the clamp but leaving the hose on helps keep the fluid from leaking out while you continue to unbolt everything.
Now you can find the two lower bracket bolts that hold the power steering pump bracket to the engine block. There are two, one is visible on the right side. The other is located on the left side and hard to see without an inspection mirror or phone camera, or you can do it like me and just hope the socket finds the right bolt and remove it.

The black bolt holds the power steering pump bracket in place. Remove it and there is one just to the left of it. It is a little tough to locate.
This is one of the most frustrating steps, right behind the power steering pump is the factory evaporative emissions hoses. These are notoriously brittle and a tangled mess of hoses overlapping one another. You need to move these as best as you can to the side to make room to remove the last bolt that holds the power steering bracket in its home. Be very careful as these little plastic connectors and hoses aren’t cheap and love to break without any provocation. Take a photo of the location of these hoses before undoing them, it can be quite tricky to put them back to their original placement. I also recommend taking a photo of the lines prior to removal so you can put them back together when you are done.

This
Once you are able to find the bolt through the mess of hoses you will find that you are no longer attached and the power pump should know be able to be removed. You may now move it to your favorite work station.

With all the bolts loose you can start moving it forward and out. Remember to remove your hoses completely.
Taking a 19mm socket and impact you can spin the nut right off and remove the pulley. This will give you access to two of the bolts that hold the pump to the larger bracket. Last but not least there is one large bolt that runs through the whole pump. remove this and you are ready to release the pump.

With the pulley bolt off, the pulley slides right off.

On this pump the two bolts behind the pulley are torx bolts. Remove these after you take off the pulley or try your hand at doing it without.. kind of tricky!

On the backside of the pump this large bolt runs through the power steering pump bolting it to the bracket. Unbolt this to finally begin to remove the pump completely from the bracket.
I generally will use a very small pry bar or decent sized flat head screwdriver to release the pump from it’s bracket jail. Once loose you can remove the white connector and wiring, then transfer it over to your new pump.
Any flathead screwdriver will pop the pump right out.
I like to use a small hammer to tap the metal bushing that helps hold the pump in to the outside of the bracket. This helps you install the new pump and once you cinch down the bolt it will go right back into place, holding the pump tightly. You can now install the pump into the bracket and tighten down the three bolts that hold it in place. Newer Subaru pumps may also include a small bracket to help center it.

Pump and bracket separated!

This little metal bushing slides in when you tighten the bolt down on the pump. To make installing it easier you can tap it out and now the pump will slide in much easier.
Having the pump and bracket bolted together you can now get it back into it’s home on the engine. I generally start the front lower right bolt, then start the left bolt in a few threads. Lastly I will move to the hidden rear bolt hole, leaving the front two a little loose helps you maneuver it around and find the threads. This is a very bad location to cross thread or damage the threads while running the bolt in, take your time and be patient.

New pump bolted back in the bracket and ready to head back home.
After those three bolts are fastened down you can you can go reverse your installation. Starting with the one electrical connection to the pump and the suction and pressure lines. Now you can install the bolt that holds the tensioner and alternator together and onwards.

Make sure you transfer this connection over for your new pump.

This is by far one of the worst bolts to get back in. Make sure you thread it in by hand with your extension. This bolt hole is on the top of the block and you do not want to go about stripping it out.
Now it is time to fill and bleed it. I have had really good luck with minimal bleeding, basically steering the wheel from lock to lock slowly, also you can just idle the car as it helps . This will push the air and fluid through the system till the air makes it to the reservoir where it will exit. One trick is to raise the front end of the car off the ground to allow the reservoir to be a higher point, now you can easily turn the wheel without scrubbing the tires.
With remanufactured pumps you will find more bleed time is necessary, Once you have bled the system enough that it is noisy but not jerky you can take it for a very slow drive. All of the reman’d pumps I have installed needed a good amount of drive time before all the air was evacuated and the pump quieted down. Every system will react a bit different, just make sure all your fittings are secured and it should work the air out.
Congratulations! You have installed a new power steering pump, Hopefully it will last for many miles and you can forget all about this job and look forward to more fun car moments.
Amazon part links
Subaru Wrx STi power steering pump 34430FG040 (used in this repair)
04-07 STi 02-07 Wrx power steering pump
04-07 STi 02-07 Wrx Return and Suction hose
Hose clamp 909170063
Pressure line gasket/washer. 34621AC024
Amazon tool links
Gearwrench ratcheting wrenches metric
Milwaukee 3/8th electric ratchet
Gearwrench 3/8th extra long ratchet,
3/8th extensions 3/8th torque wrench
Grey Pneumatic 3/8th socket set