Brake hose replacement! Keep the fluid flowing to those calipers!
We all know that brakes without fluid are pretty much useless. Without the flexible brake hoses our suspension would have a hard time soaking up the bumps and making your ride tolerable to be in for more than five minutes.
Without brake hoses these wouldn’t be doing much of anything… well except looking pretty. 4 piston brake install diy
Many brake hoses will last as long as the vehicle does but some may fail and need replacing. The most common failure of a brake hose failure is collapsing, when this occurs your brake hose either won’t release the fluid off of the caliper making it drag. It can also collapse and not allow fluid to travel to the caliper, this will give you unequal braking. If it is on the front of the vehicle your car will pull to one side when you are braking.
-Warning-
If you do not have the proper training or haven’t worked with a vehicle’s braking system understand the importance of this repair. If this repair/maintenance is improperly completed serious injury to you, others, your vehicle or nearby property can occur. Please proceed with caution and only attempt this with the proper tools and knowledge.
Do not add any other fluid to the brake system, any petroleum based fluid will completely ruin your entire braking system. Causing all the rubber seals within the braking system to swell and be unable to function properly. You will not be able to brake the car properly.
I can assume no liability for damages to you or your vehicle via these guides. There is only one of you and you are very important to many people, keep this in mind!
Time frame
If you are replacing one brake hose it will probably take you around ten to twenty minutes and around an hour for a full set.
Tools
For this we will need a way to remove the wheels. Your favorite impact wrench should help you here.
Next up a good line wrench to help brake those hoses free without rounding off the fittings.
Your ratchet and socket set will be up next.
Parts
If you are just replacing your brake hoses, find your correct part number and order away.
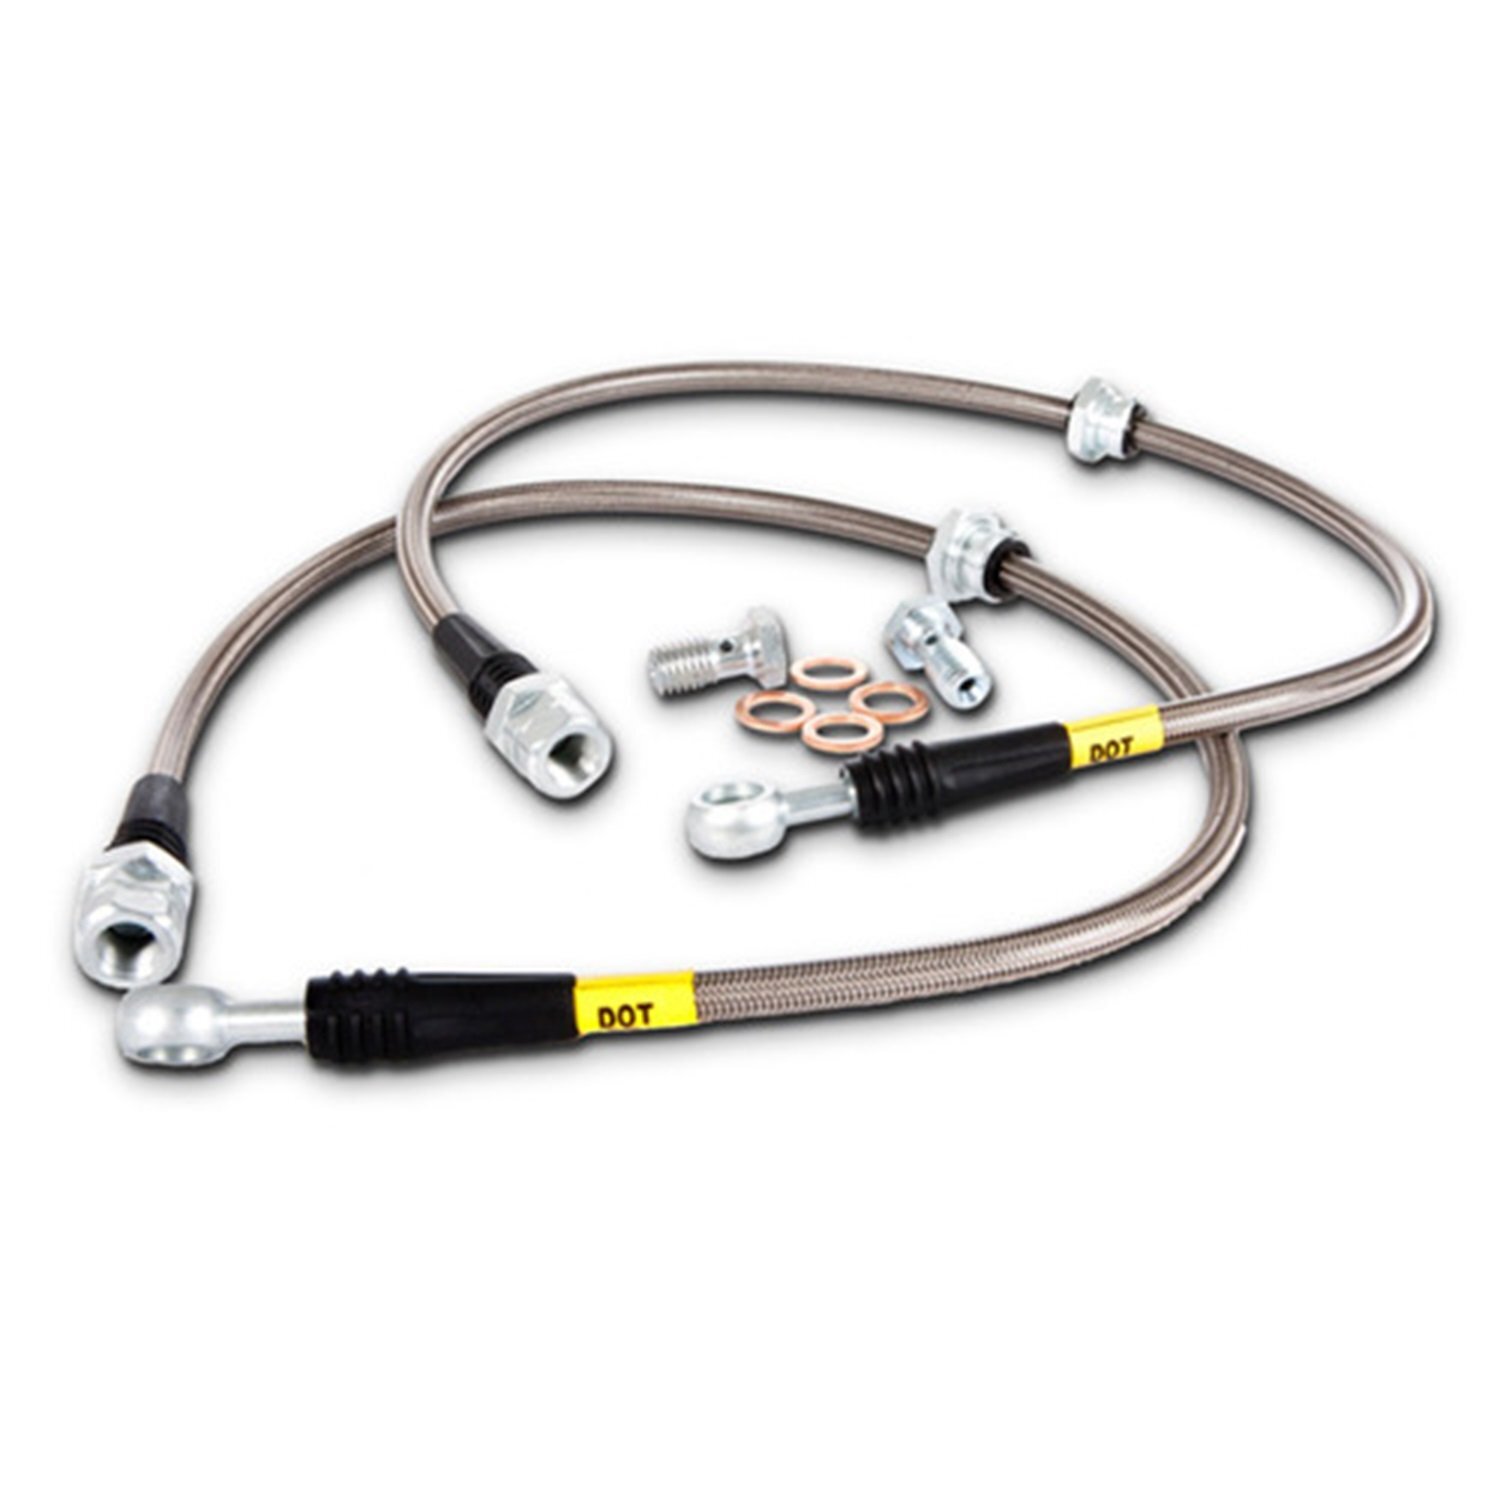
Looking for a bit of a upgrade? Stainless braided lines can help with that catagory.
Installation
Starting off we will need to get the vehicle in the air. If you need help with that stop by my diy on putting your Subaru on jack stands and remove your wheel(s). Now is a good time to double check that your brake fluid is quite full, if it runs empty on fluid while you are replacing the lines, your going to have a bad time.
Once the car is off the ground we can remove the wheels necessary for the repair. Then we will take our drip pan and move it below the first hose to be replaced.
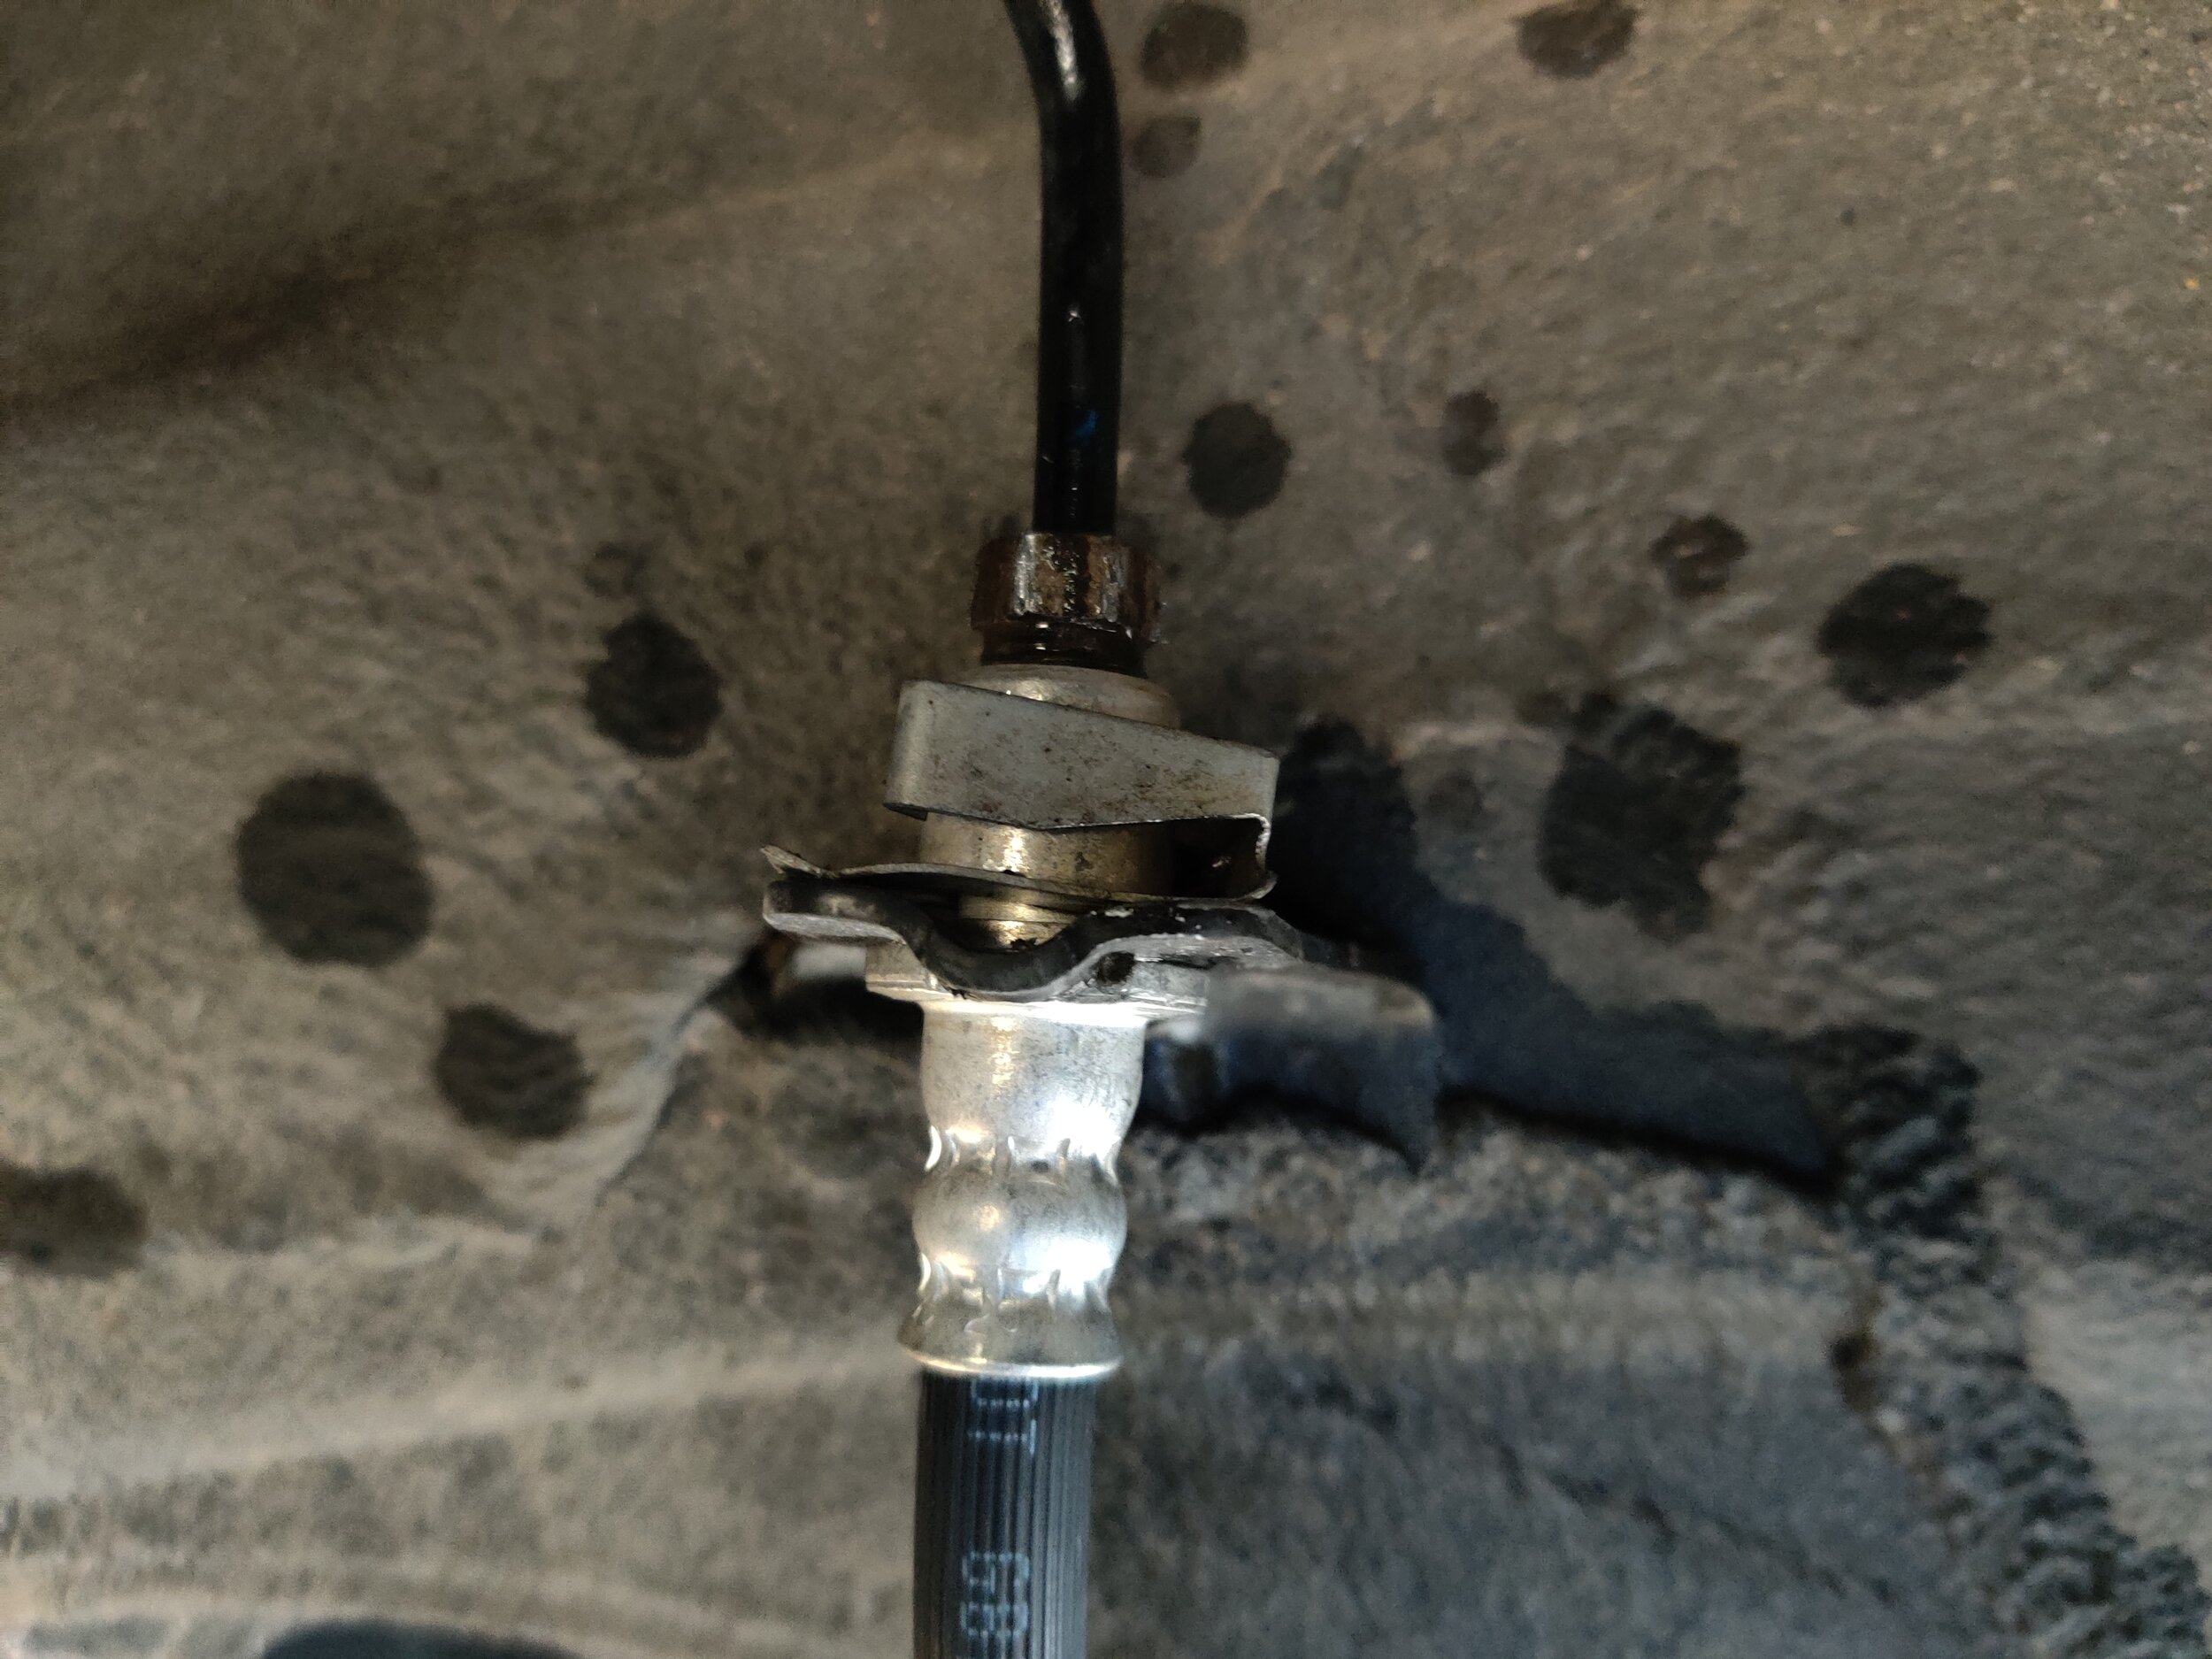
This is where the hard line connects to the brake hose.
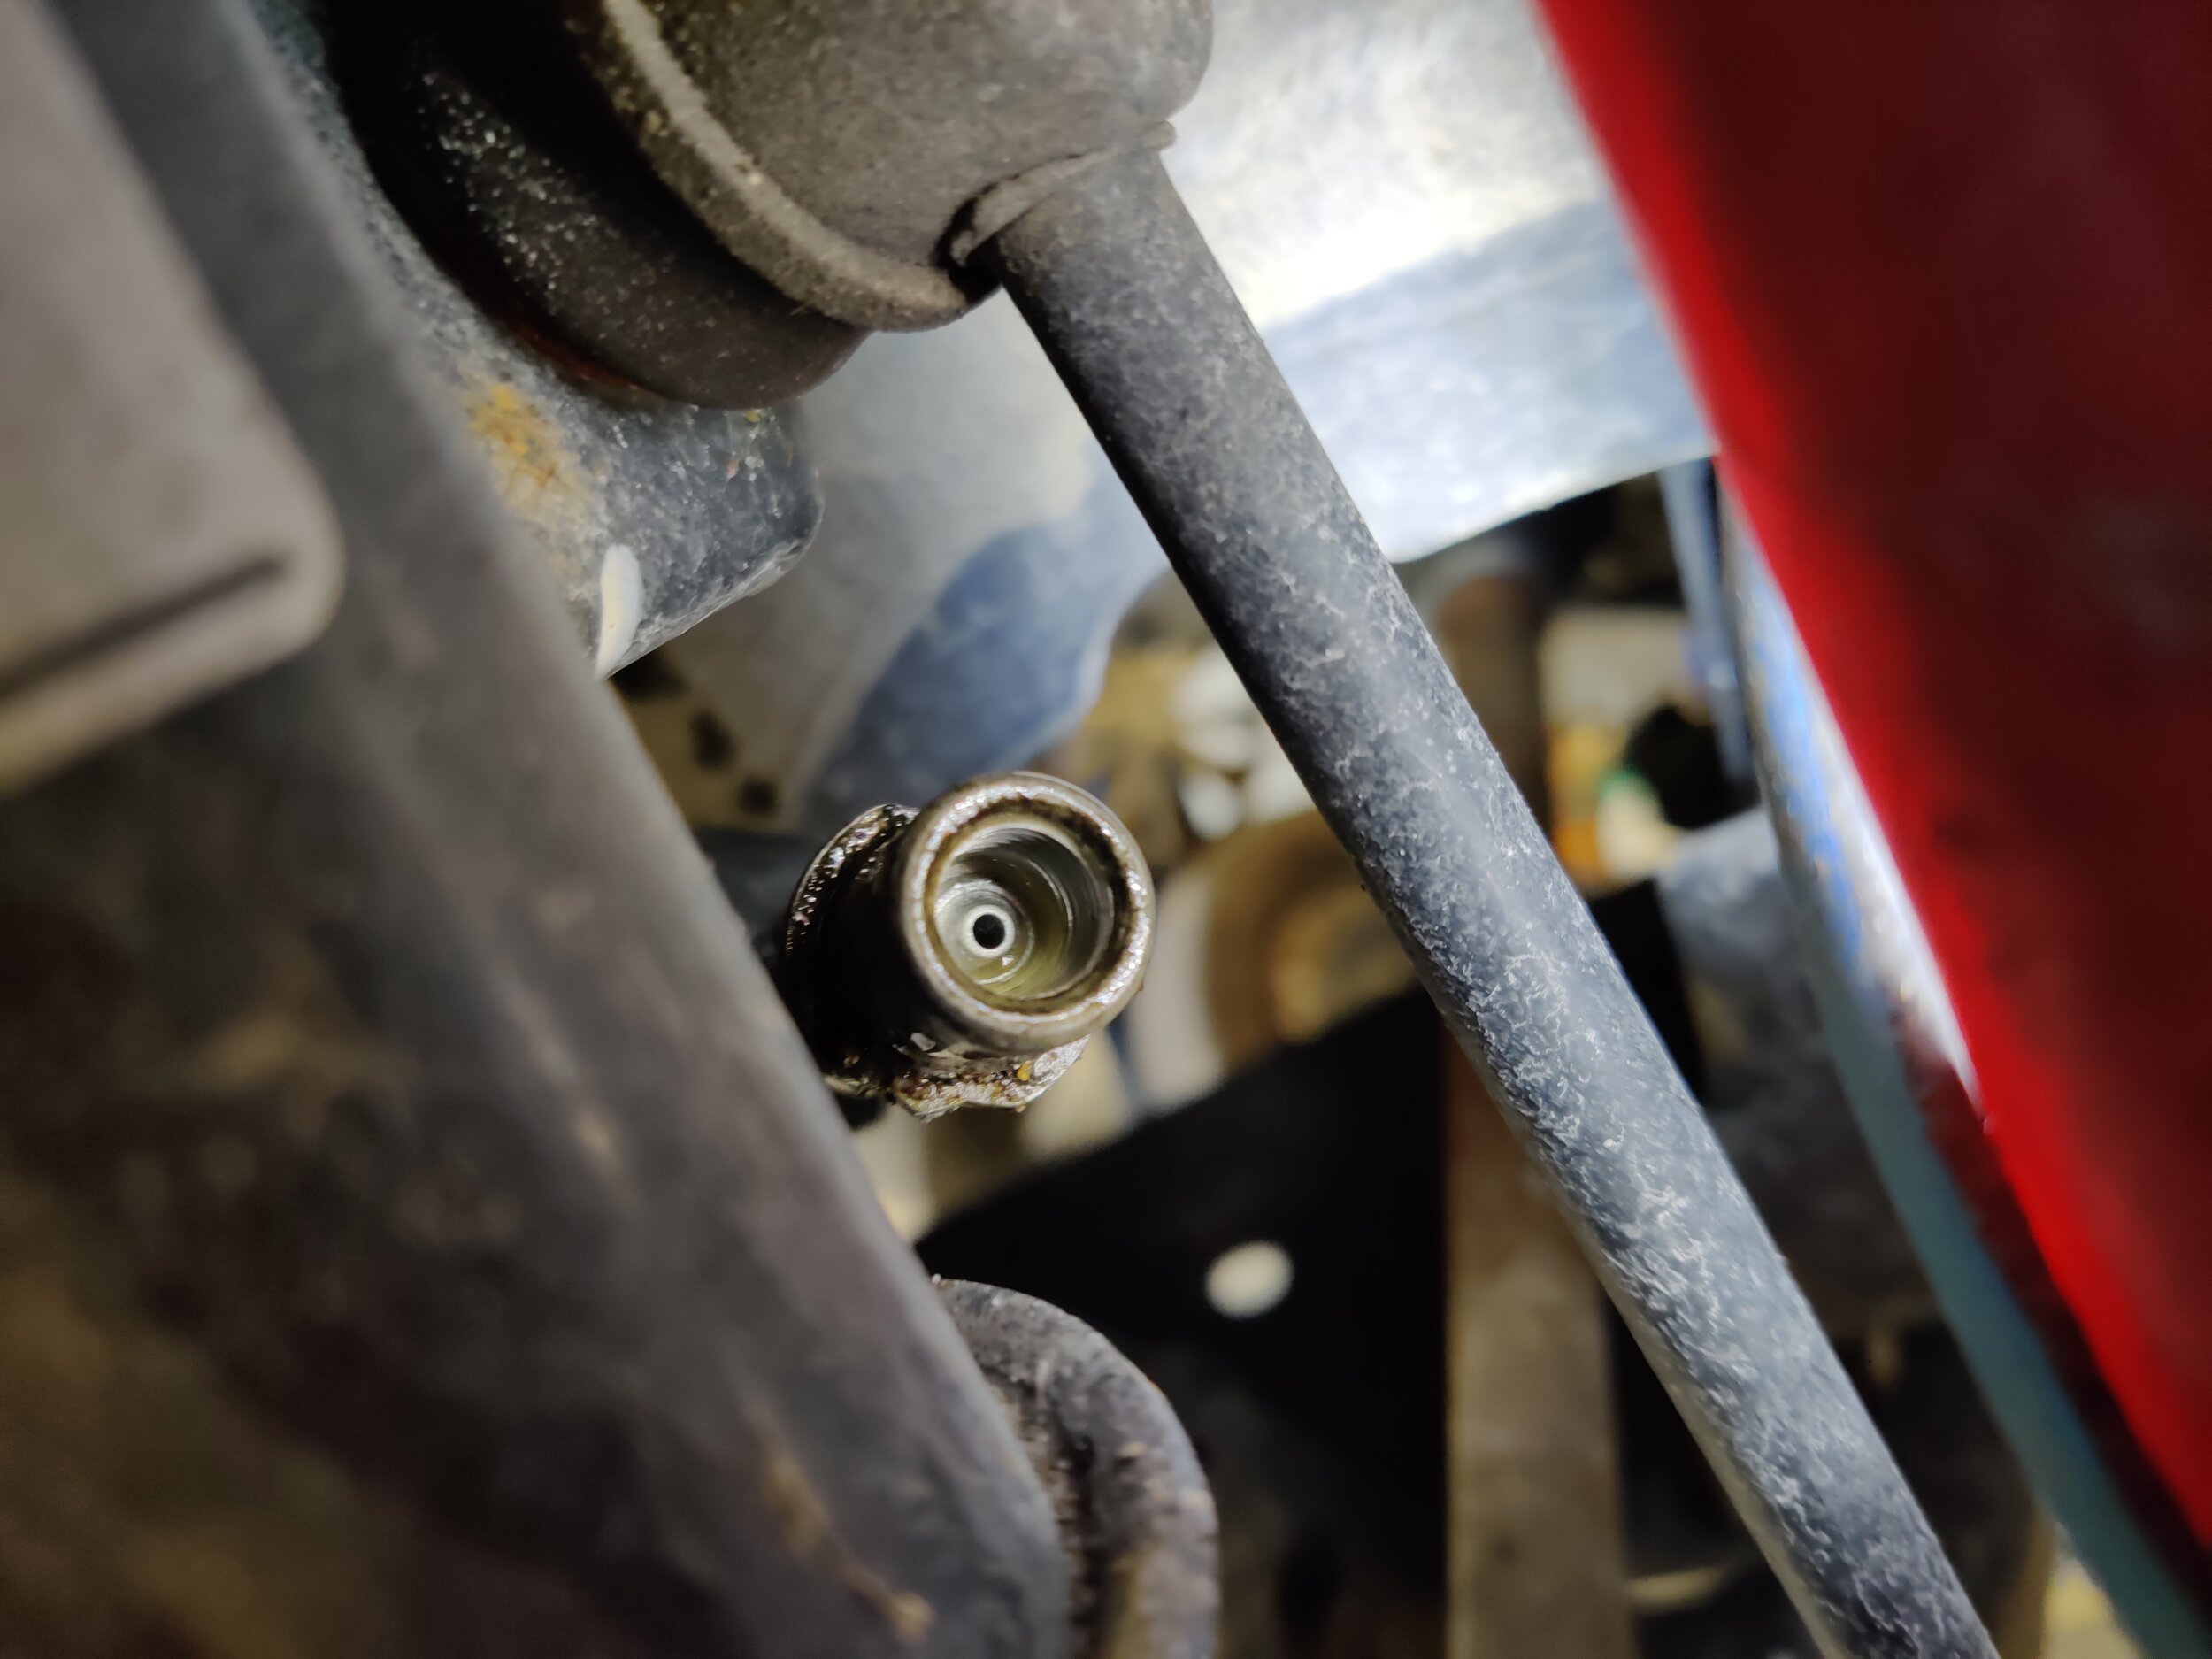
Here is where the hose connects to the brake caliper.
Now we can begin by starting on the hard line to brake hose. For those old rusty brake lines I would recommend spraying a bit of rust penetrant on them and leaving them for a few minutes to help make your job easier. If you are finding the lines are not breaking free and just twisting. You can grab the hose with a set of pliers and work the line back and forth. This should help free them up.
With a line wrench on the hard line connection we can remove this connection.
After you unbolt the hose to hardline you can remove the small clip that holds everything in place.
Next up you will want to remove the hose small springy clip that keeps it in place. You can now remove the brake hose for the housing, and thread the new hose on. I use a tire valve stem to keep the fluid from pouring out as you are moving the hose around.
We need to thread this into the hard line There is a locating tab that helps hold the hose in place.
Here is the new line being installed. With a tire valve stem in it you won’t have it dripping brake fluid everywhere.
Next you will unbolt the brake line from any suspension components and move on to the brake caliper. Removing the banjo bolt will free the line completely from the car and you can now place it to the side
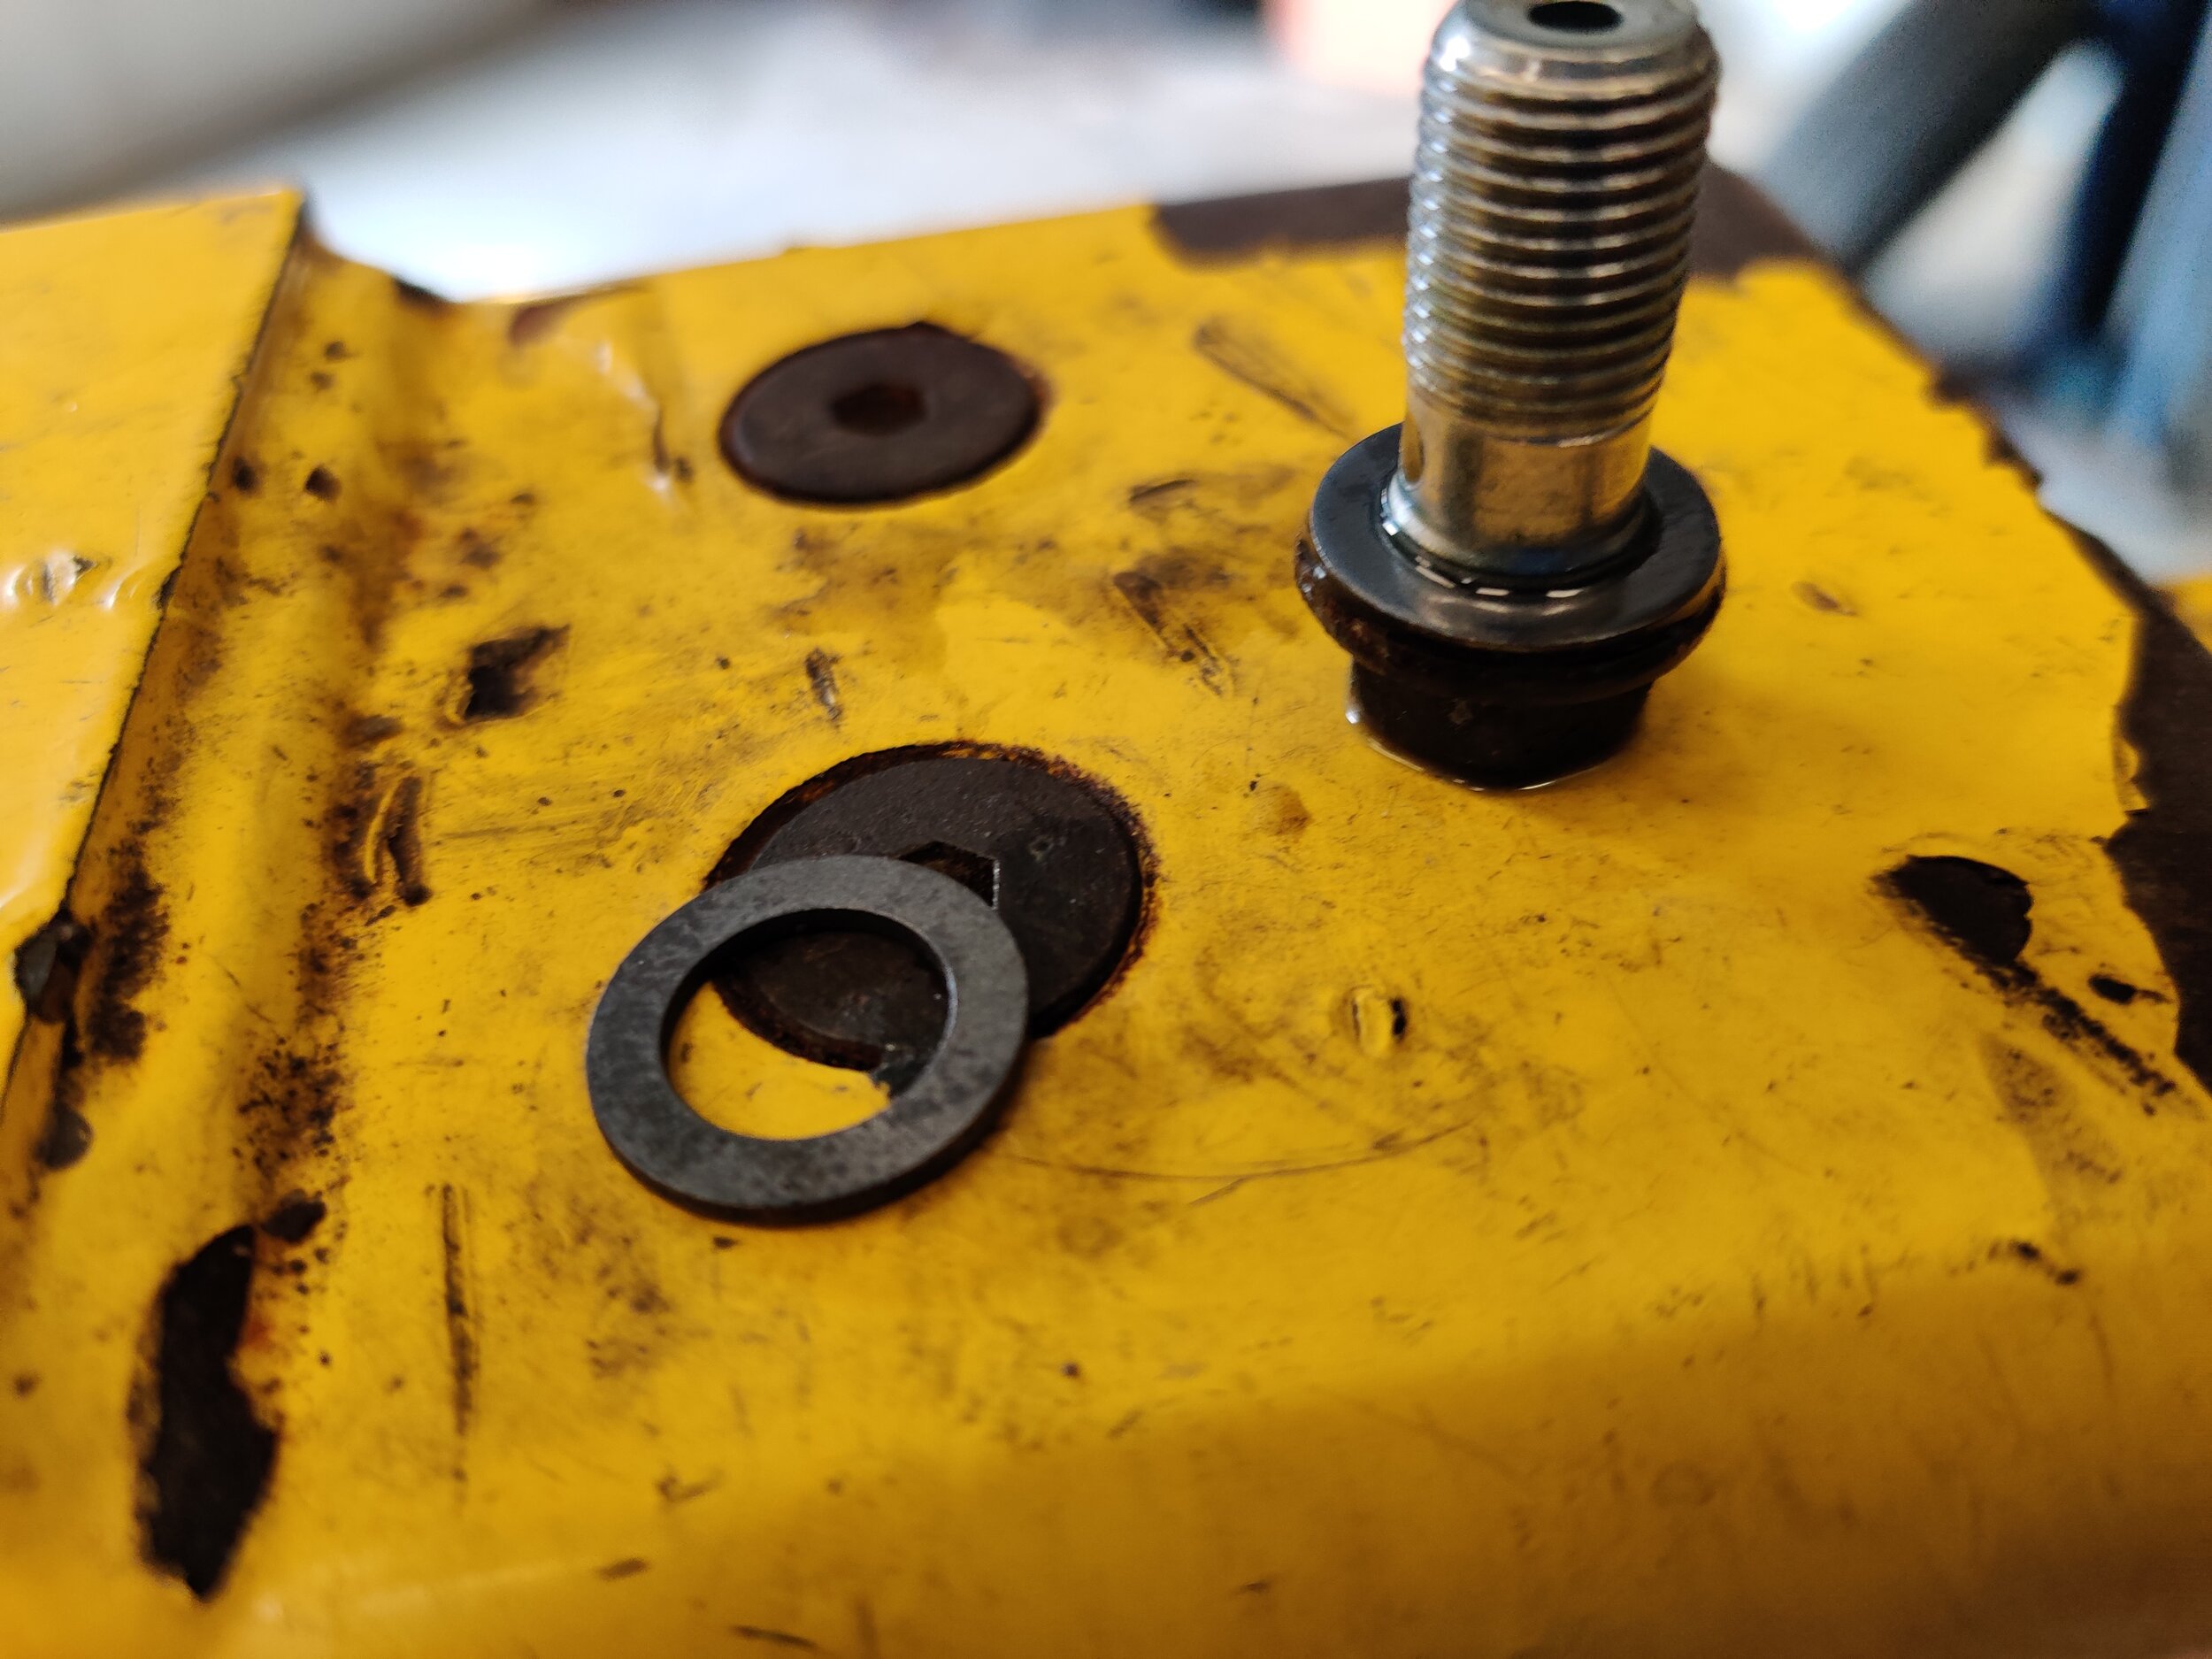
Here is the banjo bolt, we will remove this to free the hose from the caliper.
With the new line in hand you will want to make sure it follows the same path that outgoing hose was in. A twisted or improperly routed brake line can cause serious braking issues.
Placing a new crush washer on the banjo bolt you can slide it through the brake hose. After it is through you can place another crush washer on the other side. Now you can hand thread it into the caliper and then finish it with the required torque spec of your vehicle.
Having both ends of the brake hose installed and torqued down, you can now open the brake bleeder and bleed the air that is now inside of the hose and caliper. Utilize which ever technique works best for you when bleeding brakes, gravity bleeding diy.
Once the air has been cleared and brake fluid topped off you can finish any other hoses you had to complete. Otherwise you can set the vehicle back on to the ground. Then start the vehicle but leave it in park or neutral and test the brake pedal resistance. If it is a nice stiff brake pedal you will be ready to test it out at slow speeds. If the pedal sinks or is quite mushy, you need to try and remove more air from the system.
Congrats! You have replace brake hoses and either upgraded your car or made it functional again! Enjoy the refreshed brake feel of a system that is fully operational and free of air!
Amazon tool links!
Milwaukee 3/8 electric ratchet
Milwaukee 1/2” electric impact
Amazon part links!
04-07 Sti and 06-07 Wrx stainless steel braided lines


