JDM spec C 12 liter tmic water sprayer tank! How to install it on your 04-07 STi
While the USDM is often snubbed with the best features and upgrades, Subaru blessed the 04-07 STi models with a 4L tmic sprayer tank in the back. Which I personally like a lot more than the JDM STi version which utilizes a tank in the engine bay. This tank can easily become heat soaked.. and that defeats the whole purpose of it.

Why couldn’t we have just had this one in the first place… ?
If you are like me and you want a little more capacity, especially if you have added the Jdm auto sprayer… you might look into the Jdm 12L tank. This was equipped on Spec C models but can be purchased from vendors and Subaru of Japan.

While you can use it with a standard I"?C water sprayer button. Adding an Auto button is a great way to take advantage of the increased fluid capacity.
This tank includes new rear brackets to install to the chassis that help hold the water tank in place. It also comes with a wired pump and a sprayer hose connection that is ready to go. How do we bridge the gap between the Usdm to a JDM tank, lets find out.
Time Frame
If you are starting with a USDM 04-07 STi with the proper tools and prior removal of the back seats, I would give yourself around 2-3 hours. The biggest time sink in this project is adding the wiring harness from the factory location to the new position.
Tools


How to
We will begin our project in the back of the car by removing the rear seats. To do this you will locate the two bolts towards the front of the car near the floor. Lifting up the on the front of the seat will allow you pivot them out.
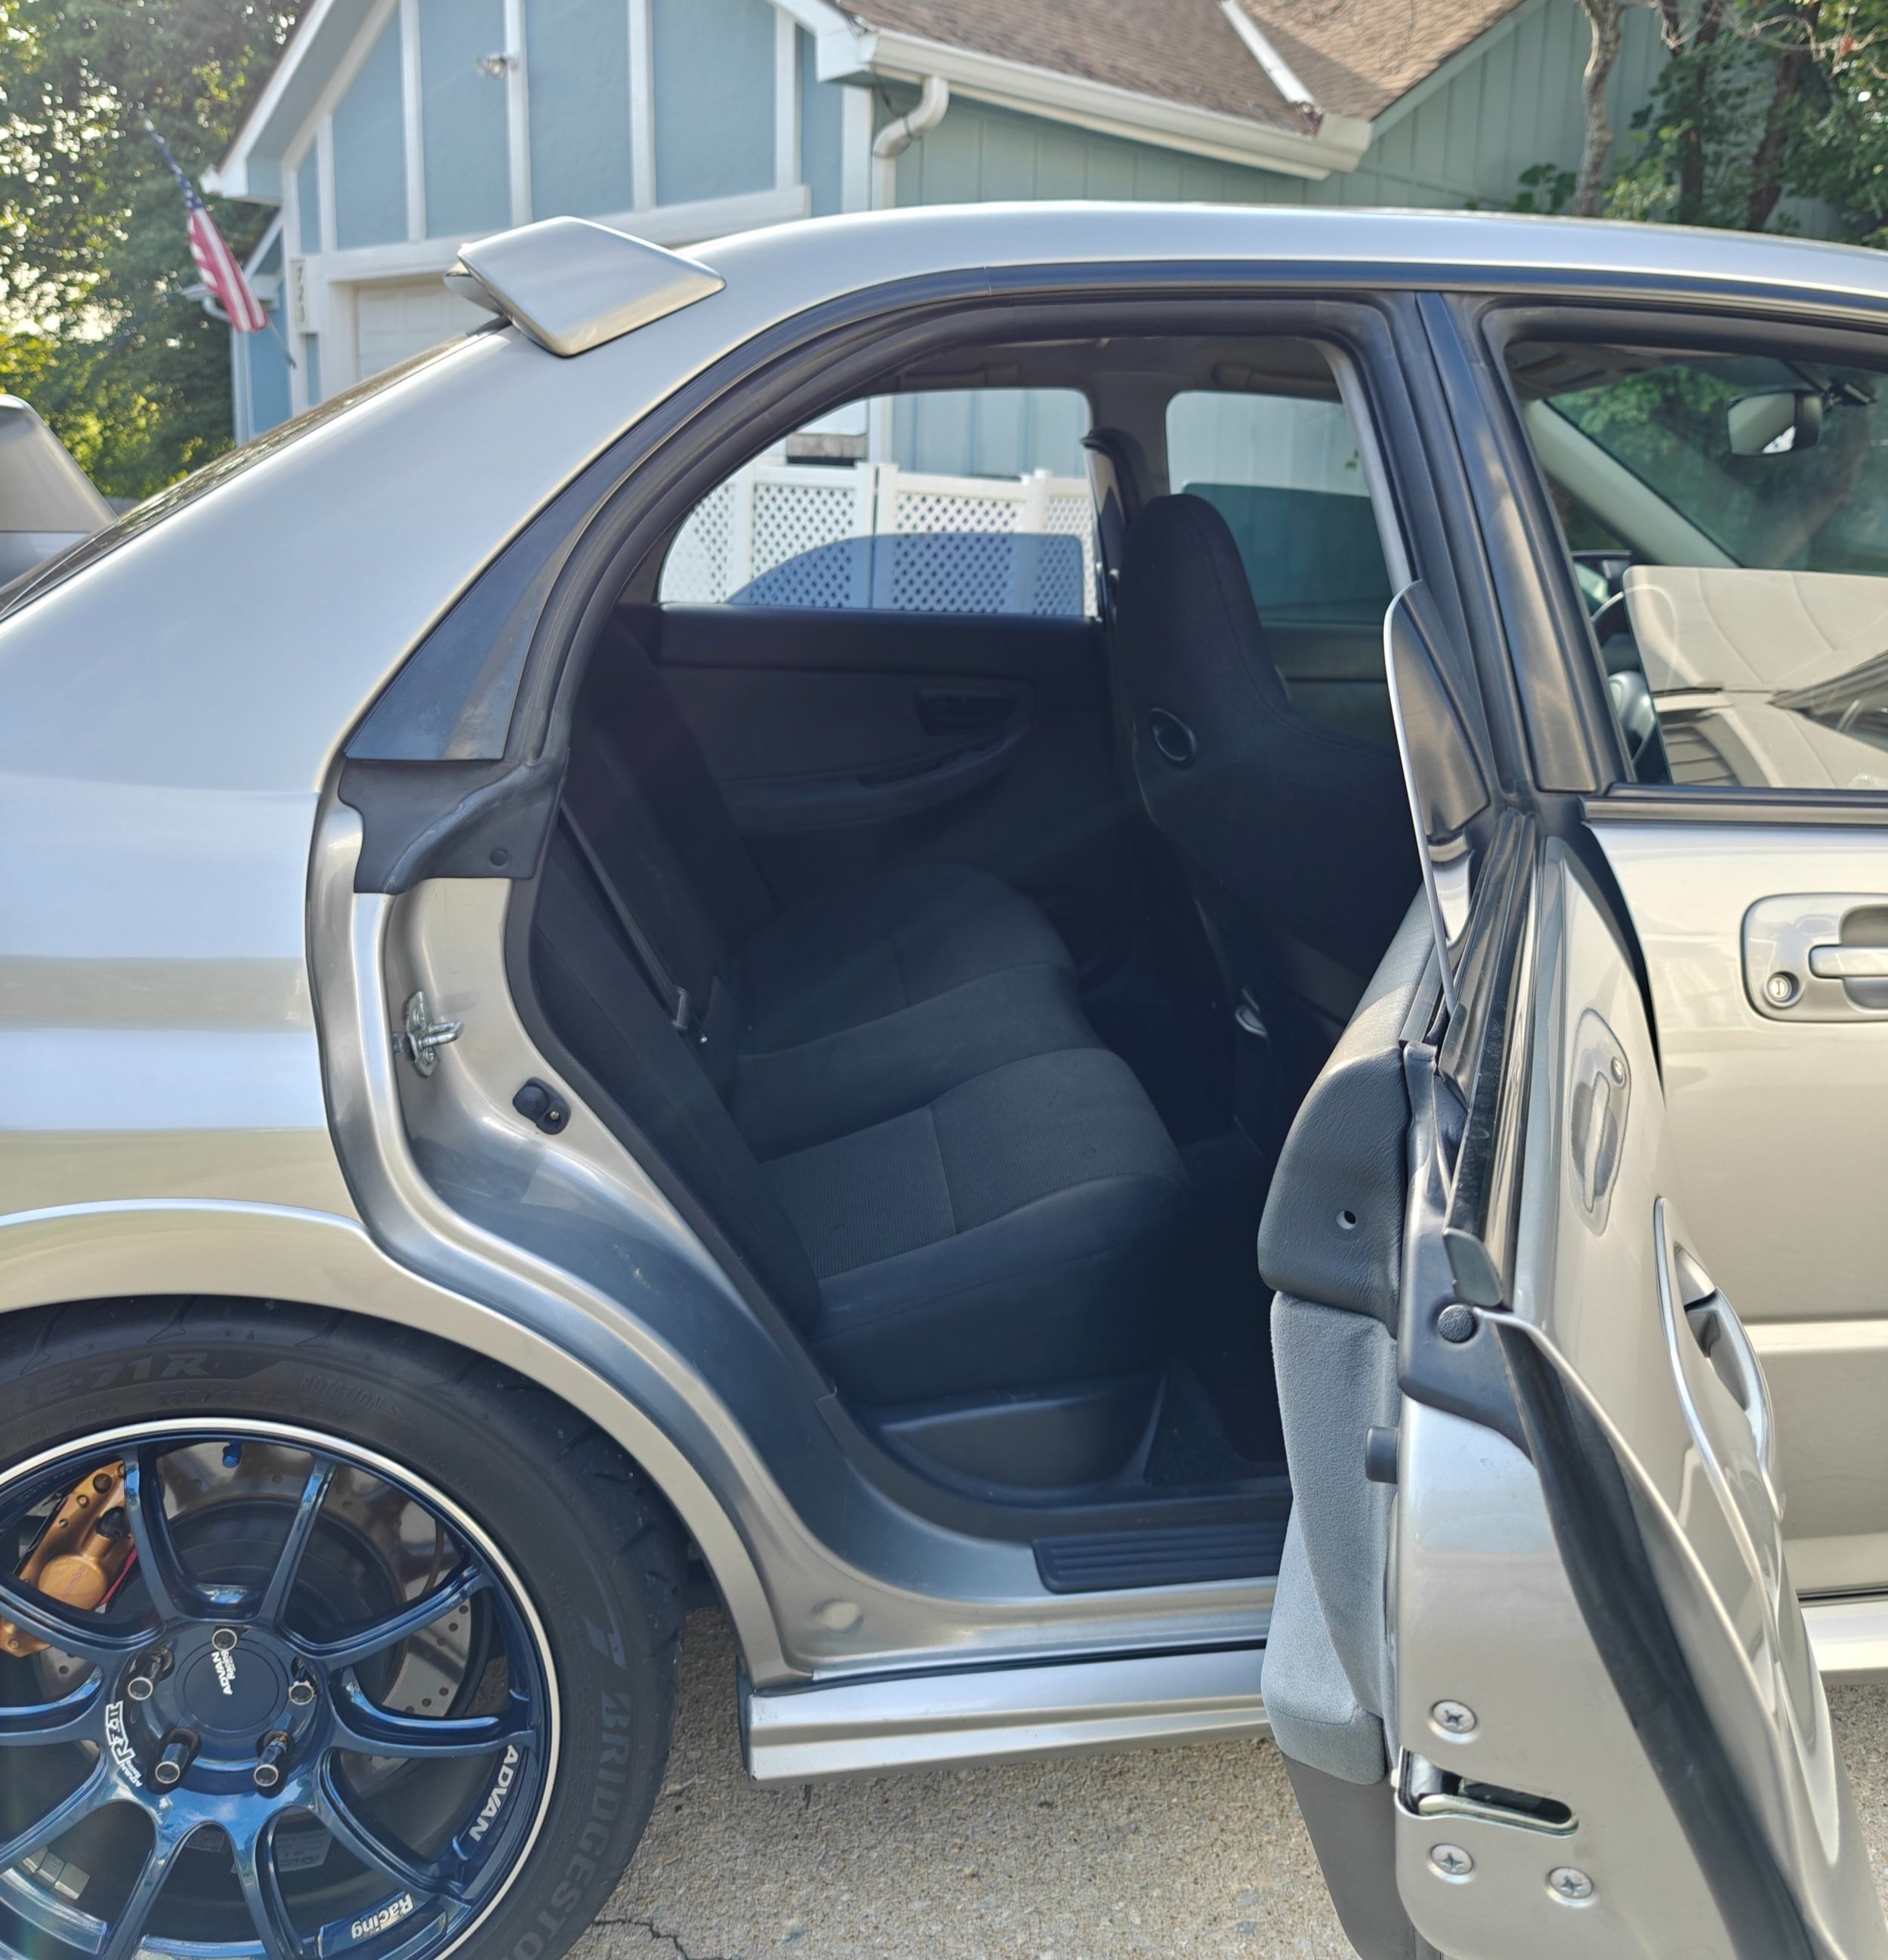
Here is where we will begin.

Every project starts with removing a first bolt, here is yours. There will be one on each side of the seat

With the lower seat removed you will find the bolts that hold the upper portion of the back seat in.
The upper portion of the back seat is attached by bolts at the bottom. Locate these and remove them. This will allow you to slide the final portion of the backseat up and out.

You will find two of these on either side of the backseat.

Once the bolts are all removed the seat can slide up and be removed.
This leaves us with two braces that support the upper portion of the back seat. These are the next items to be removed. We can now replace them with the 12 L tank brackets. These brackets have small raised protrusions on them which hold the 12L tank in securely.

Next up will be taking out these two brackets that support the rear seat.

Braces/bracket out and ready for the new brackets the to go in.
We can now move to the trunk to begin removing the outgoing USDM 4L tank. The tank resides on the passenger side of the car and you will need to remove trim and clips to access it. The plastic surround trunk latch can come off first. Then you can follow it up by popping off the clips and shifting the trunk’s carpeted lining to the side. This will give us access to the tank.

Removing a few clips we can gain access to the TMIC tank.

With the trunk liner out of the way this is what you will see.
Up next will be removing the connector, this should be located near the passenger taillight. That next connection will be the water sprayer tube, you should be able to located a junction where the hoses are connected. To keep it from spilling water into your trunk make sure to keep it above the water line or clamp it off. There are two bolts that secure the tank to the trunk, with those removed you can take it out of the car.
Disconnect this connector from the top of the 4L tmic tank.

Only two bolts hold the tank in.

Here is the second bolt.

Disconnect the hose from here to remove the 4L tank

Ready to find a new home.
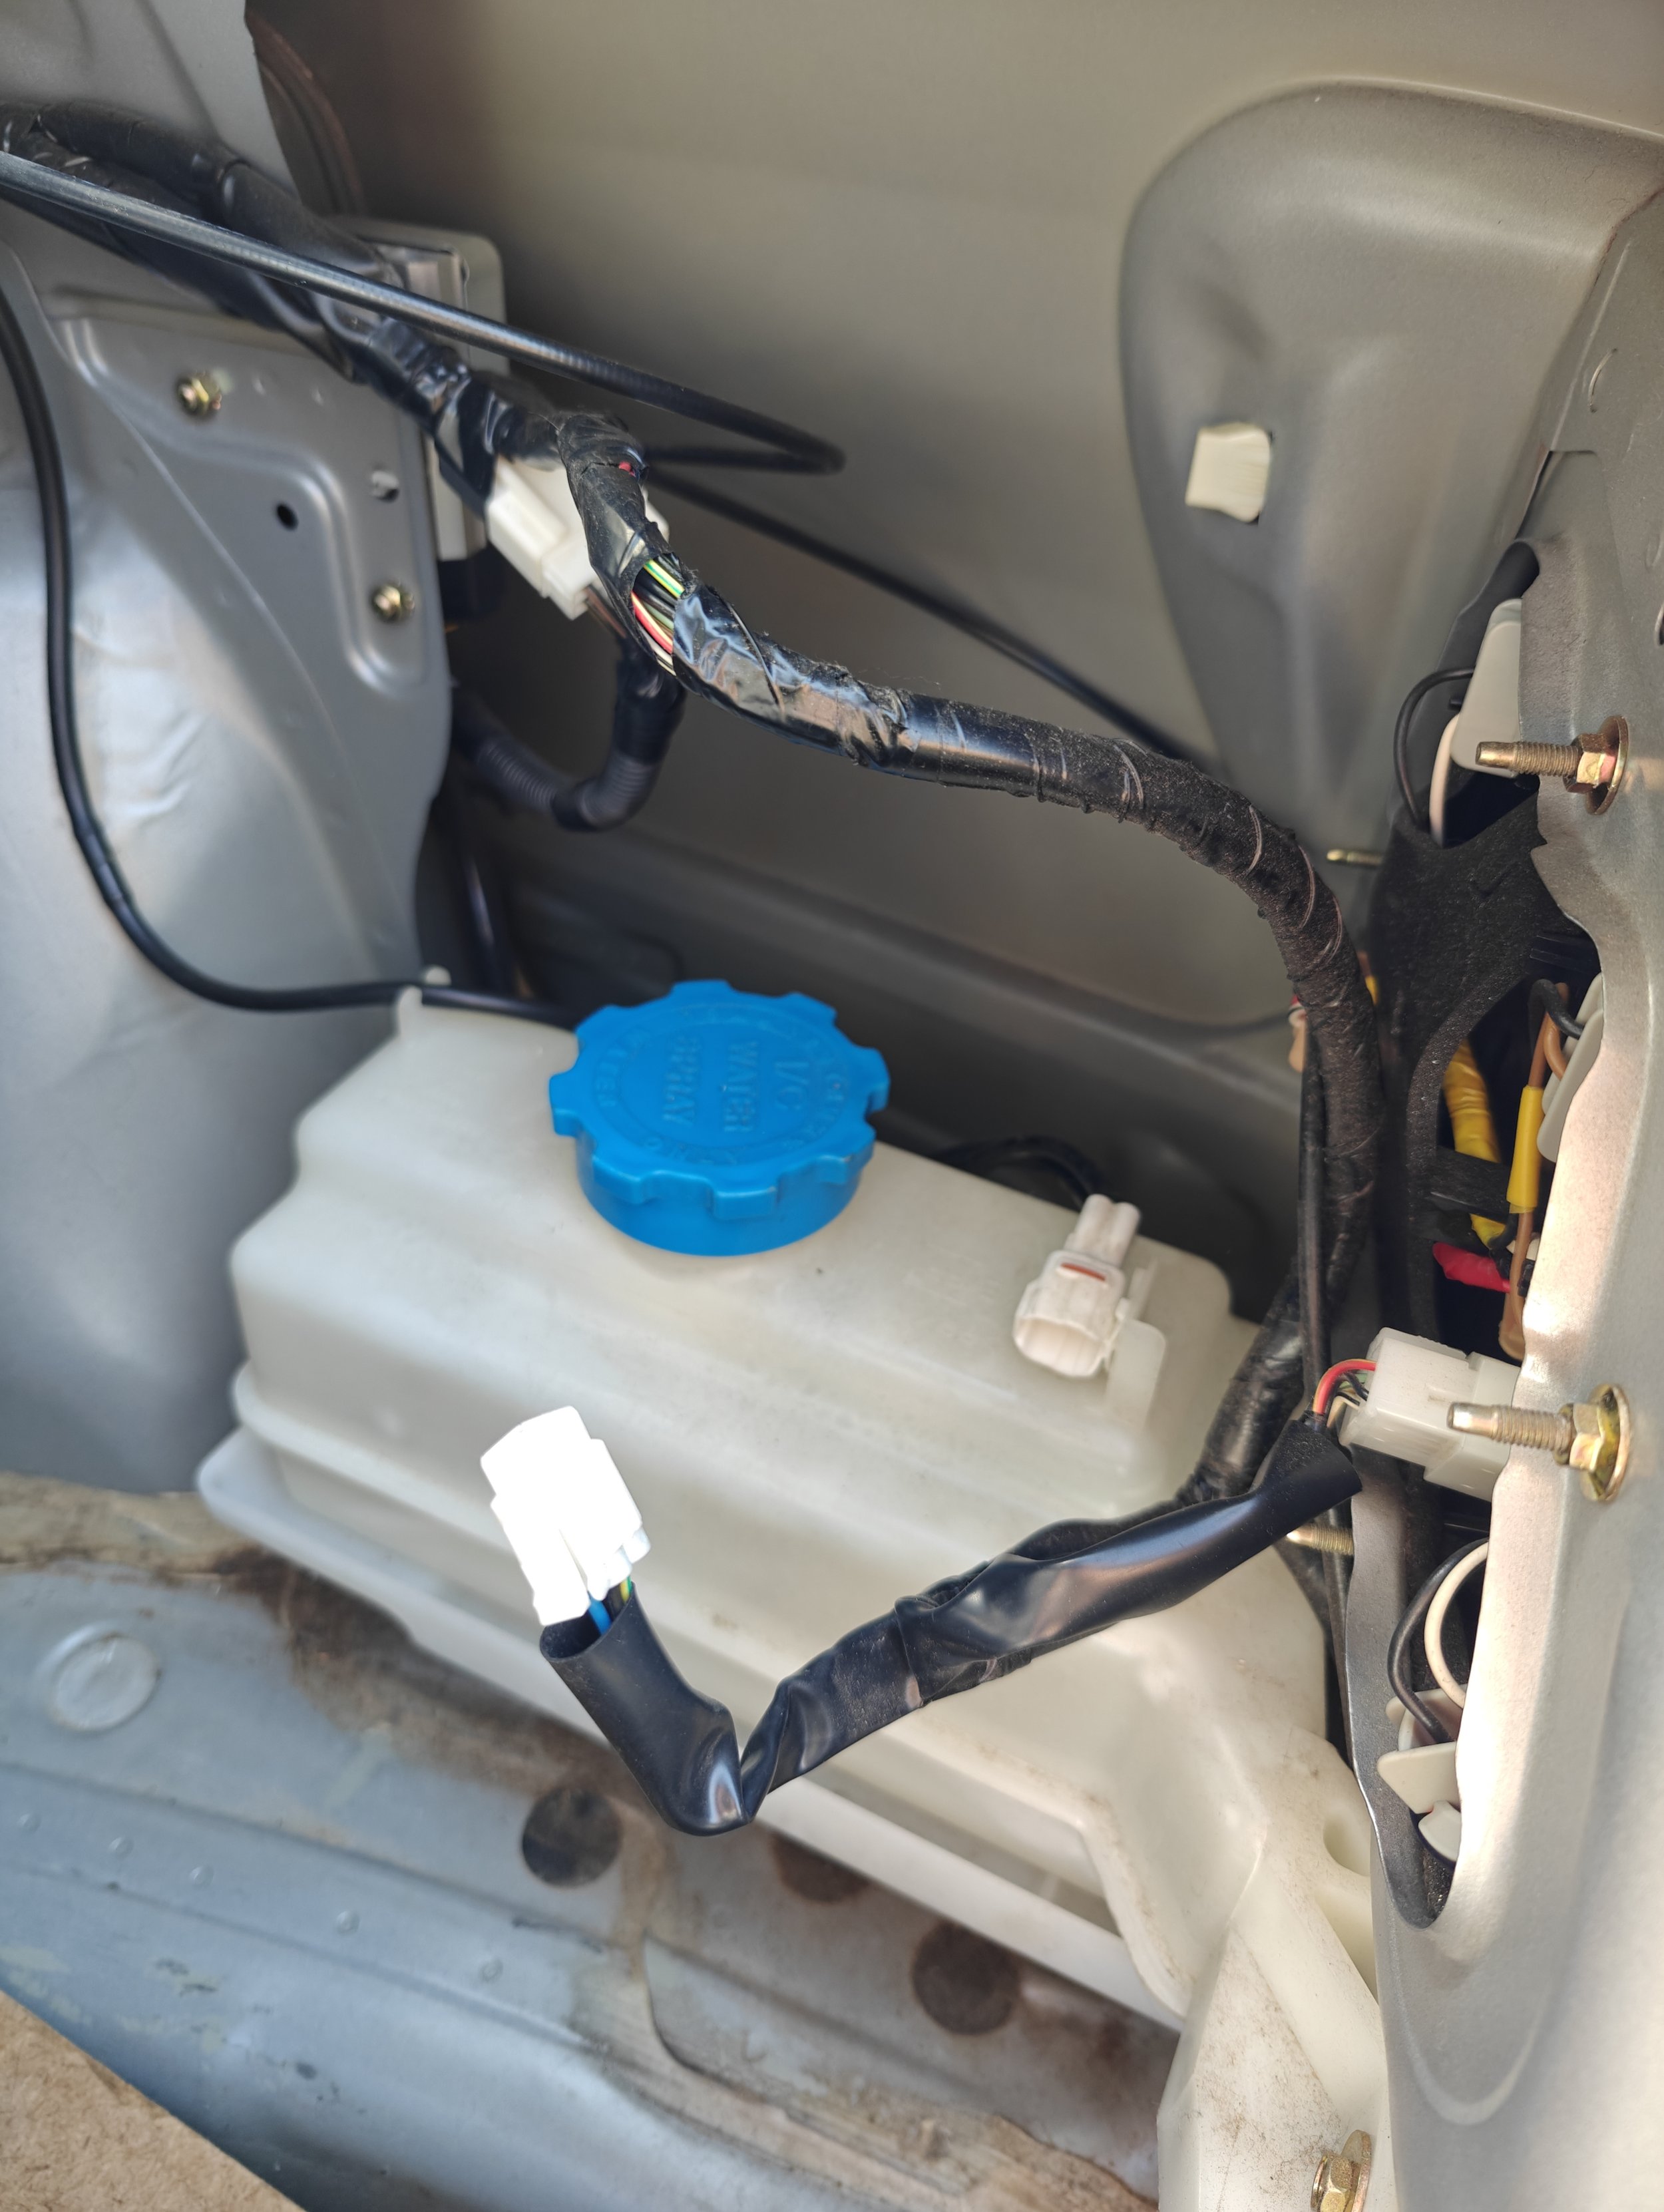
With everything removed you can now easily slide the 12L tank into the car and bolt it down. The hose that ran to the old tank will be visible above the 12L tank. There should be a connection point for the hose that you can attach to the 12L tank outlet hose.

Once the braces are removed you can install them on the car.

Up close look at the nuts that need to be removed to install the braces in the car.

When installing the Jspeed traction bar I installed the braces.

Now it is time to install the 12L tank. I have had the brackets lengthened to allow for clearance with the Yamaha damper bar.

Remove the nuts and brackets to ready it.

Slide the brackets over the support braces and thread on the nuts to hold it in place.

Once all the brackets are in place you can tighten them down.

Now that the 12l tank is mounted you can move to the wiring and hoses.
Having the 12L tank installed allows us to begin making a harness that runs from the 12L tank to the connection near the passenger tail light. You can choose to route in a couple of ways, you can follow the oem wiring and go up and around the passenger strut mount. You can also take a more direct path behind the trunk carpeting. As long as it is protected from sustaining damage your should be good. I utilized a piece of wire running from one end to the other, measured it with a tape measure and then cut four lengths of wire.

First up is measuring out the amount of wiring you will need.

Then you can get to soldering them together.

Using the crumping pliers you can add all the proper connectors and slide them into the connector housings.

Wiring is half routed and being tested for operation.
Utilizing your wiring tools we can crimp on our pins on. You can now move on to protecting those wires with sheathing to keep them safe. Doublecheck your pin placement and then attach them to your connectors.

The connection point for the tmic feed line can be removed from the bracket right here. Then you can find where the two hoses have a connector and disconnect the hose that used to run to the smaller tank.

You can now attached the hose on the 12L tank and test out your setup.
You can add water to your 12L tank and get ready to test the wiring and ability to send water to the tmic.
I will recommend that you test it just a couple of times. I made the mistake of letting my kid to press the button a few too many times and this made a lot more work for myself with the clutch. More about that at another time..
Congratulations! That wasn’t too bad was it? Now would be a great time to add the Auto sprayer button to really take advantage of the much larger capacity tmic tank and keep the heat soak away.
Amazon tool links
Part links