Diy: 03-05 Forester taillight install! Less chrome for your 06-08 Forester!
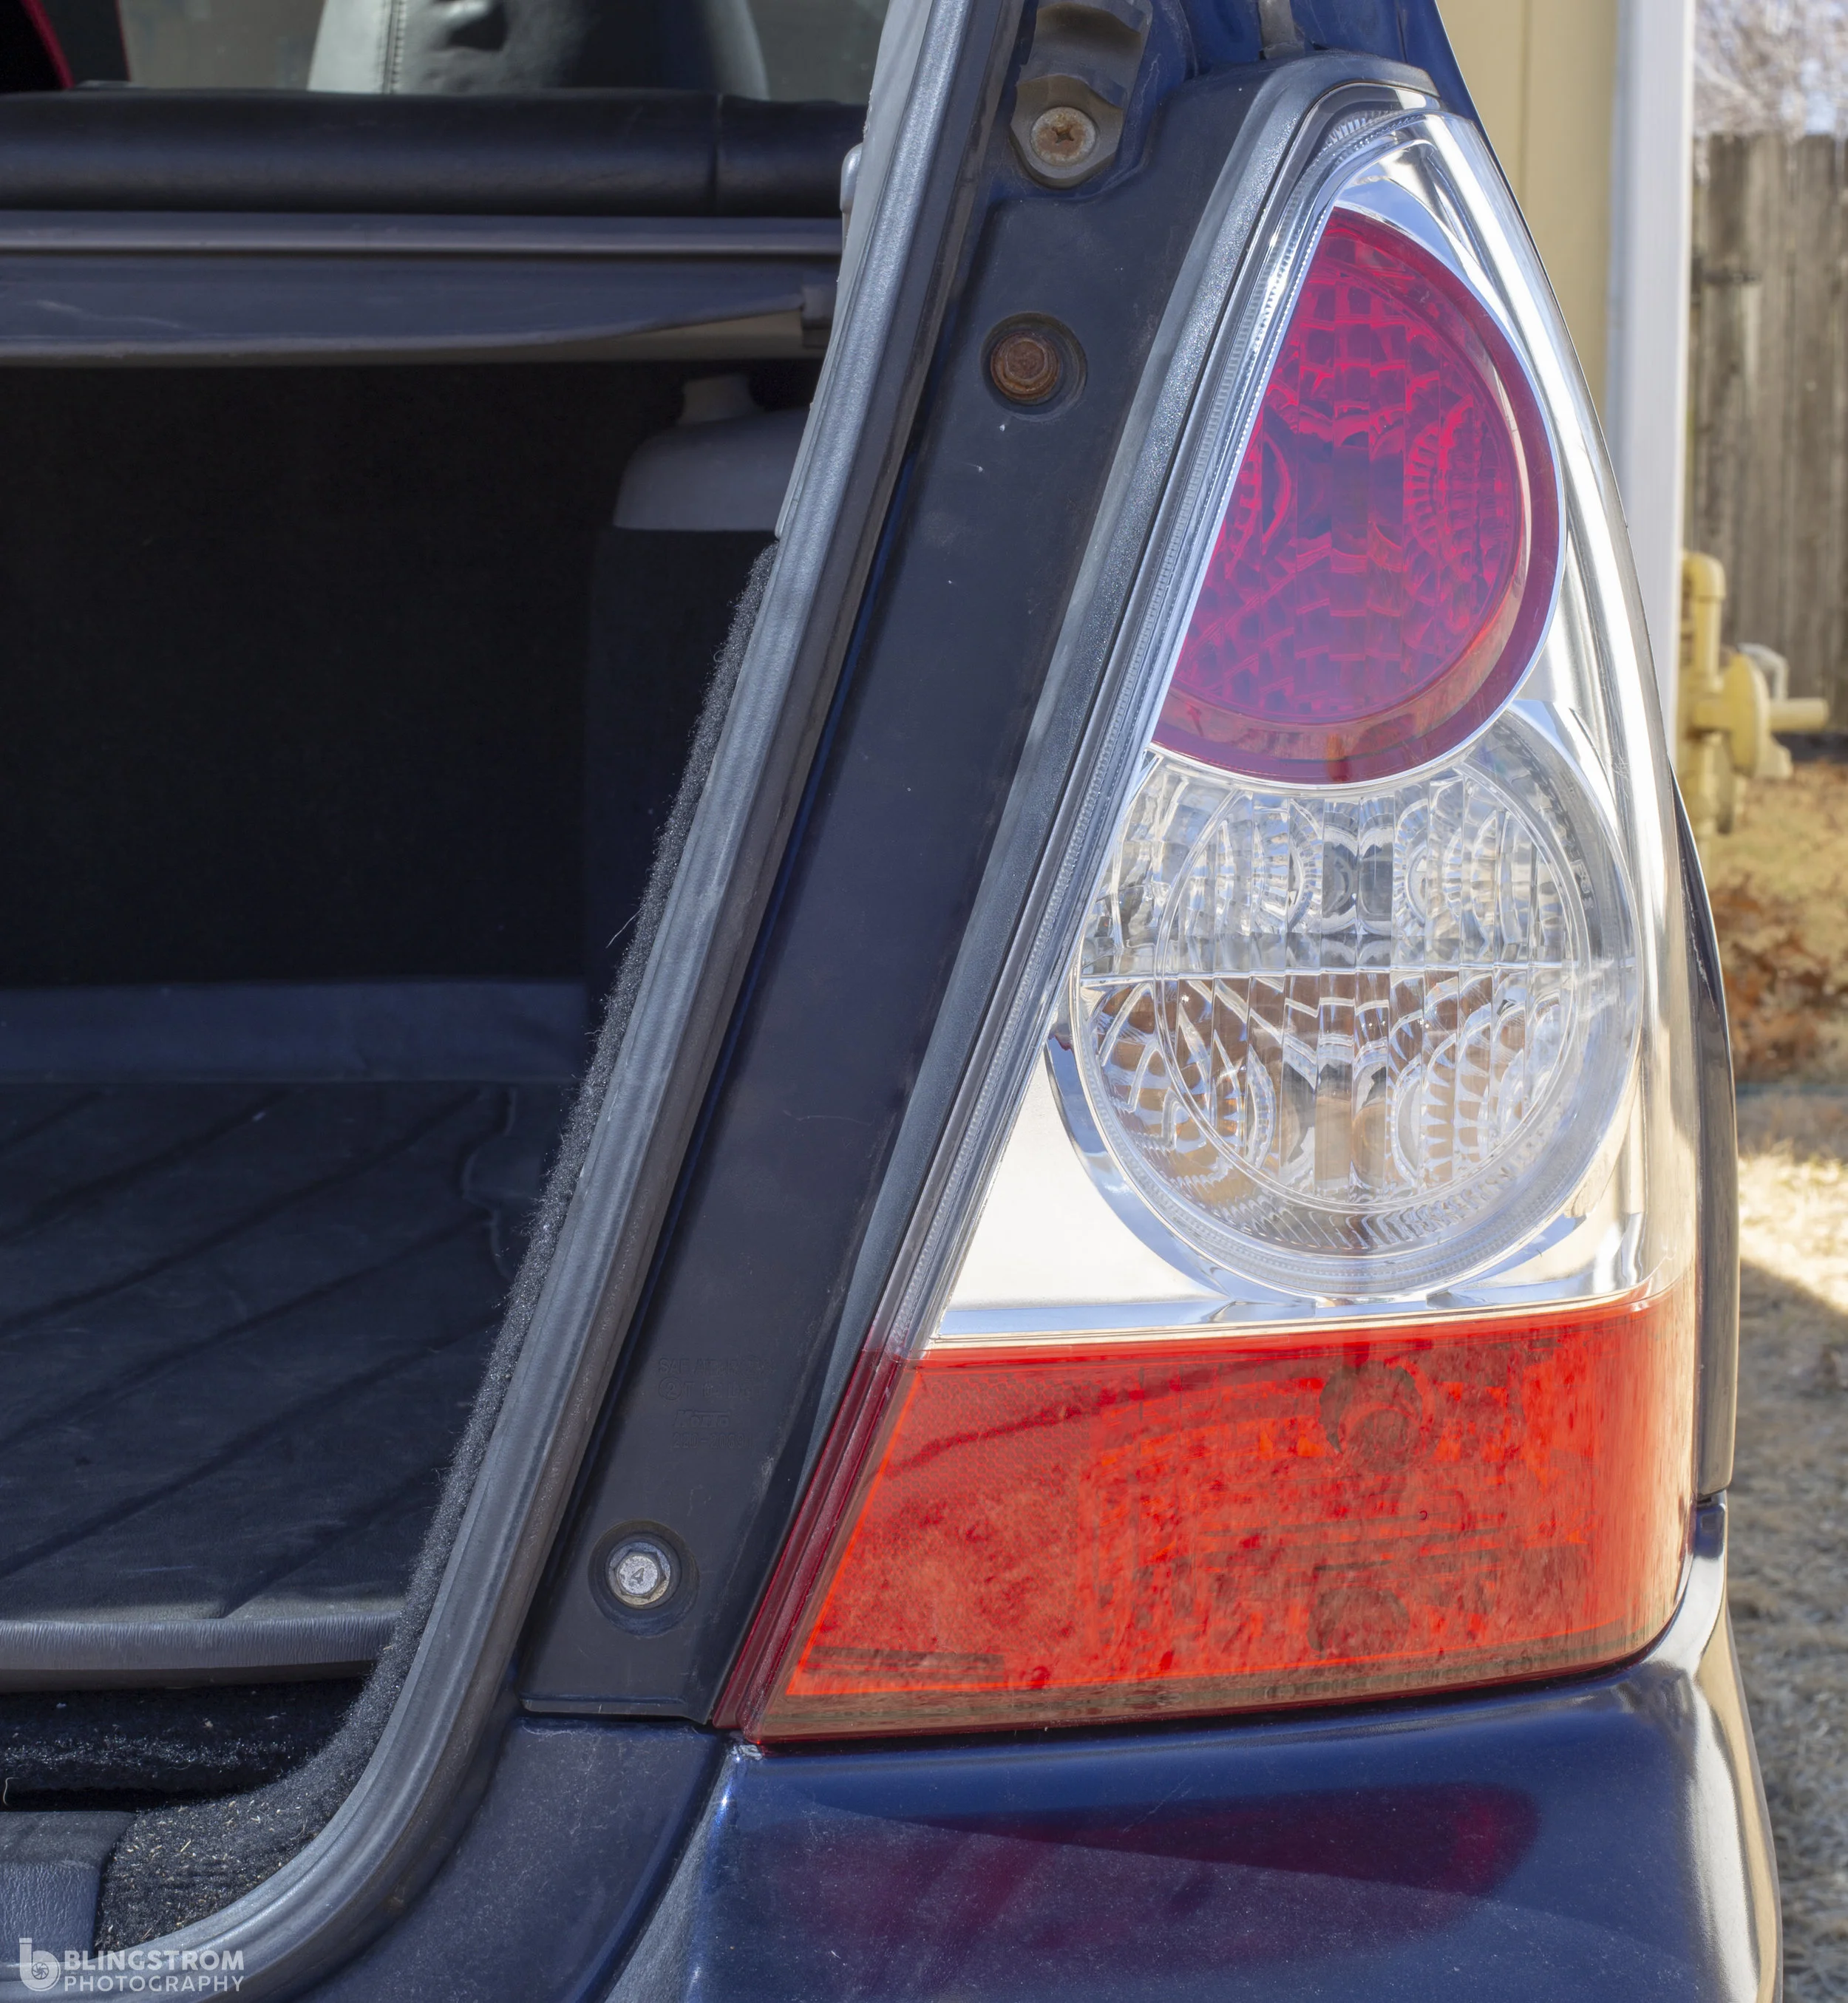
During model years car manufacturers will make slight upgrade changes to freshen up an old model. Some changes for the better and some for the worse. This is all comes down to your own personal preferences and what your vision is for your build. If you have ever wondered about my user name “Blingstrom” it is a little joke between my friends and my lack of interest in chrome/super shiny items with a twist on my last name. So when I purchased my Forester I knew they would have to replaced and I knew exactly what ones would replace them.
Altezza style lights have never been my personal taste…
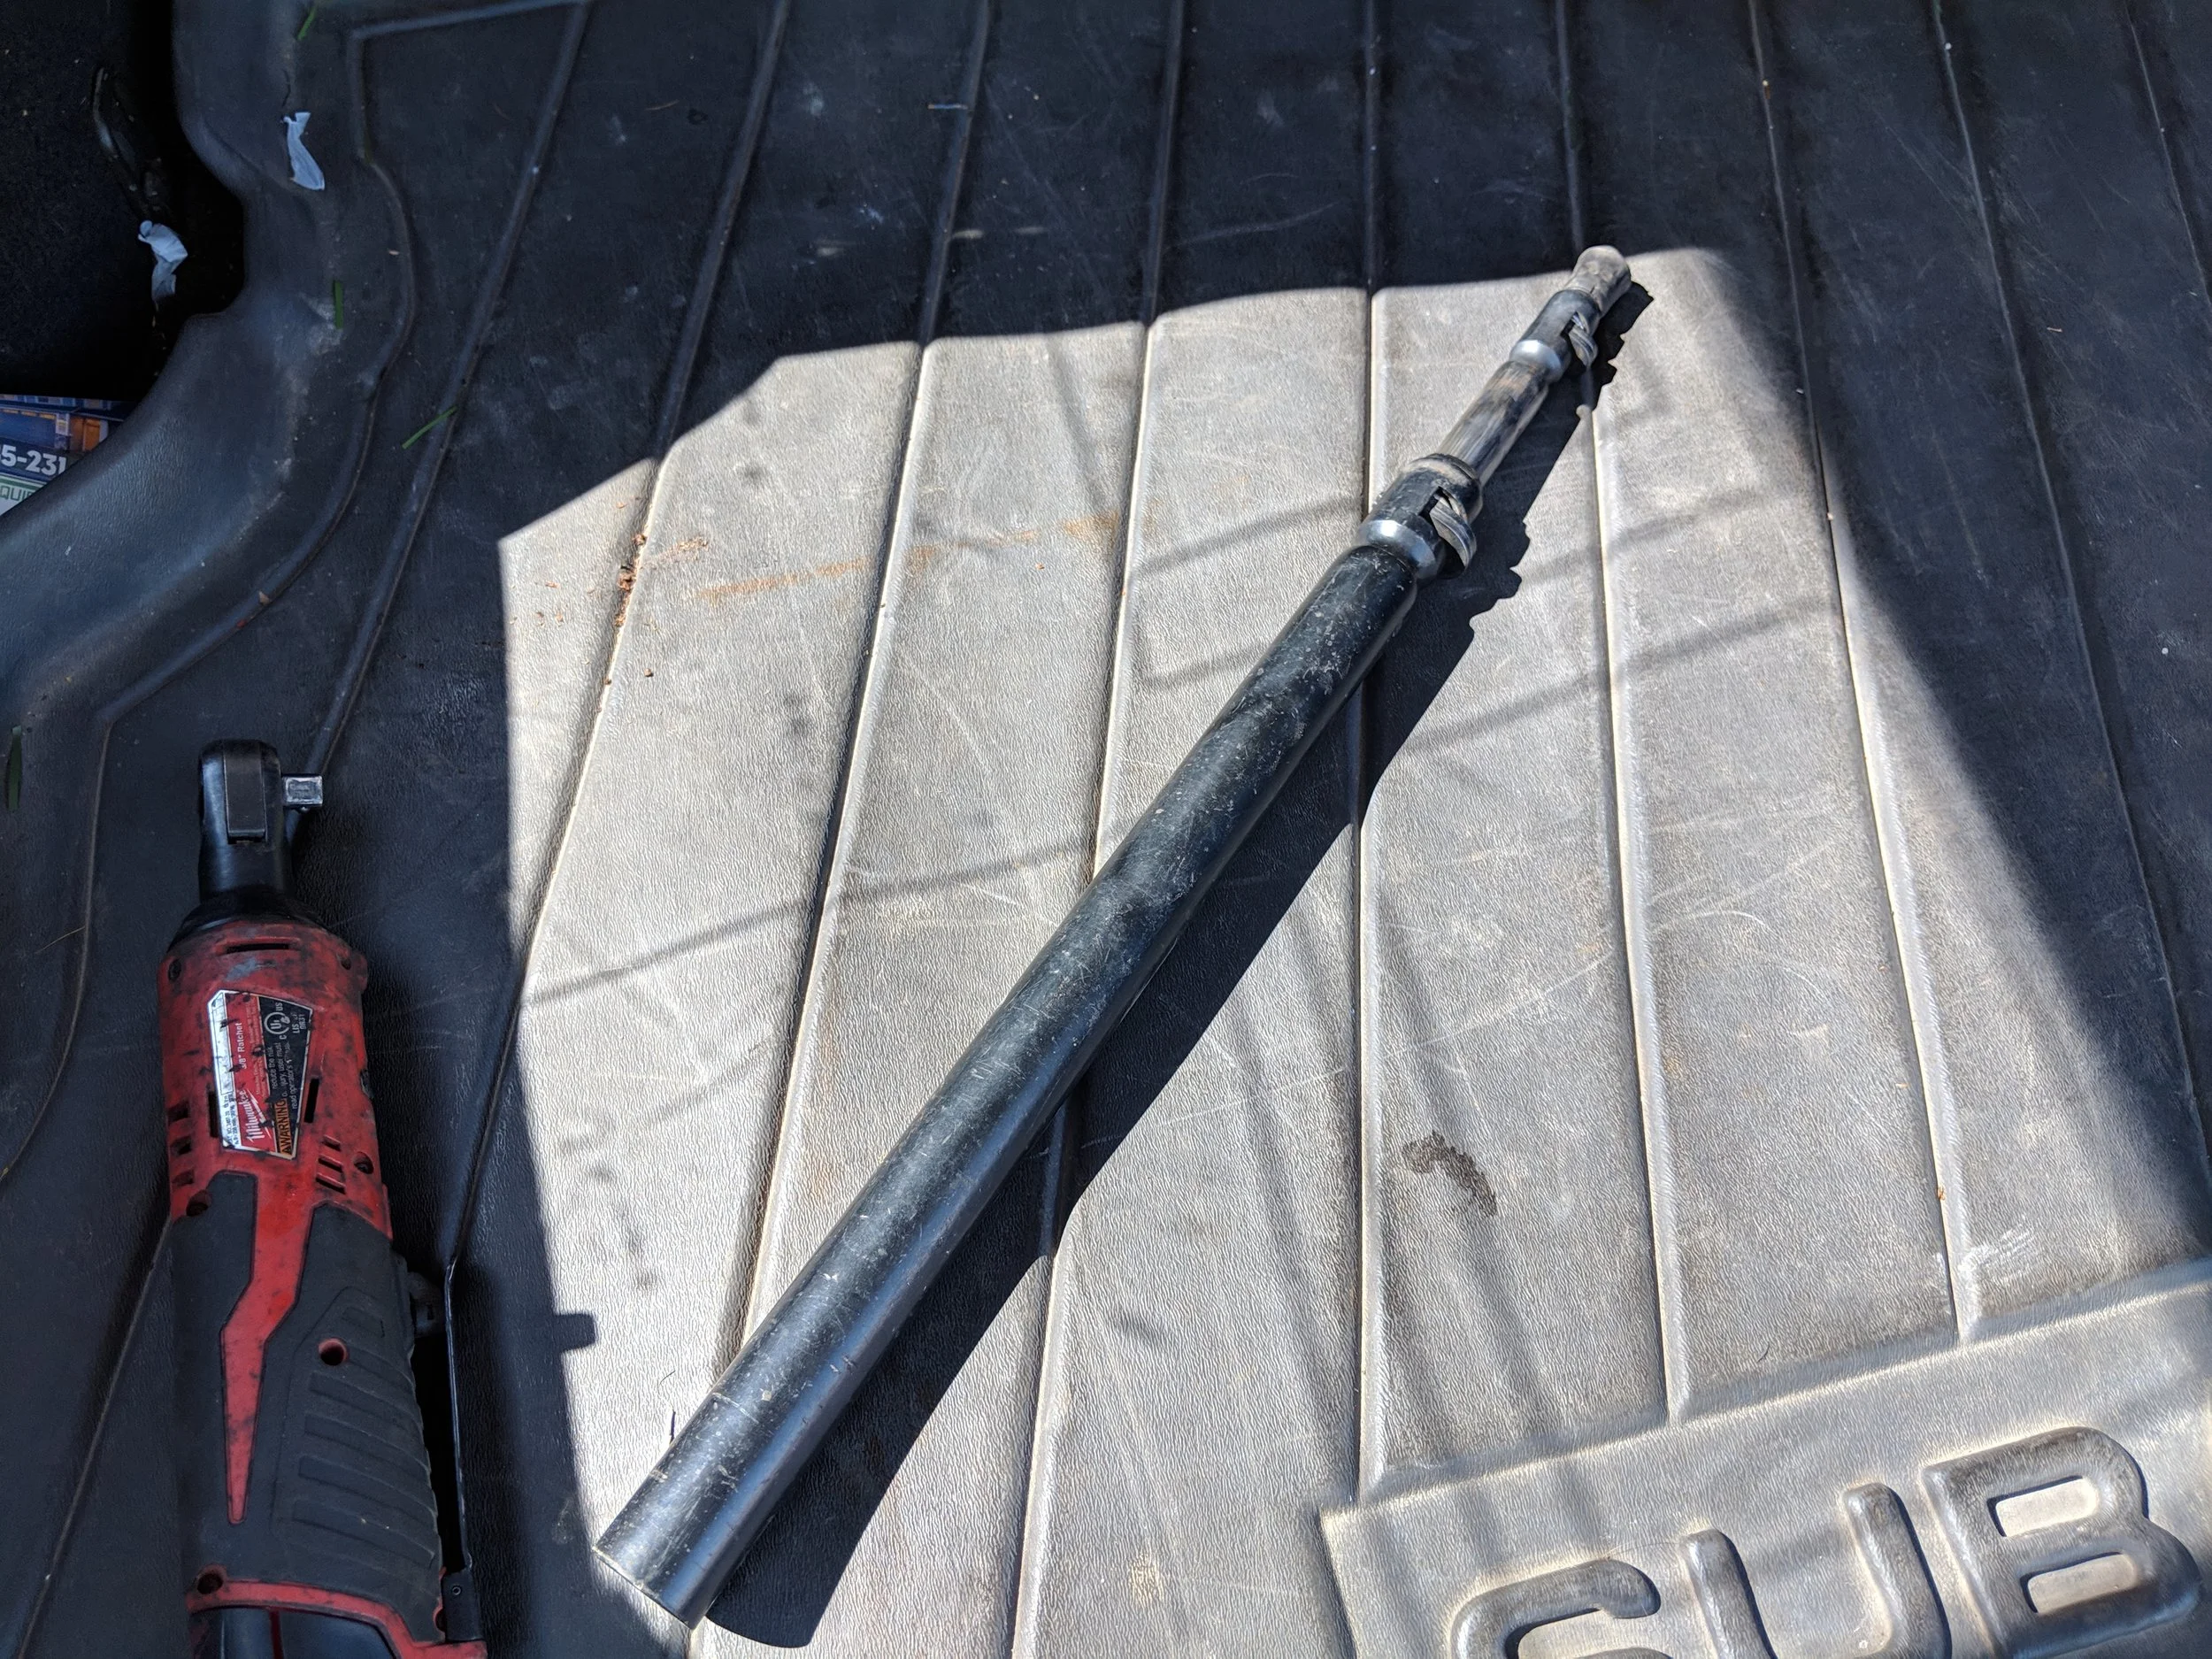
This Diy will need the following tools. A 10 mm socket and ratchet. To help keep your paint in good shape a panel/trim removal kit will make this much easier. I brought a few more tools for the job including my Milwaukee 3/8th Impact and 3/8th ratchet, any of these can do the job. If you are solo on this job and need a brake light checker you can use a standalone Lisle Hood prop tool or wedge a piece of something in between the seat and brake pedal.
Tools: Milwaukee electric ratchet, GP 10mm, 3/8 Impact, Panel tool , Armstrong ratchet.
Lisle Hood prop tool can make a two person job a one person job.
For step one we will unlock and lift the hatch up. This will expose the two bolts that hold each tail light to the vehicle.
Open up! It’s time for removal.
Two 10 mm bolts are the only fasteners here.
When you have both of those out you will take your panel tools and wedge them in between the car and tail light. There are three small tabs that clip the taillight into the vehicle. Be very careful with these! They will easily break when you breath near them.
Using your plastic panel tool here will keep save your paint! Be careful when prying it out as the three plastic prongs will break for absolutely no reason.
Once the taillight is out you will undo the four light bulb pigtails that twist and hold the lights in. Take care not to touch the bulbs as your hand oil can cause the premature bulb failure.
03-05 Forester tail light shown with bulbs installed.
Now you will notice that the bulbs do not swap right over. The order of the bulbs is different and if you don’t have a helper or friend it can be a bit difficult on your own. Using a hood prop tool you can use it to show if your brake lights are working properly.
Bulbs next to their locations on the 03-05 taillight. Bulb links here Turn signal bulb 7440A Brake lights 7443 bulb Reverse light 921 bulb
The order difference and location is shown below.
The reverse light and turn signal swap places in between the two tail lights.
With all the bulbs in the correct order lets put this back together. We can now double check that our bulbs are working. By turning the key to the on position you can put the headlights on and light up the taillights. With the ebrake engaged and a wheel chock in place you can put the car in reverse to light it up also.
Brake lights and reverse lights illuminated. Reverse light 921 bulb Brake lights 7443 bulb
Taillights on and turn signal on. Taillights 7443 bulb Turn signal bulb 7440A
Snapping the taillight back into the prongs gets it started and running in the bolts will have it all completed.
Ready to roll!
Now everything is completed and you can head out to favorite local spot and take a few pics for your build thread or Instagram! Or to your local cars and coffee to show off your almost unnoticeable change!
Maybe someone will notice…. one day!


