Maintenance: 03-08 Forester Cabin Air filter. Helping you breath easier within your Forester.
Maintenance…. It is often overlooked and put off to another day. There are plenty of other fun projects to take on but sometimes it just needs to get done. . Many newer Subarus like our 2012 Impreza can easily be accesed by pulling the glove box out of it’s hinges. 2002-2007 Impreza’s and 04-08 Forester’s have cabin air filters that are hidden behind the glove box but not like many newer Subarus and other Japanese car makers and you must unscrew 9 screws to get to it. So let us find out just how difficult it is to swap out.
Did you even know this existed in your Forester? Open your driver’s door and it is on the side of the dashboard to find this cabin filter warning label.
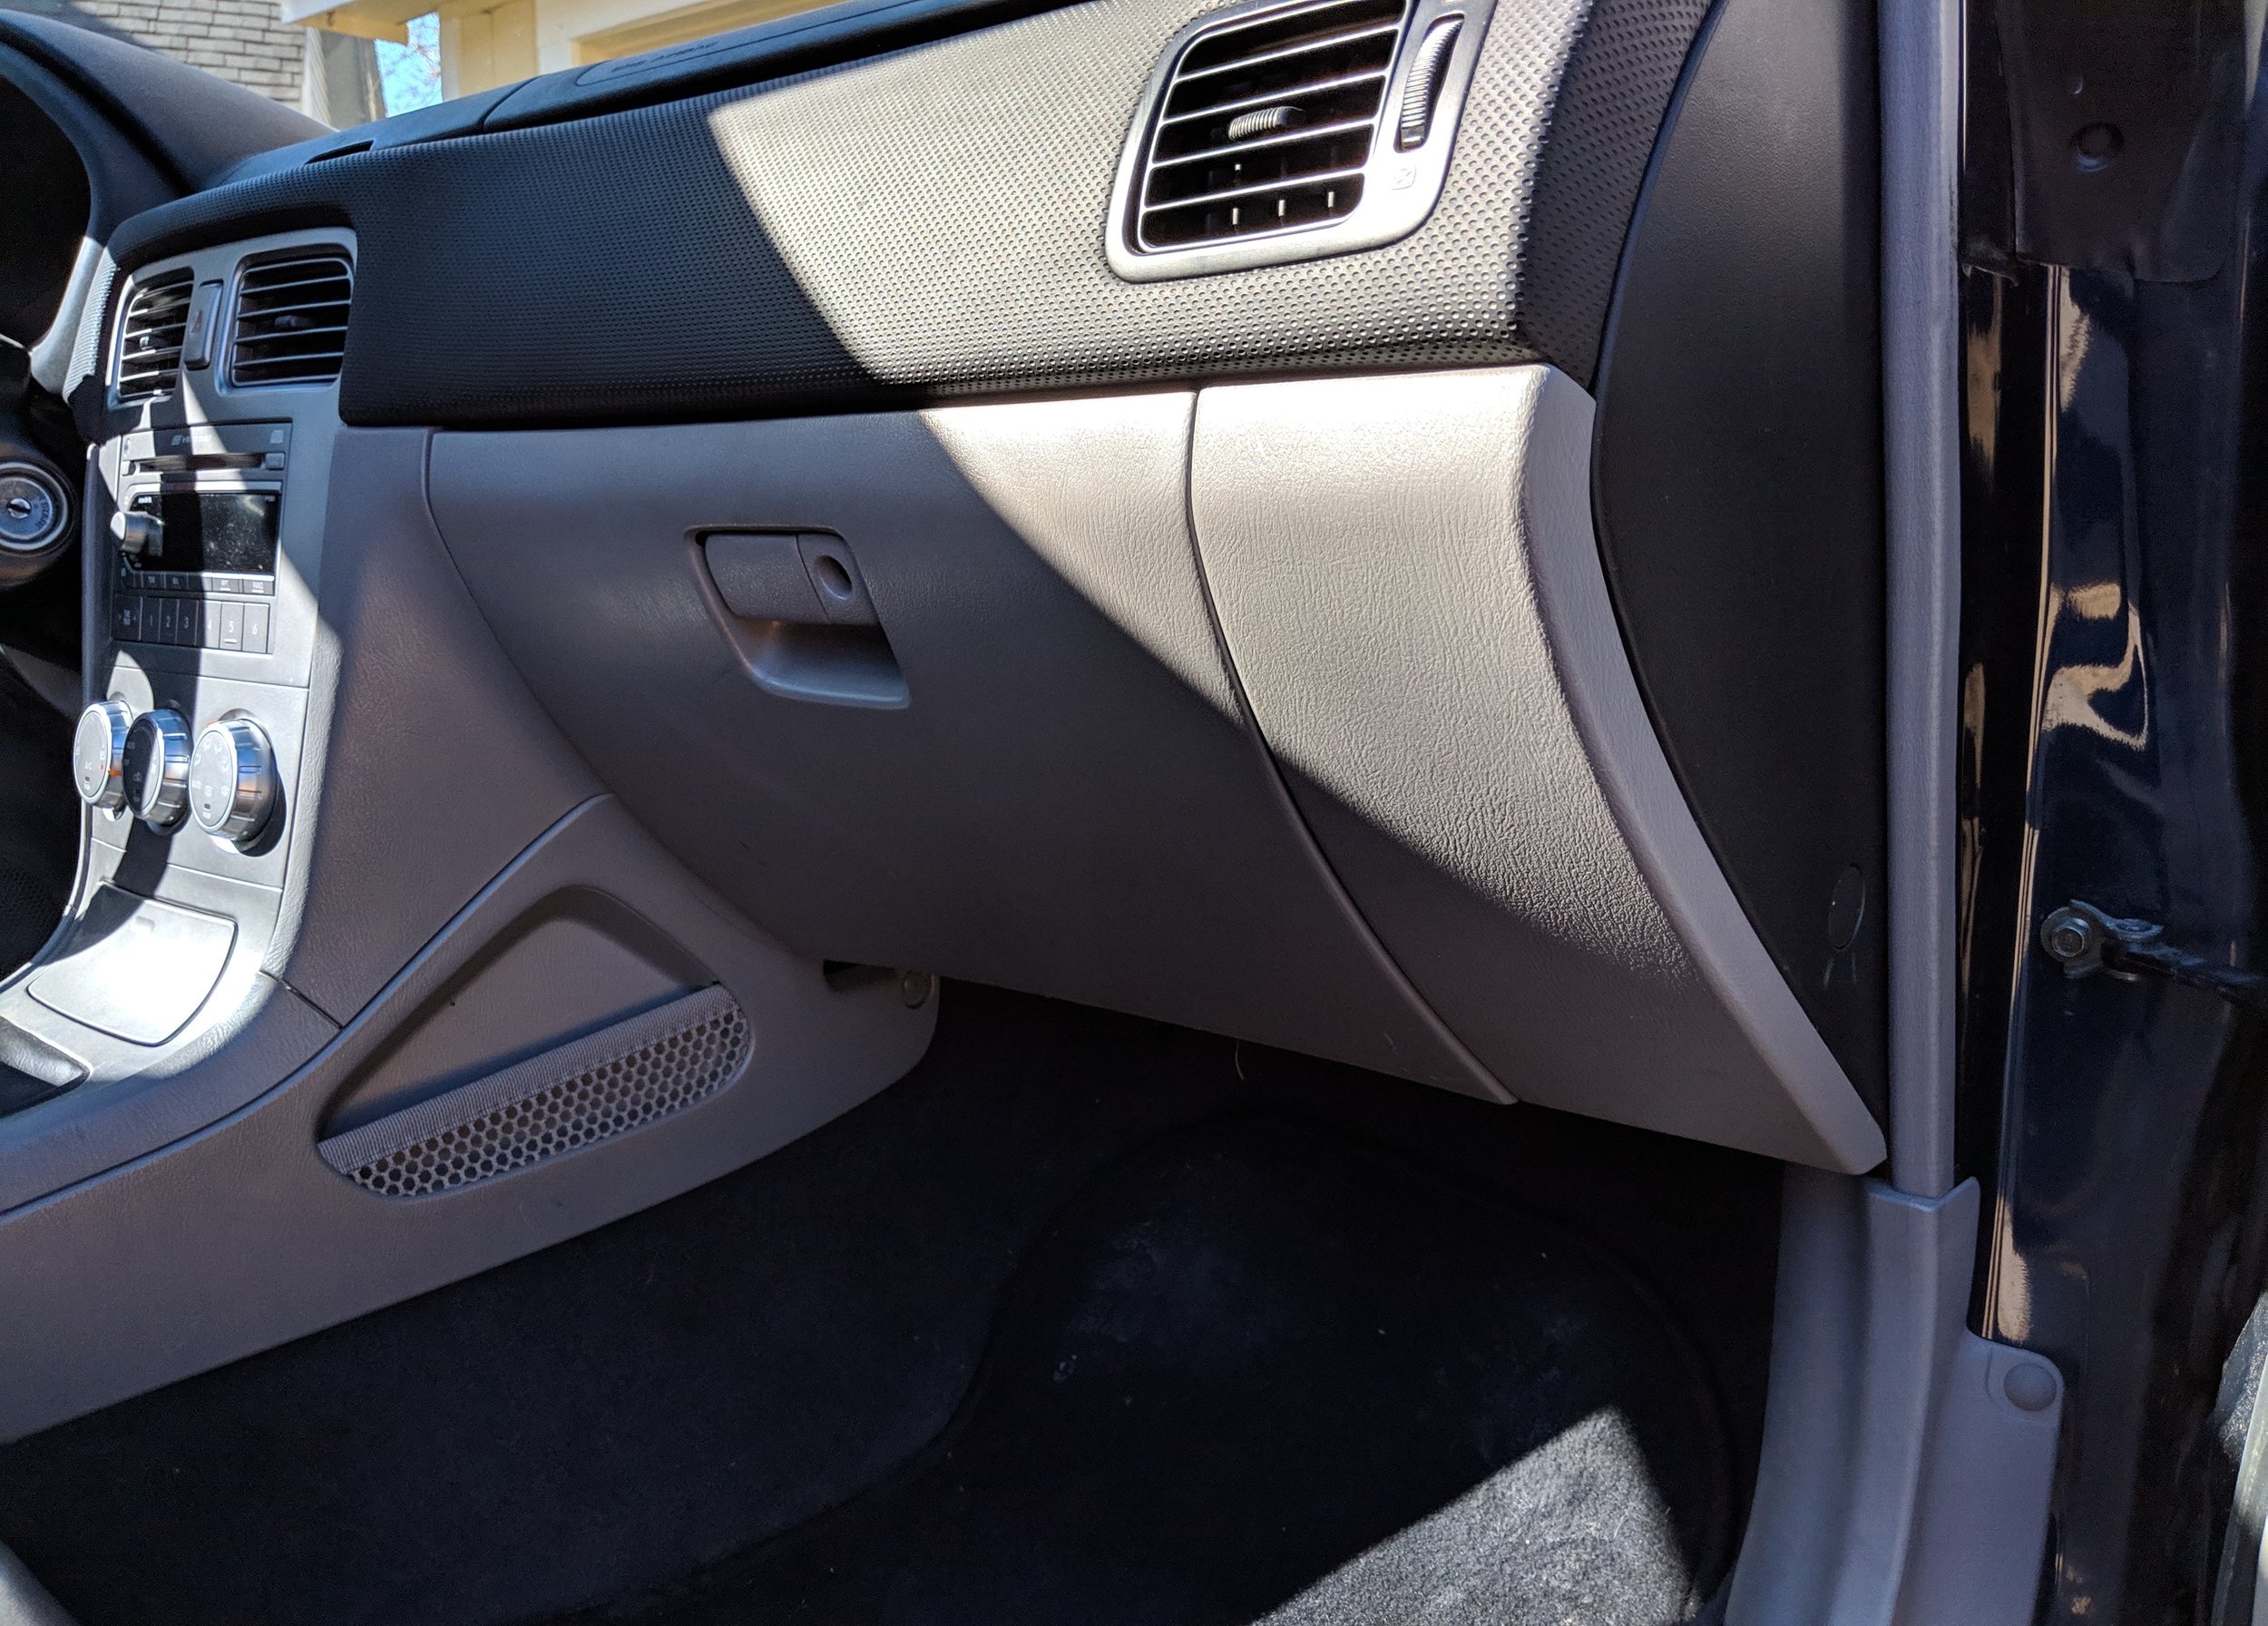
Here is where we began this project on the passenger side of the car.
Tools necessary are a Phillips screwdriver. And a….. well that is all. Unless you are fearful on what lies beneath your glove box like the incredibly filthy cabin filter that came out of my Forester.
Parts needed will be a filter TYC Forester cabin air filter 03-08 Subaru Forester Oem filter 03-08 Denso cabin air filter Pick your favorite and lets get to work!
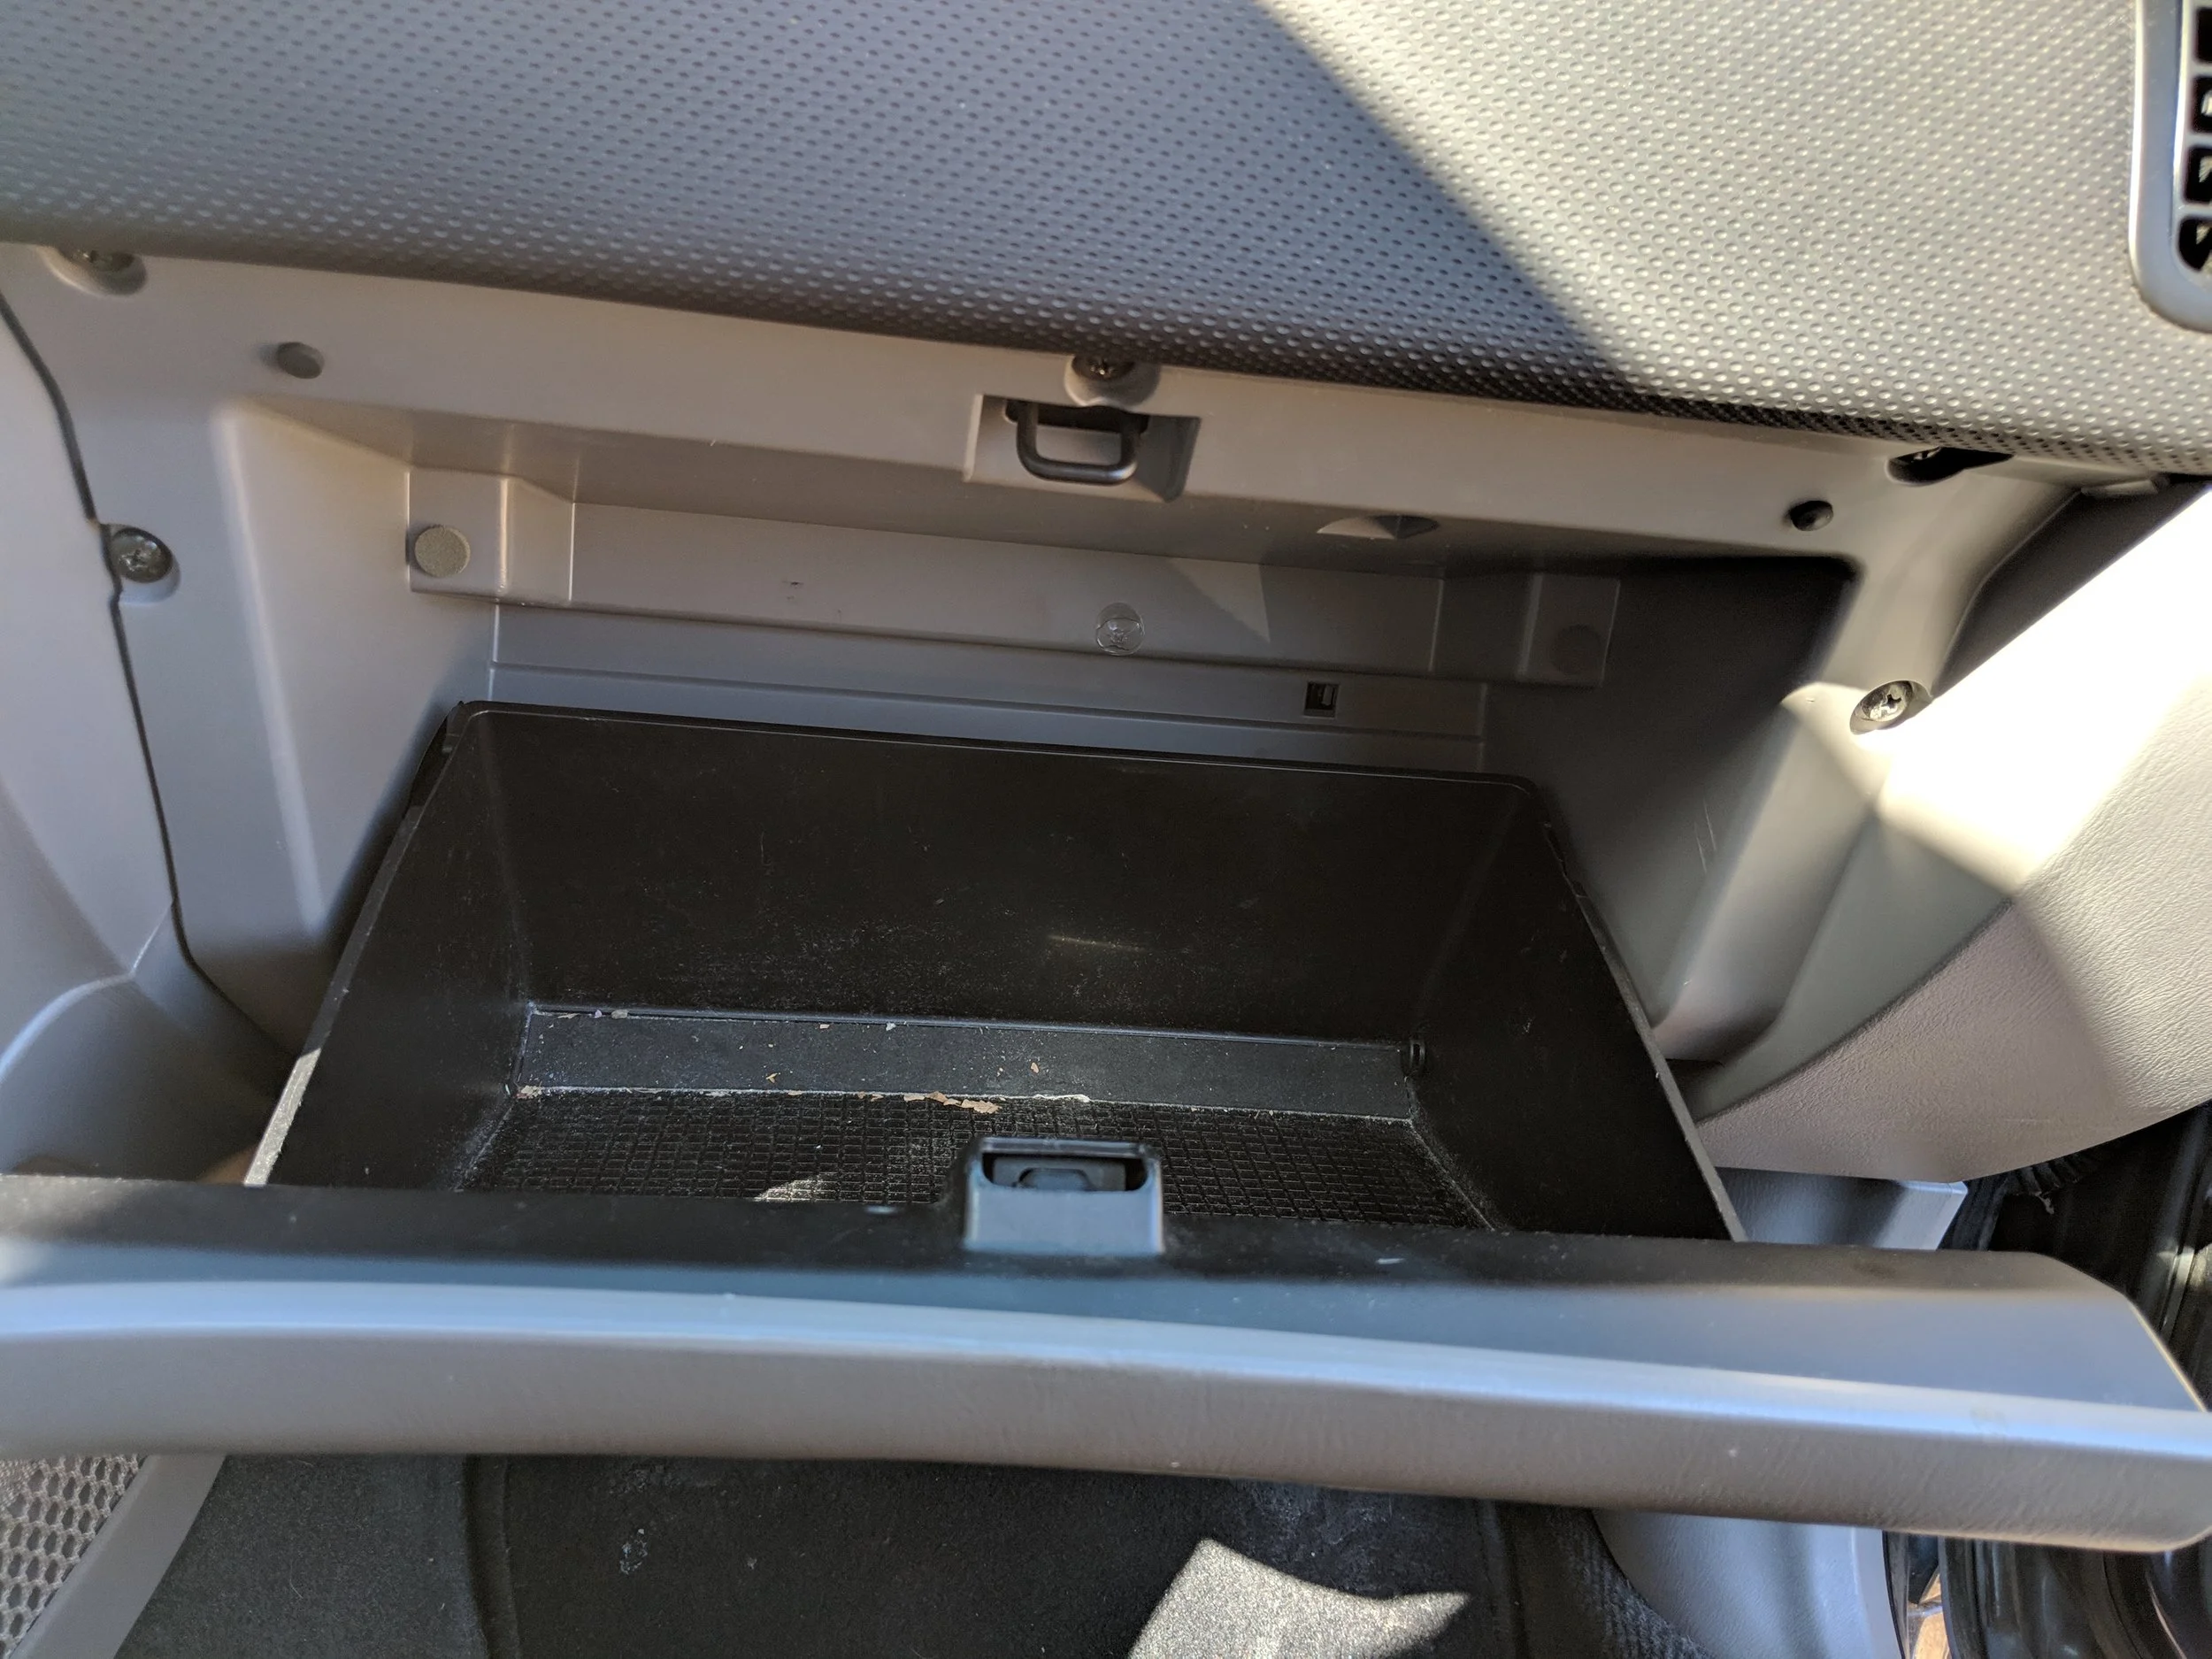
We will start this project by getting into the passenger side of the car and opening up the glove box. Now looking around the outside edges we will see screws. Beneath the glove box lie five more screws. Start with any of them and slowly work your way around the entire glove box holder.
Open wide! Surrounding the inside of the glove box are three screws along the top and two on the side.
Here are two of the lower screws that hold it in.
Screws out! what is next?
Once you have removed all the screws the glove box surround will become loose. There are two snap clips that hold it in. Using a small amount of force you will find it unsnaps and is now free. You can now set it aside and see the blower motor and air box that houses the cabin filter.
One clip location near the top of the glove box.
Lower clip just hanging on. With this released it will now tumble onto you if you are in the way or into your foot well.
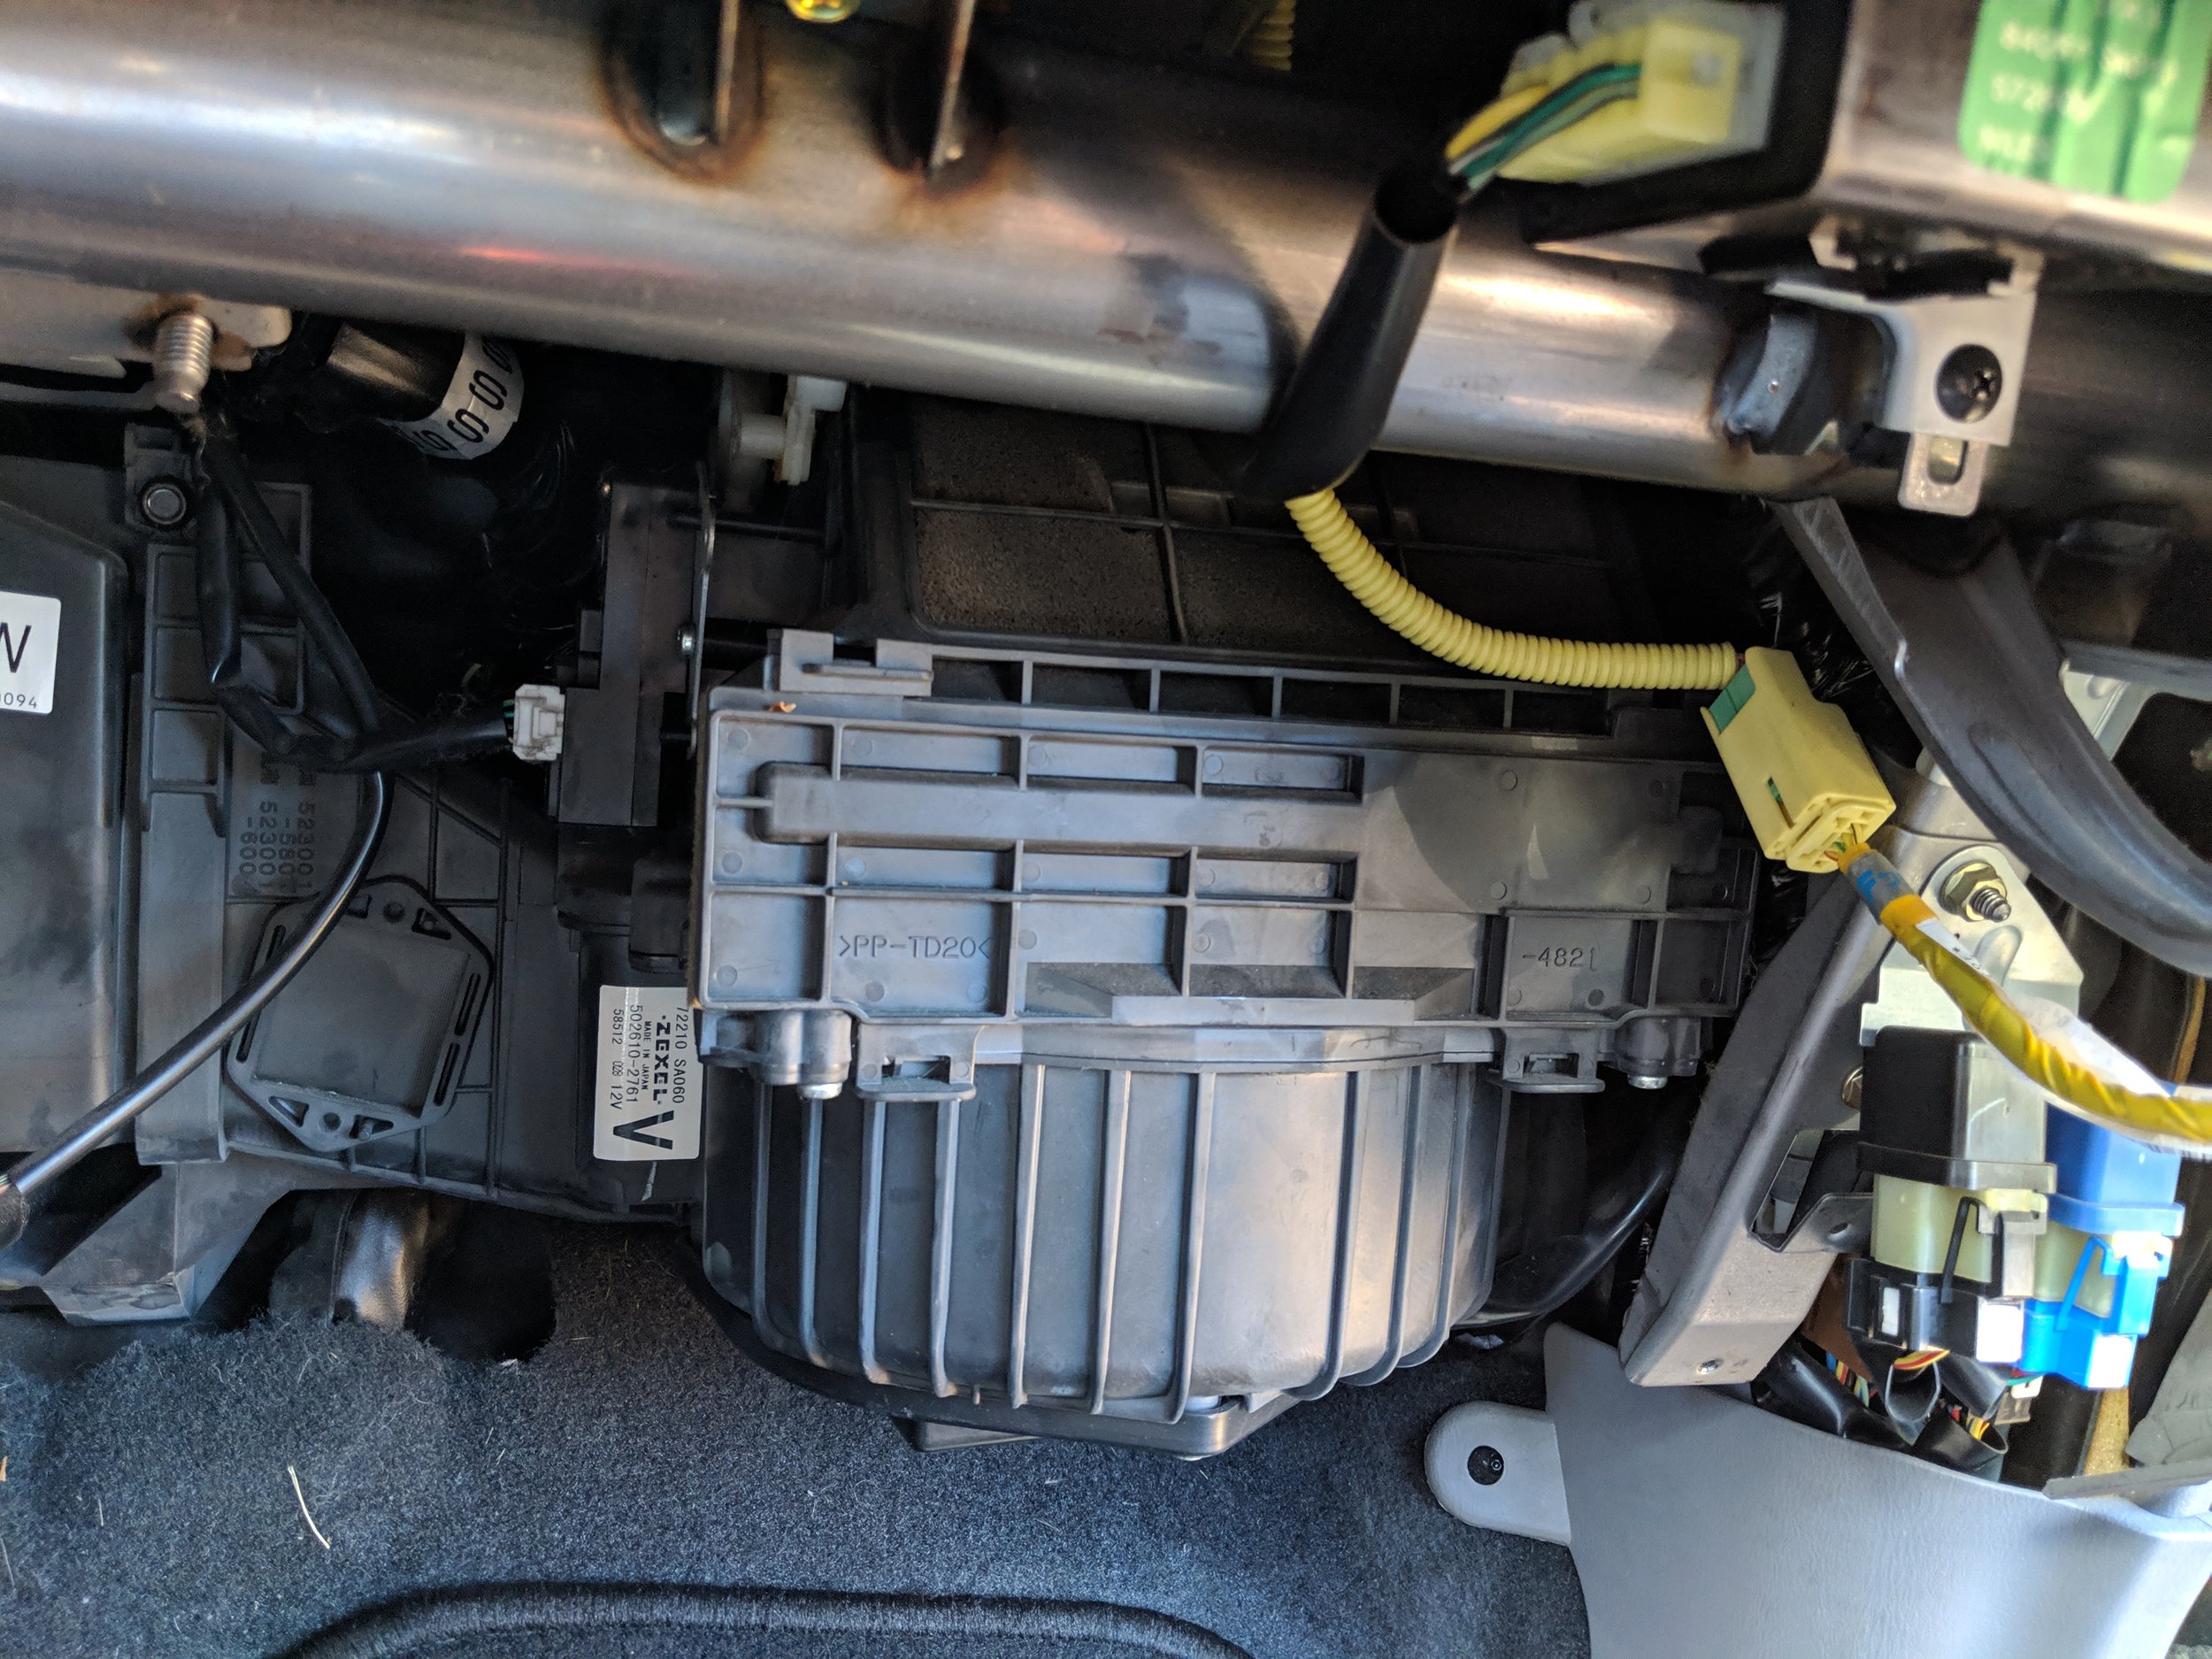
As the glove box and surround come down you will finally be able to see the cabin filter location and panel for removal. You can now set the glove box out of the way till you need it again.
Here is your destination! That front cover holds the cabin filter in.
With the cover off, there is the air filter.
This is my ridiculous cabin filter from the first week of owning my Forester. I am 99% sure it was never changed over the 196k miles before I bought the car.
Before and after… So bad. TYC Forester cabin air filter
Today’s replacement wasn’t as bad. Your replacement time frame should be 30k miles or 2 years, whichever comes first. Mine is over 3 years old. TYC Forester cabin air filter
Sliding out the cartridge will shine some light on your filter that may still be the original… This seemed to be the case with my 196k mile filter. Now with the new filter ready for installation double check that nothing fell into the fan. It could damage the fan if it is a large enough item or more likely make a lot of noise when the fan is on.
The up arrow lets you know it is in correctly. Slides in and out without much force.
With the filter installed and the cover snapped back on. This is a good time to turn the car on and start the fan to make sure there is nothing in the fan. If you here any noises during operation turn the fan off, car off and take a look inside the fan once it stops spinning. Now you can wrestle with the glove box and holder to snap it into place
Just hanging on. Ready to snap into place and finish it up.
After snapping it into place continue around the glove box putting the screws back in. This will finish everything up. Everything is completed and you may now breath easy(ier). Remembering to check it again at the next maintenance schedule to keep it clean. Which allows for easier air flow to cool or heat you quicker.
Questions, comments, thoughts? Leave them below!
Amazon links:
03-08 Subaru Forester Oem filter


