Ej25 Sohc Subaru timing belt guide! Keep adding miles to that motor!
That dreaded service we all try to skirt, the timing belt. Being a costly repair that some of us may not feel up to the task, you can drop it off at your local dealership and pick your car up later. The other option being to tackle it yourself, which can be a bit intimidating. In this guide we will take a look at what to do and what not to do.

How hard can it be… lets find out.
Today’s guide was performed on a car where only the timing belt was replaced. We will go over the components that are likely to be replaced during this. As with many repairs, there are many ways to complete it and use your best judgement to choose the repair that fits your needs
Time frame
My first timing belt install took right at two hours This was a extremely slow and careful install to make sure there were no surprises afterwards. You can easily shave an hour off this if you get the hang of it. Add an extra 45 minutes for replacing pulleys and the water pump.
Tools
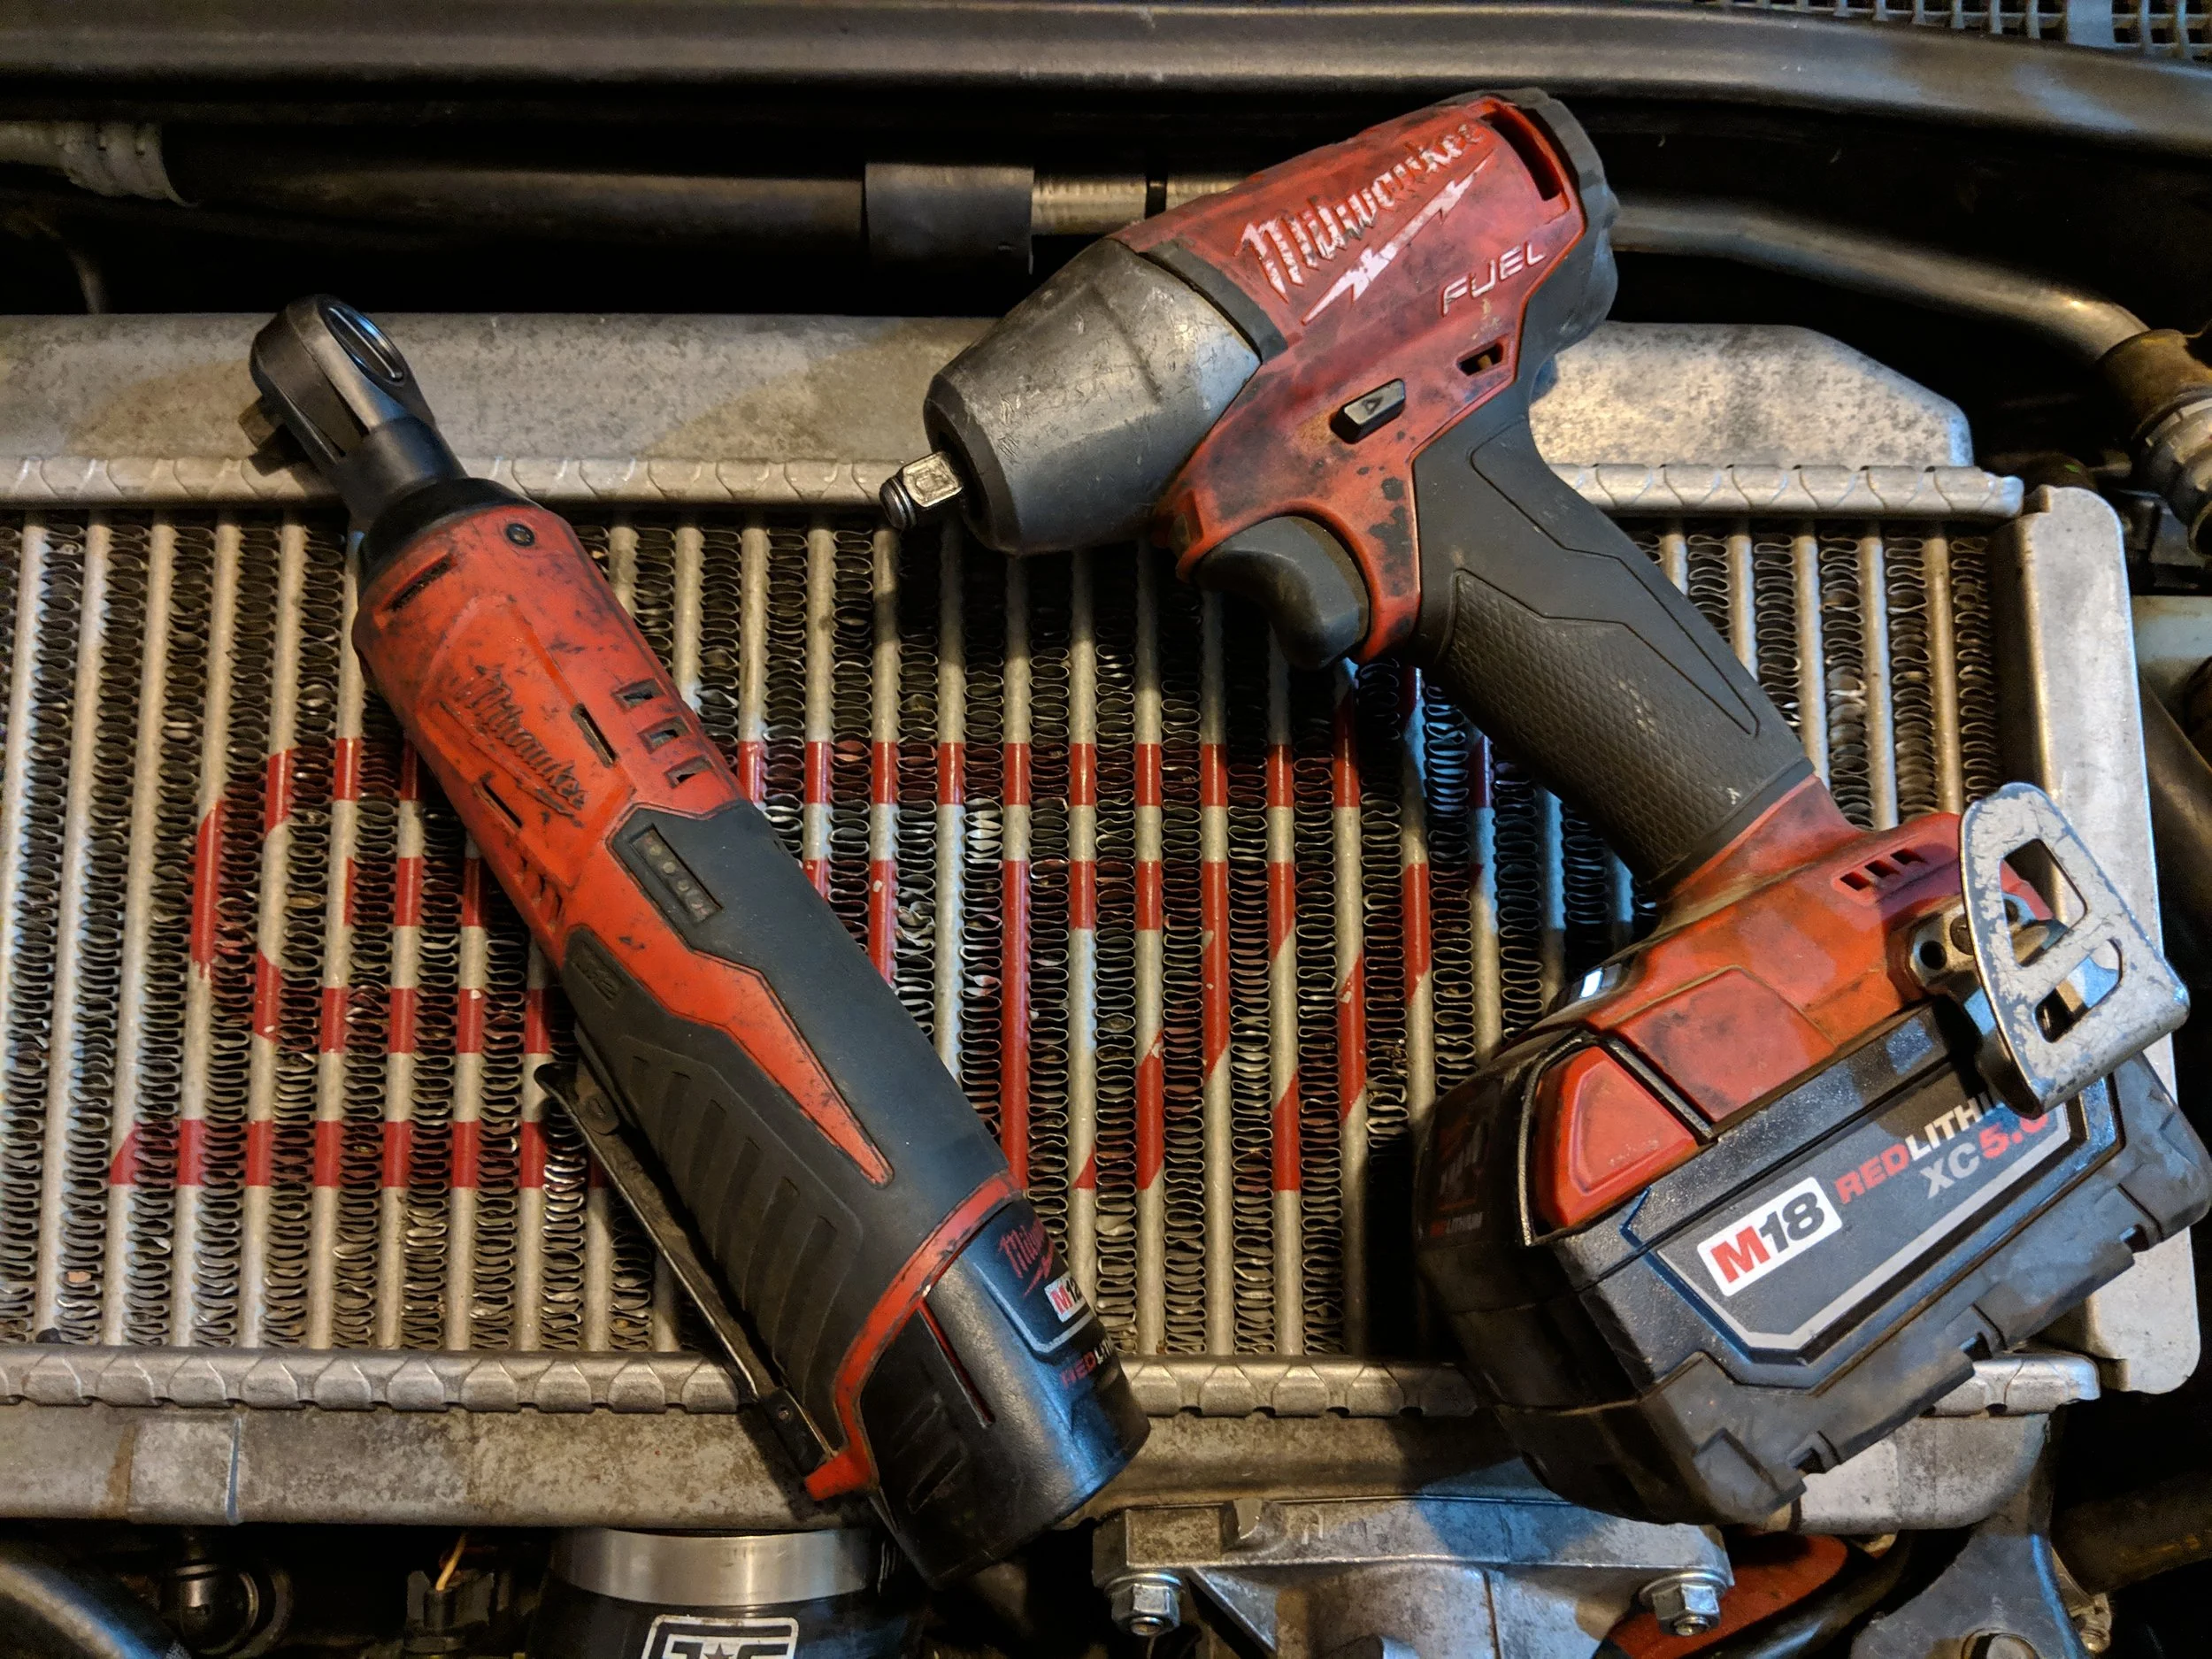
Grey Pneumatic 3/8th socket set Gearwrench 3/8ths ratchet Grey pnuematic wobble socket set
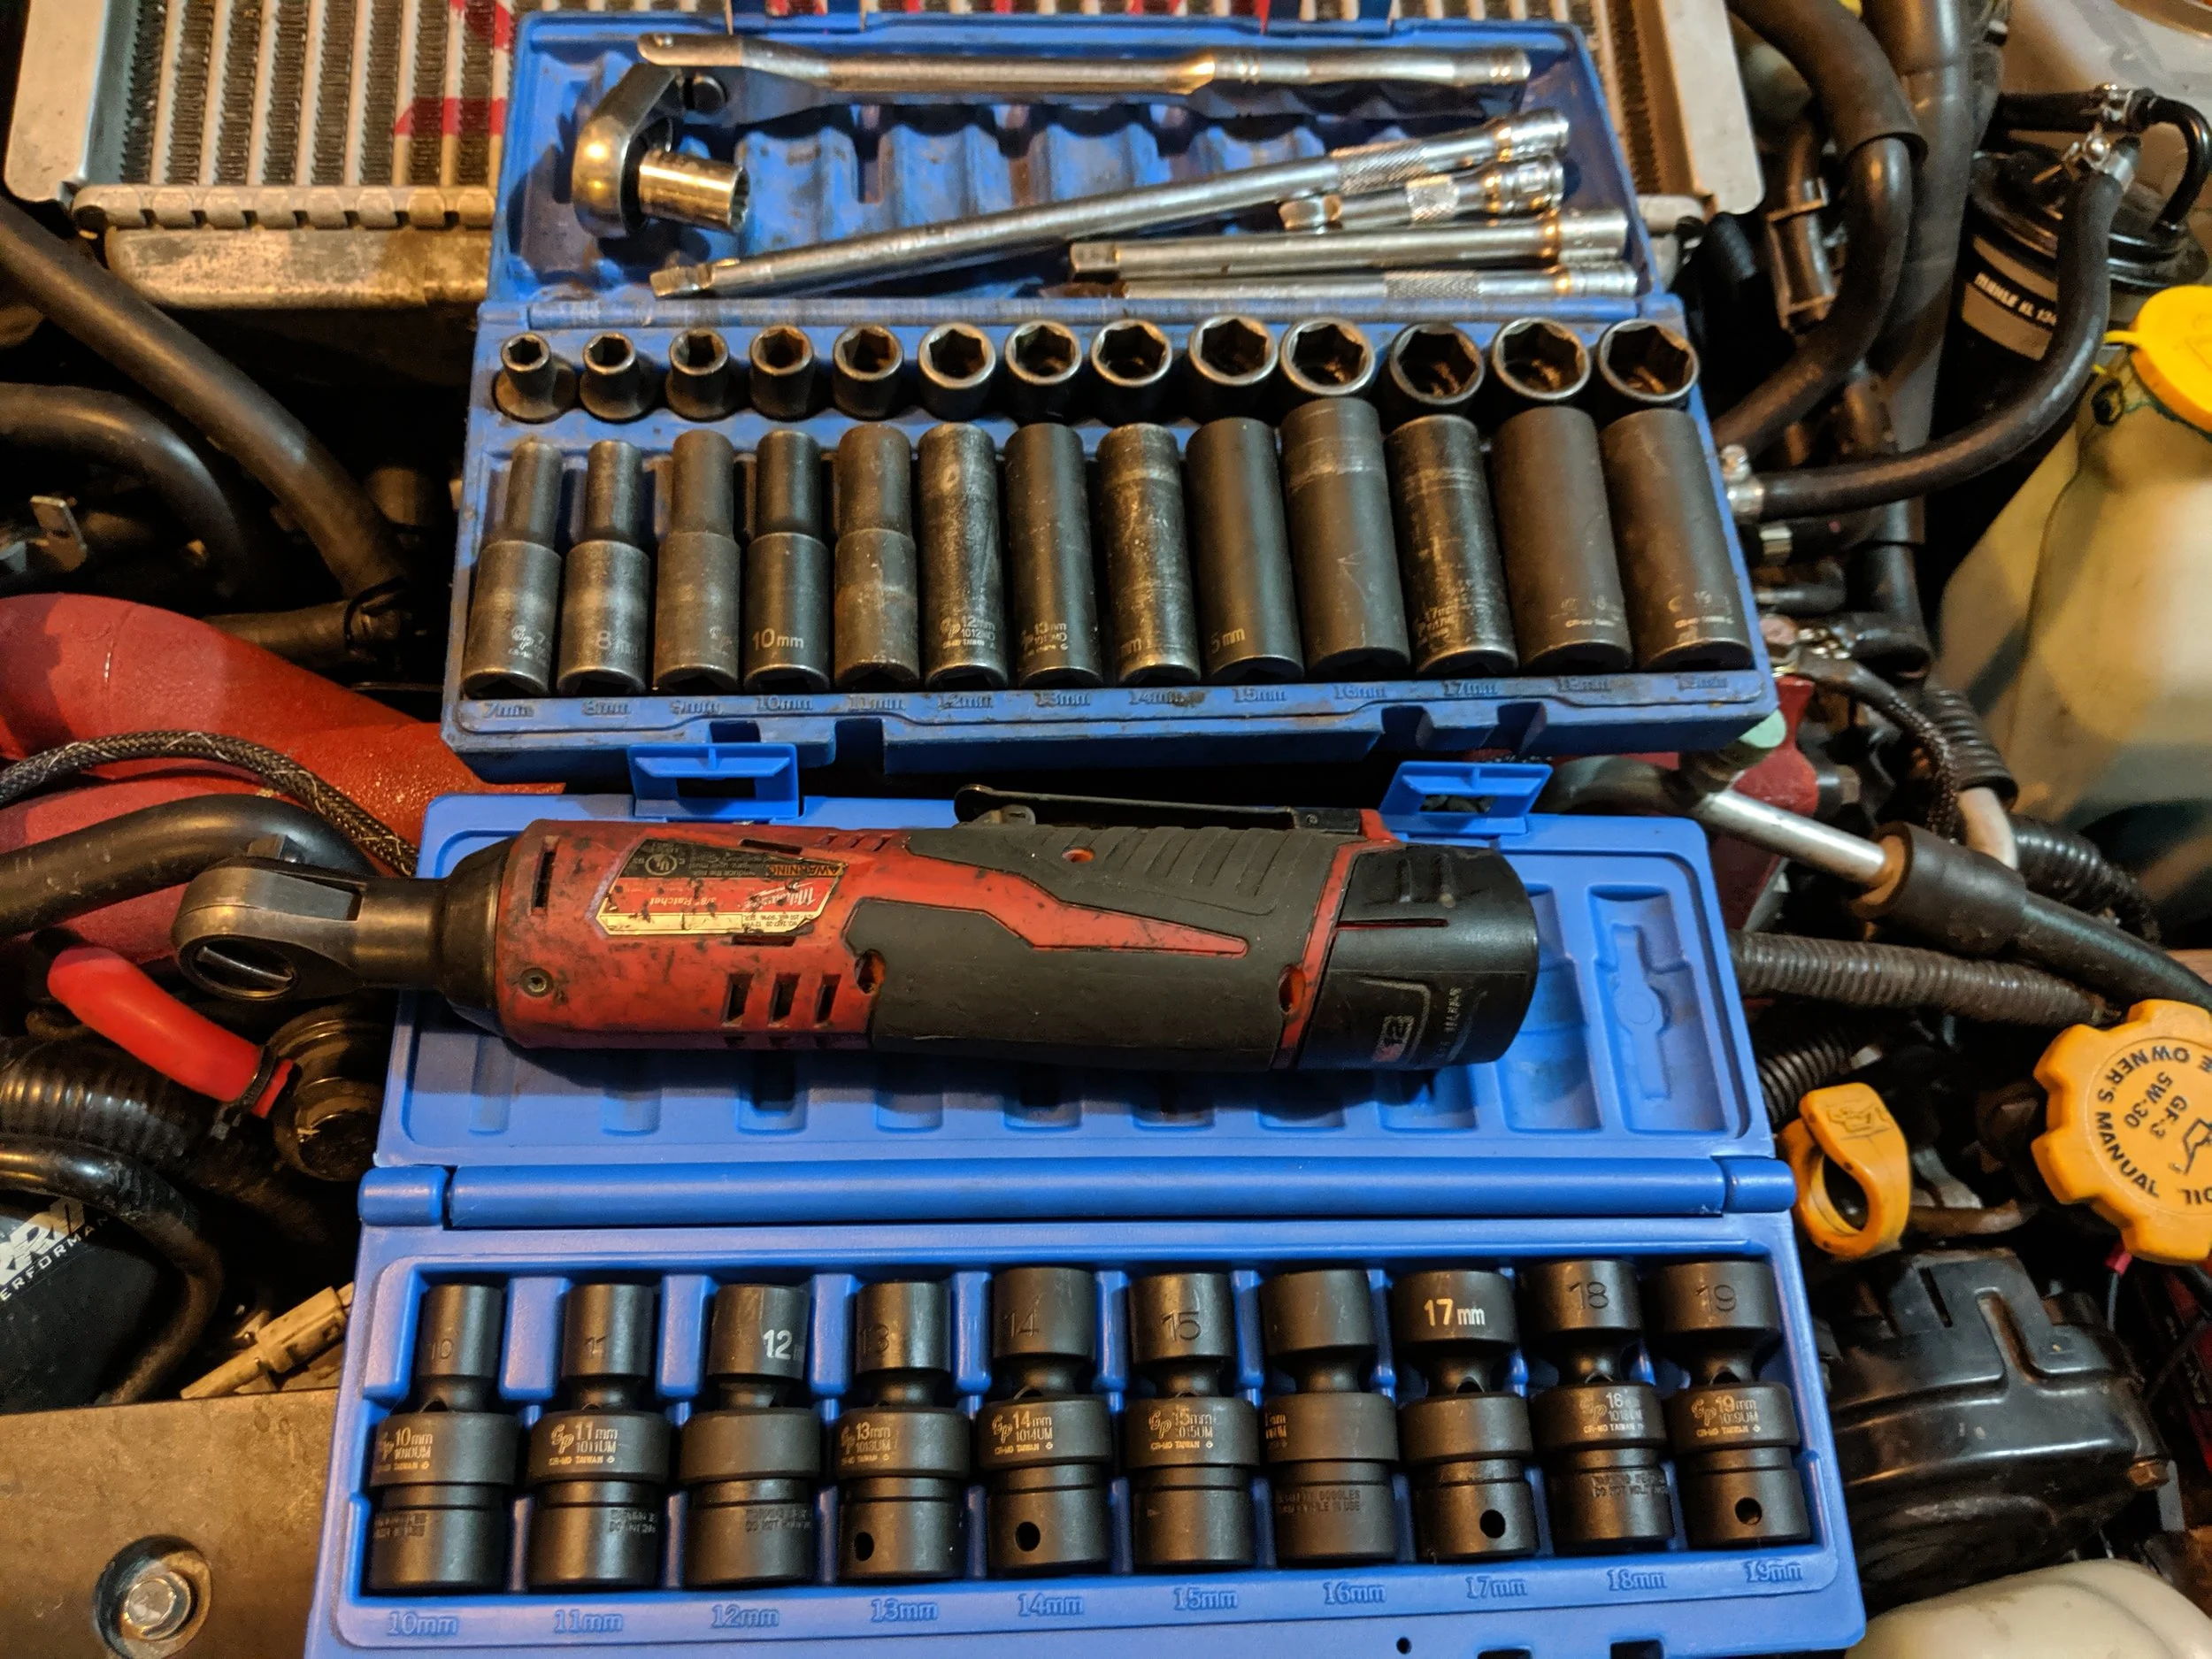


A pair of vice grips and binder clips can easily hold the belt in place, making your life that much easier.
Installation
It all starts with the opening of the hood, off to the passenger side the air intake ducting make reside. Two clips or 10mm bolts hold it in place. Remove those and the ducting to open up the engine bay.
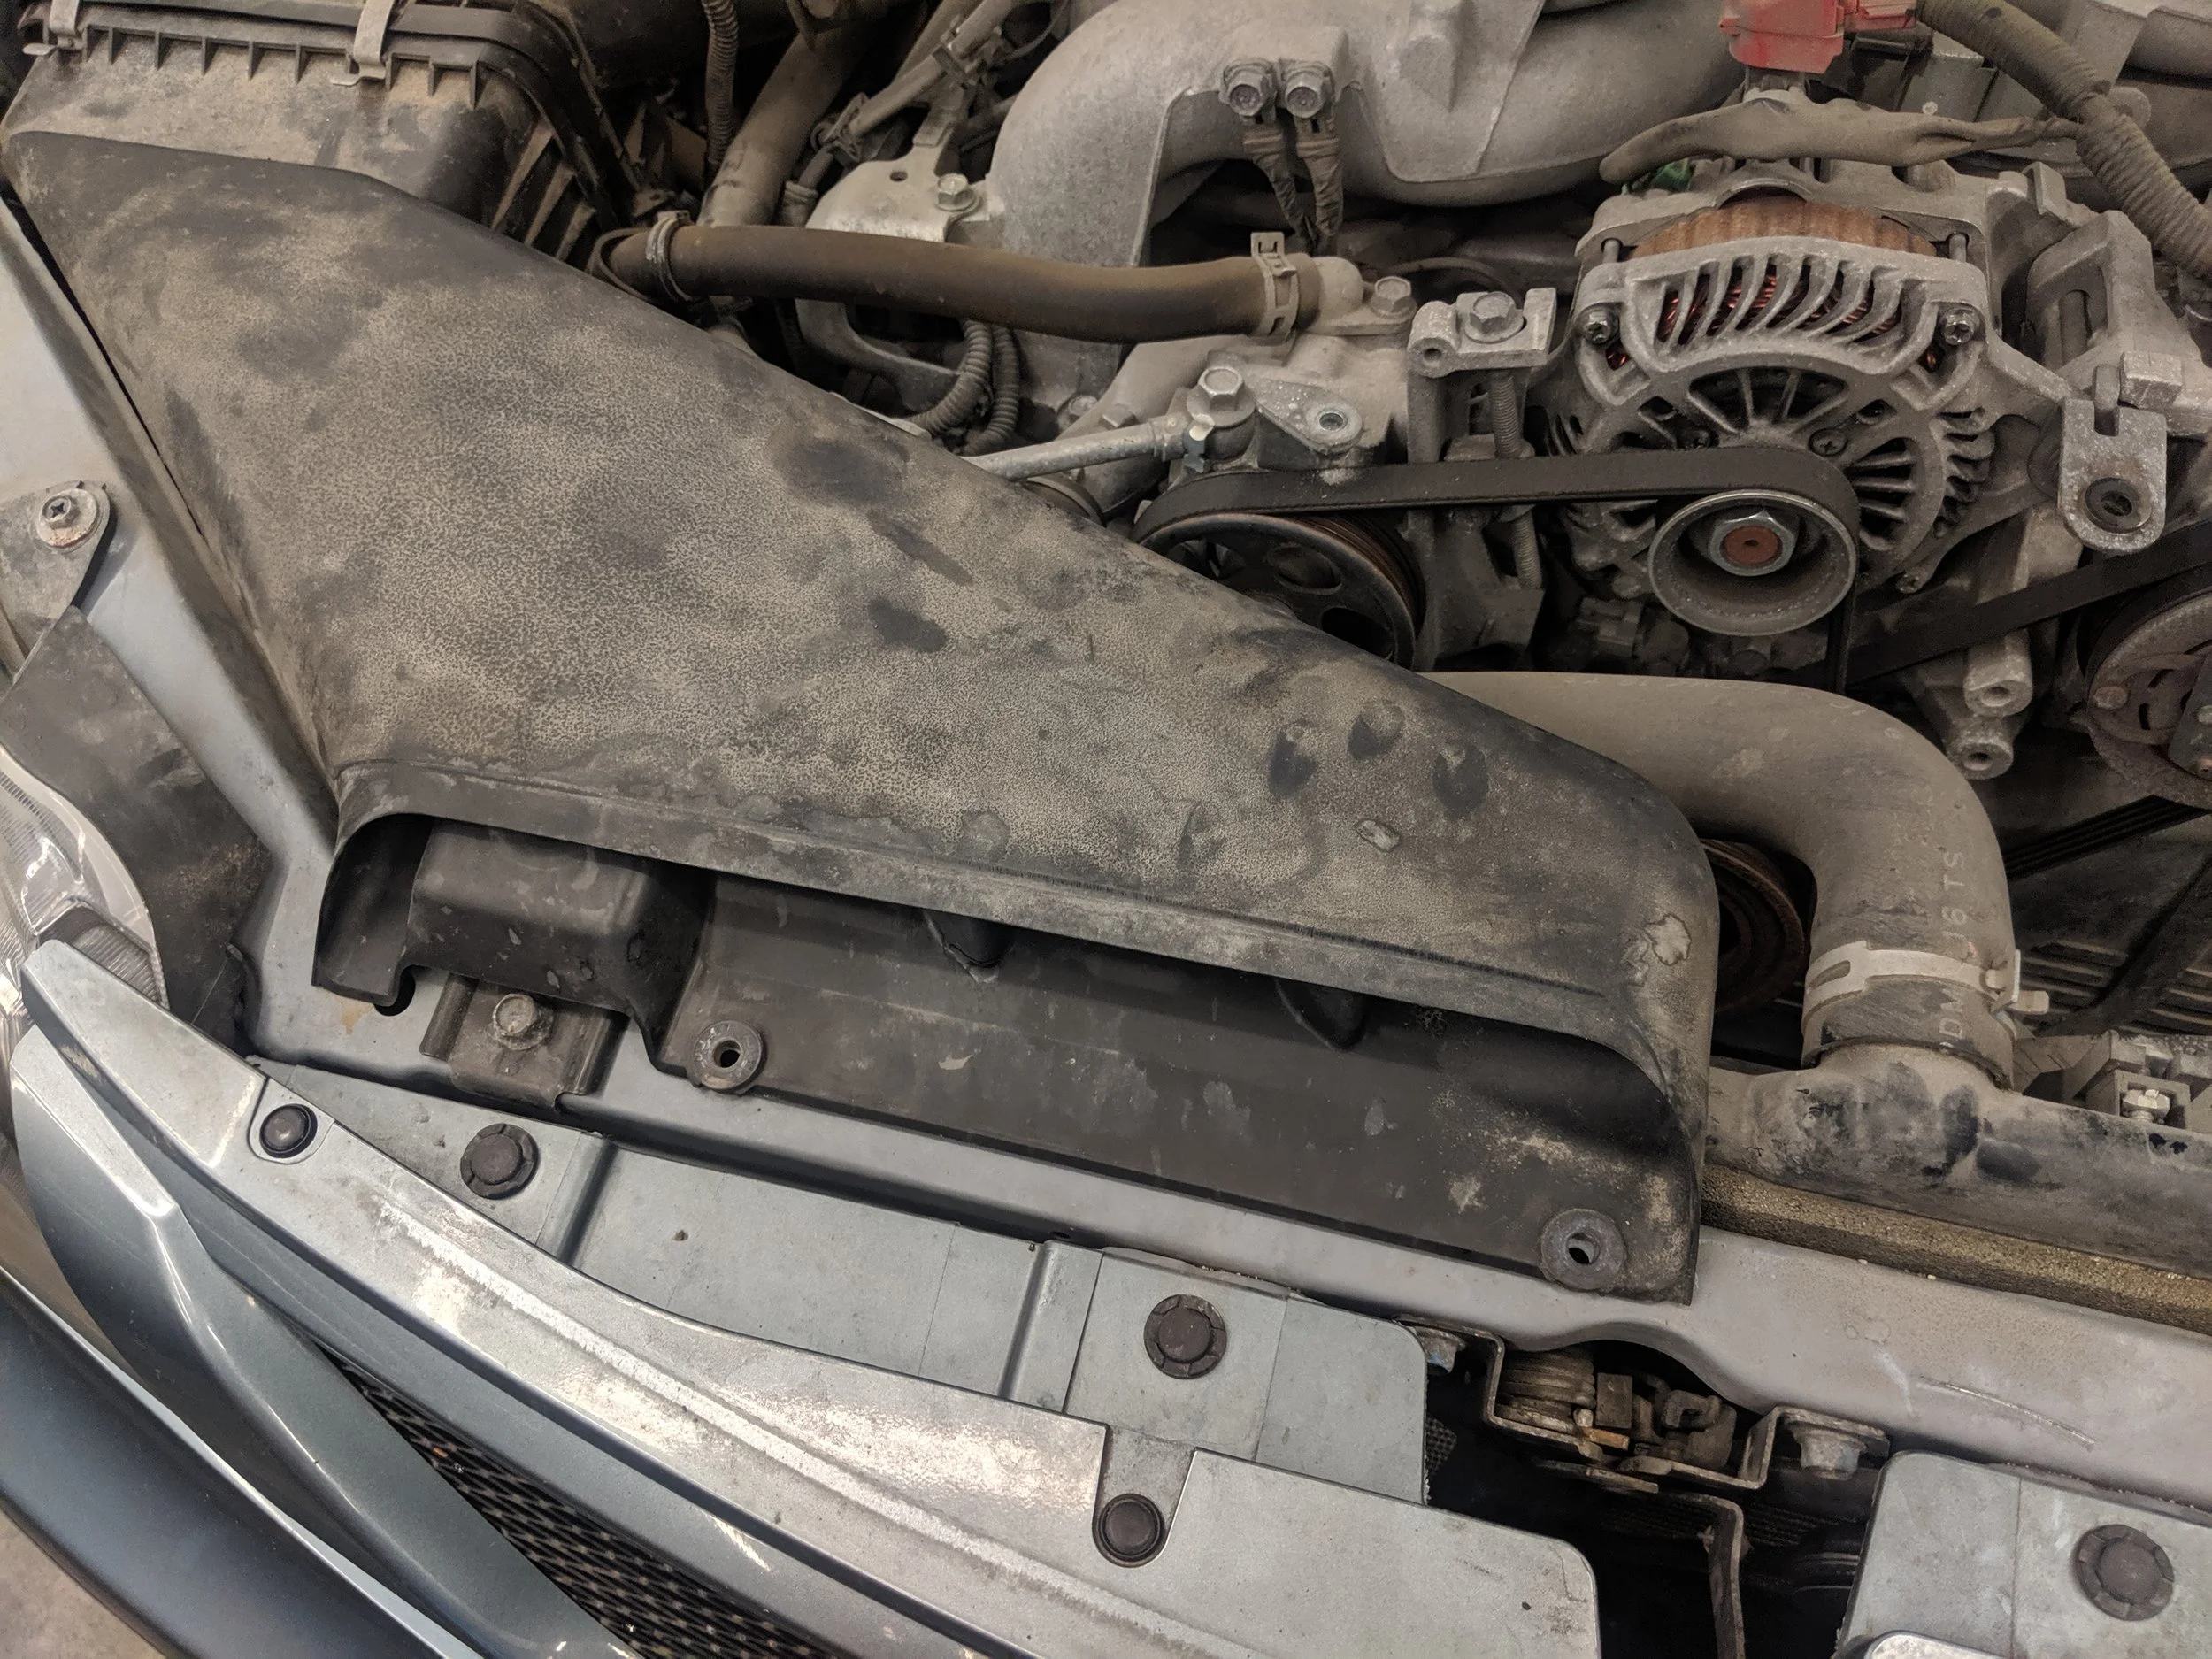
If this duct is on your vehicle, let’s start by removing it to open up some room.
Up next we can open up the radiator cap, if the cap is hot allow time to let it cool. As opening a hot radiator cap may spray pressurized coolant out. Now if you have a vacuum bleeder you can suck fluid out f the top of the radiator which will empty the upper hose.
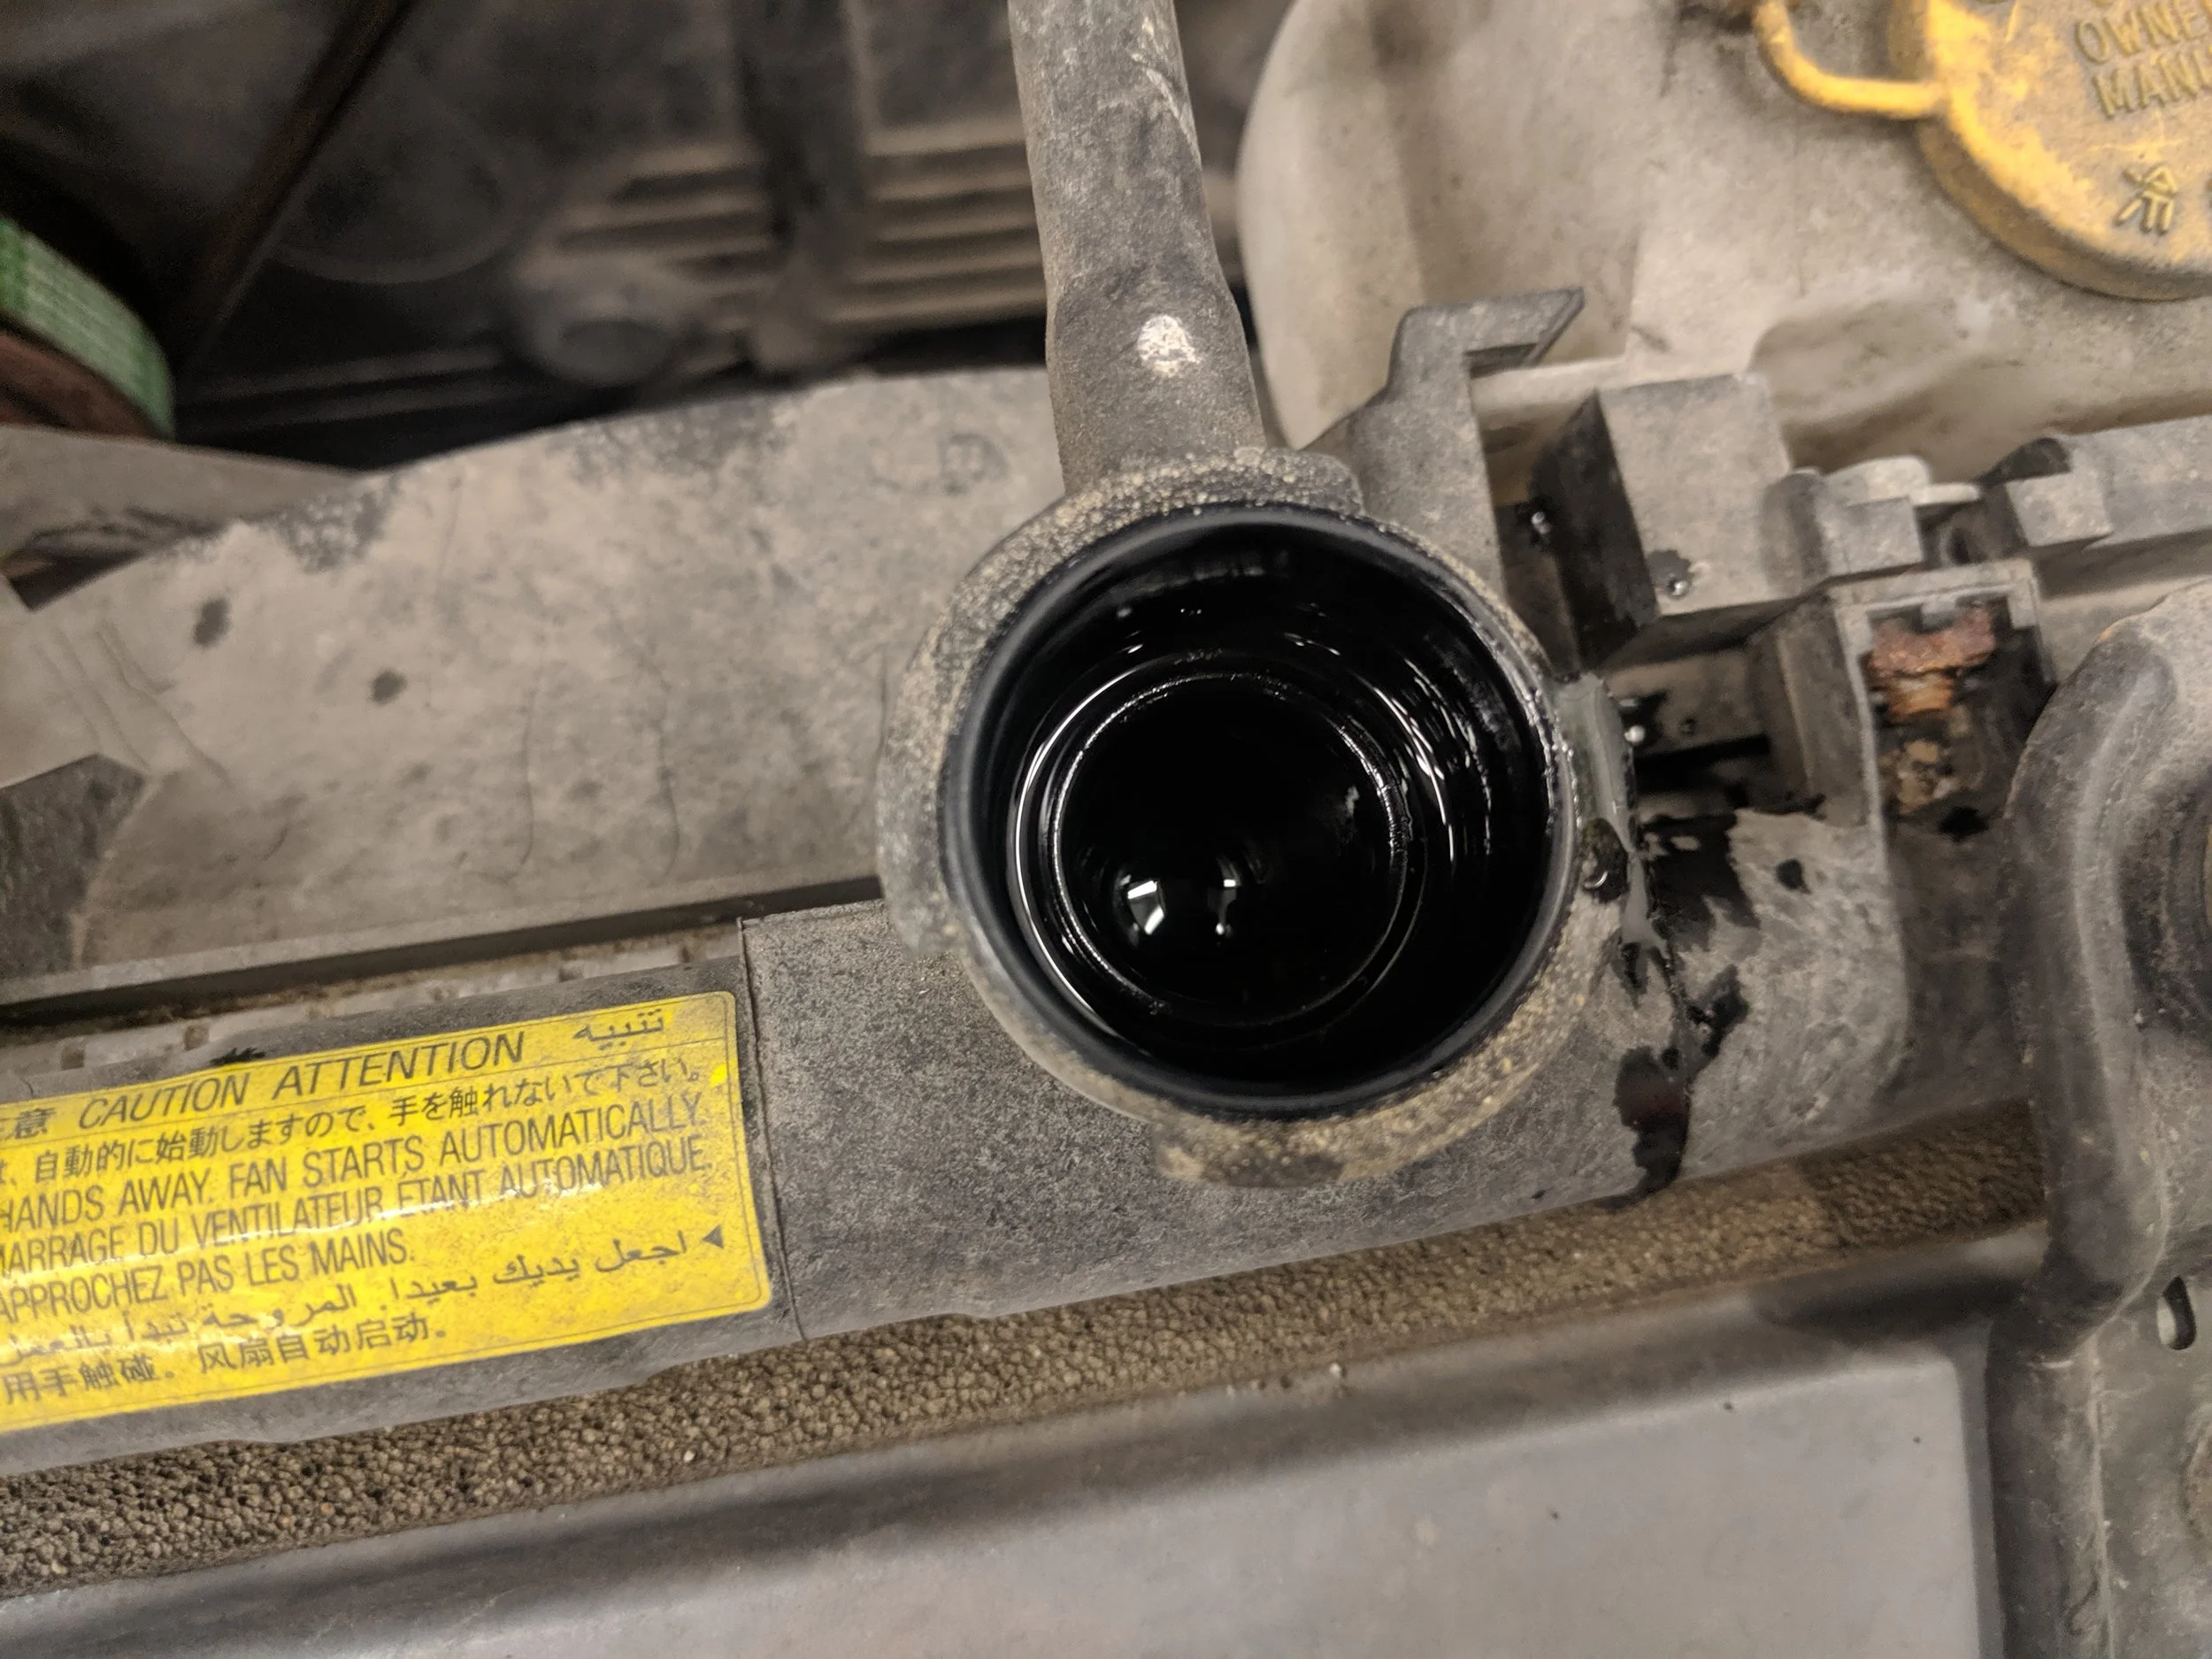
Cap off, let’s drain the coolant.
Having removed the coolant, you can now relieve tension on the upper hose to radiator clamp and slide the hose off. Now you can move the the clamp on the engine block side, with the clamp loose, spin the hose to point upwards. This helps free up your work space and keep coolant from spilling out on you.
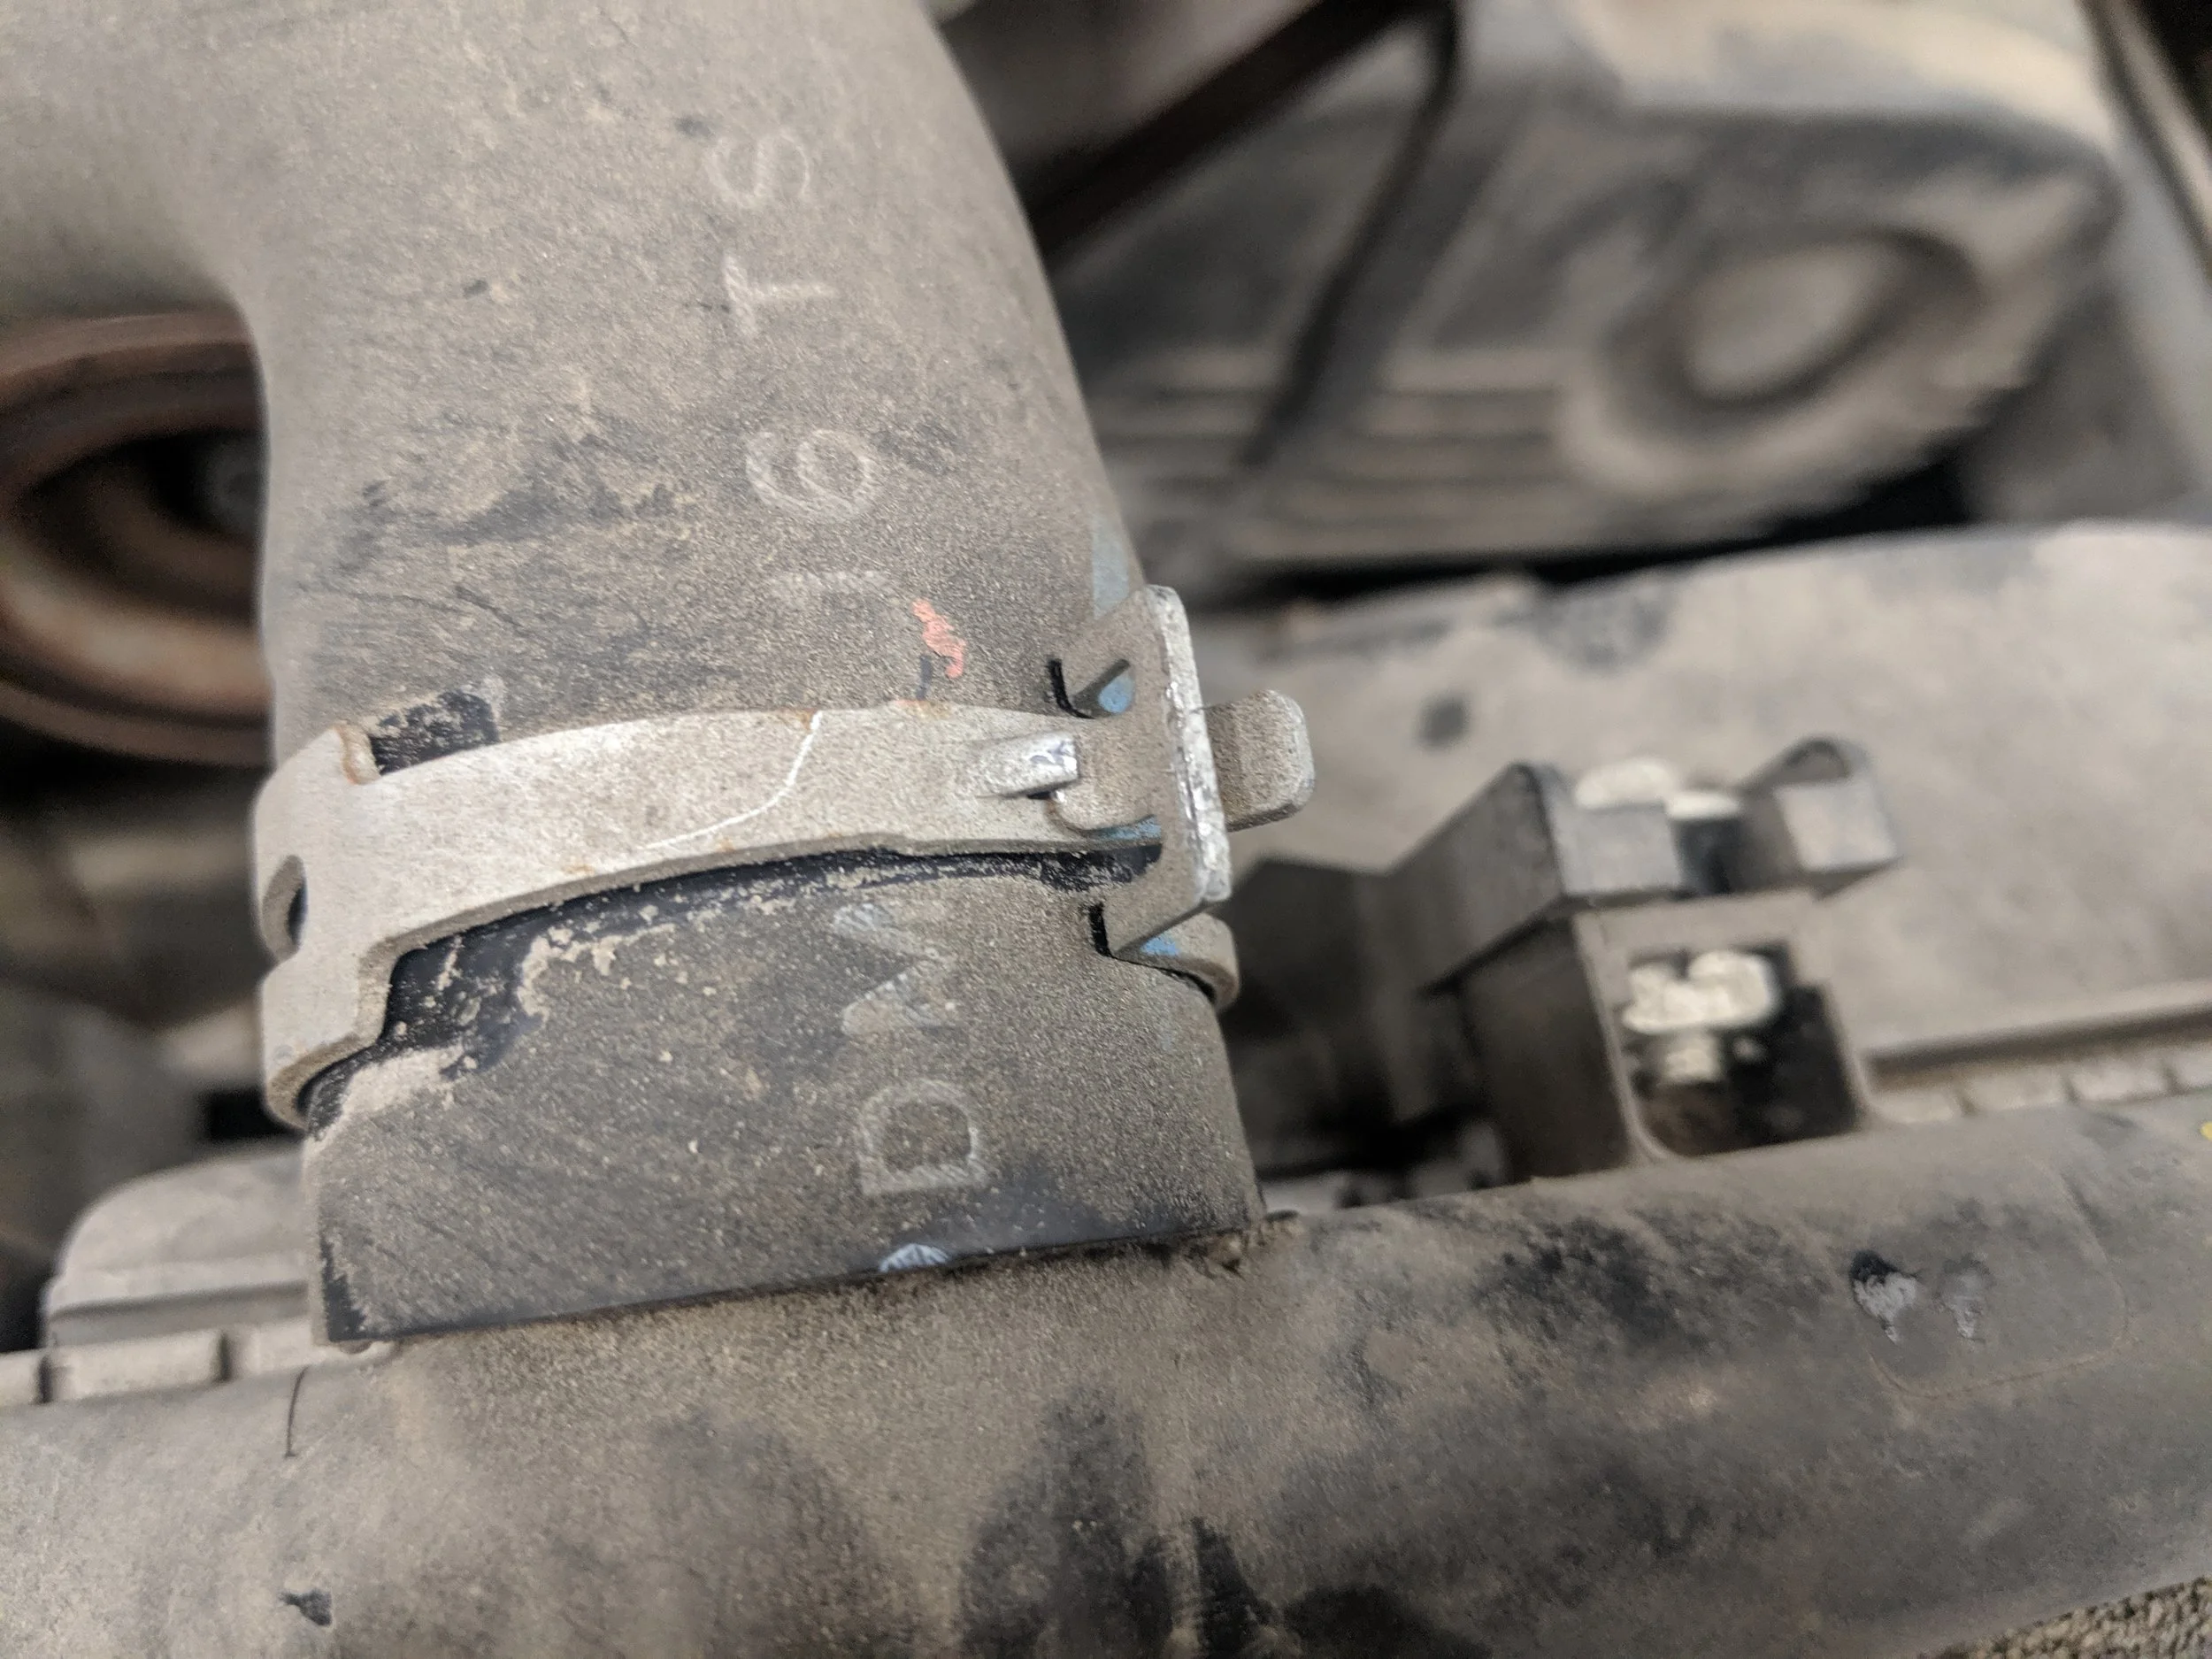
With the coolant drained remove this clamp to allow your radiator hose to be moved out of the way.
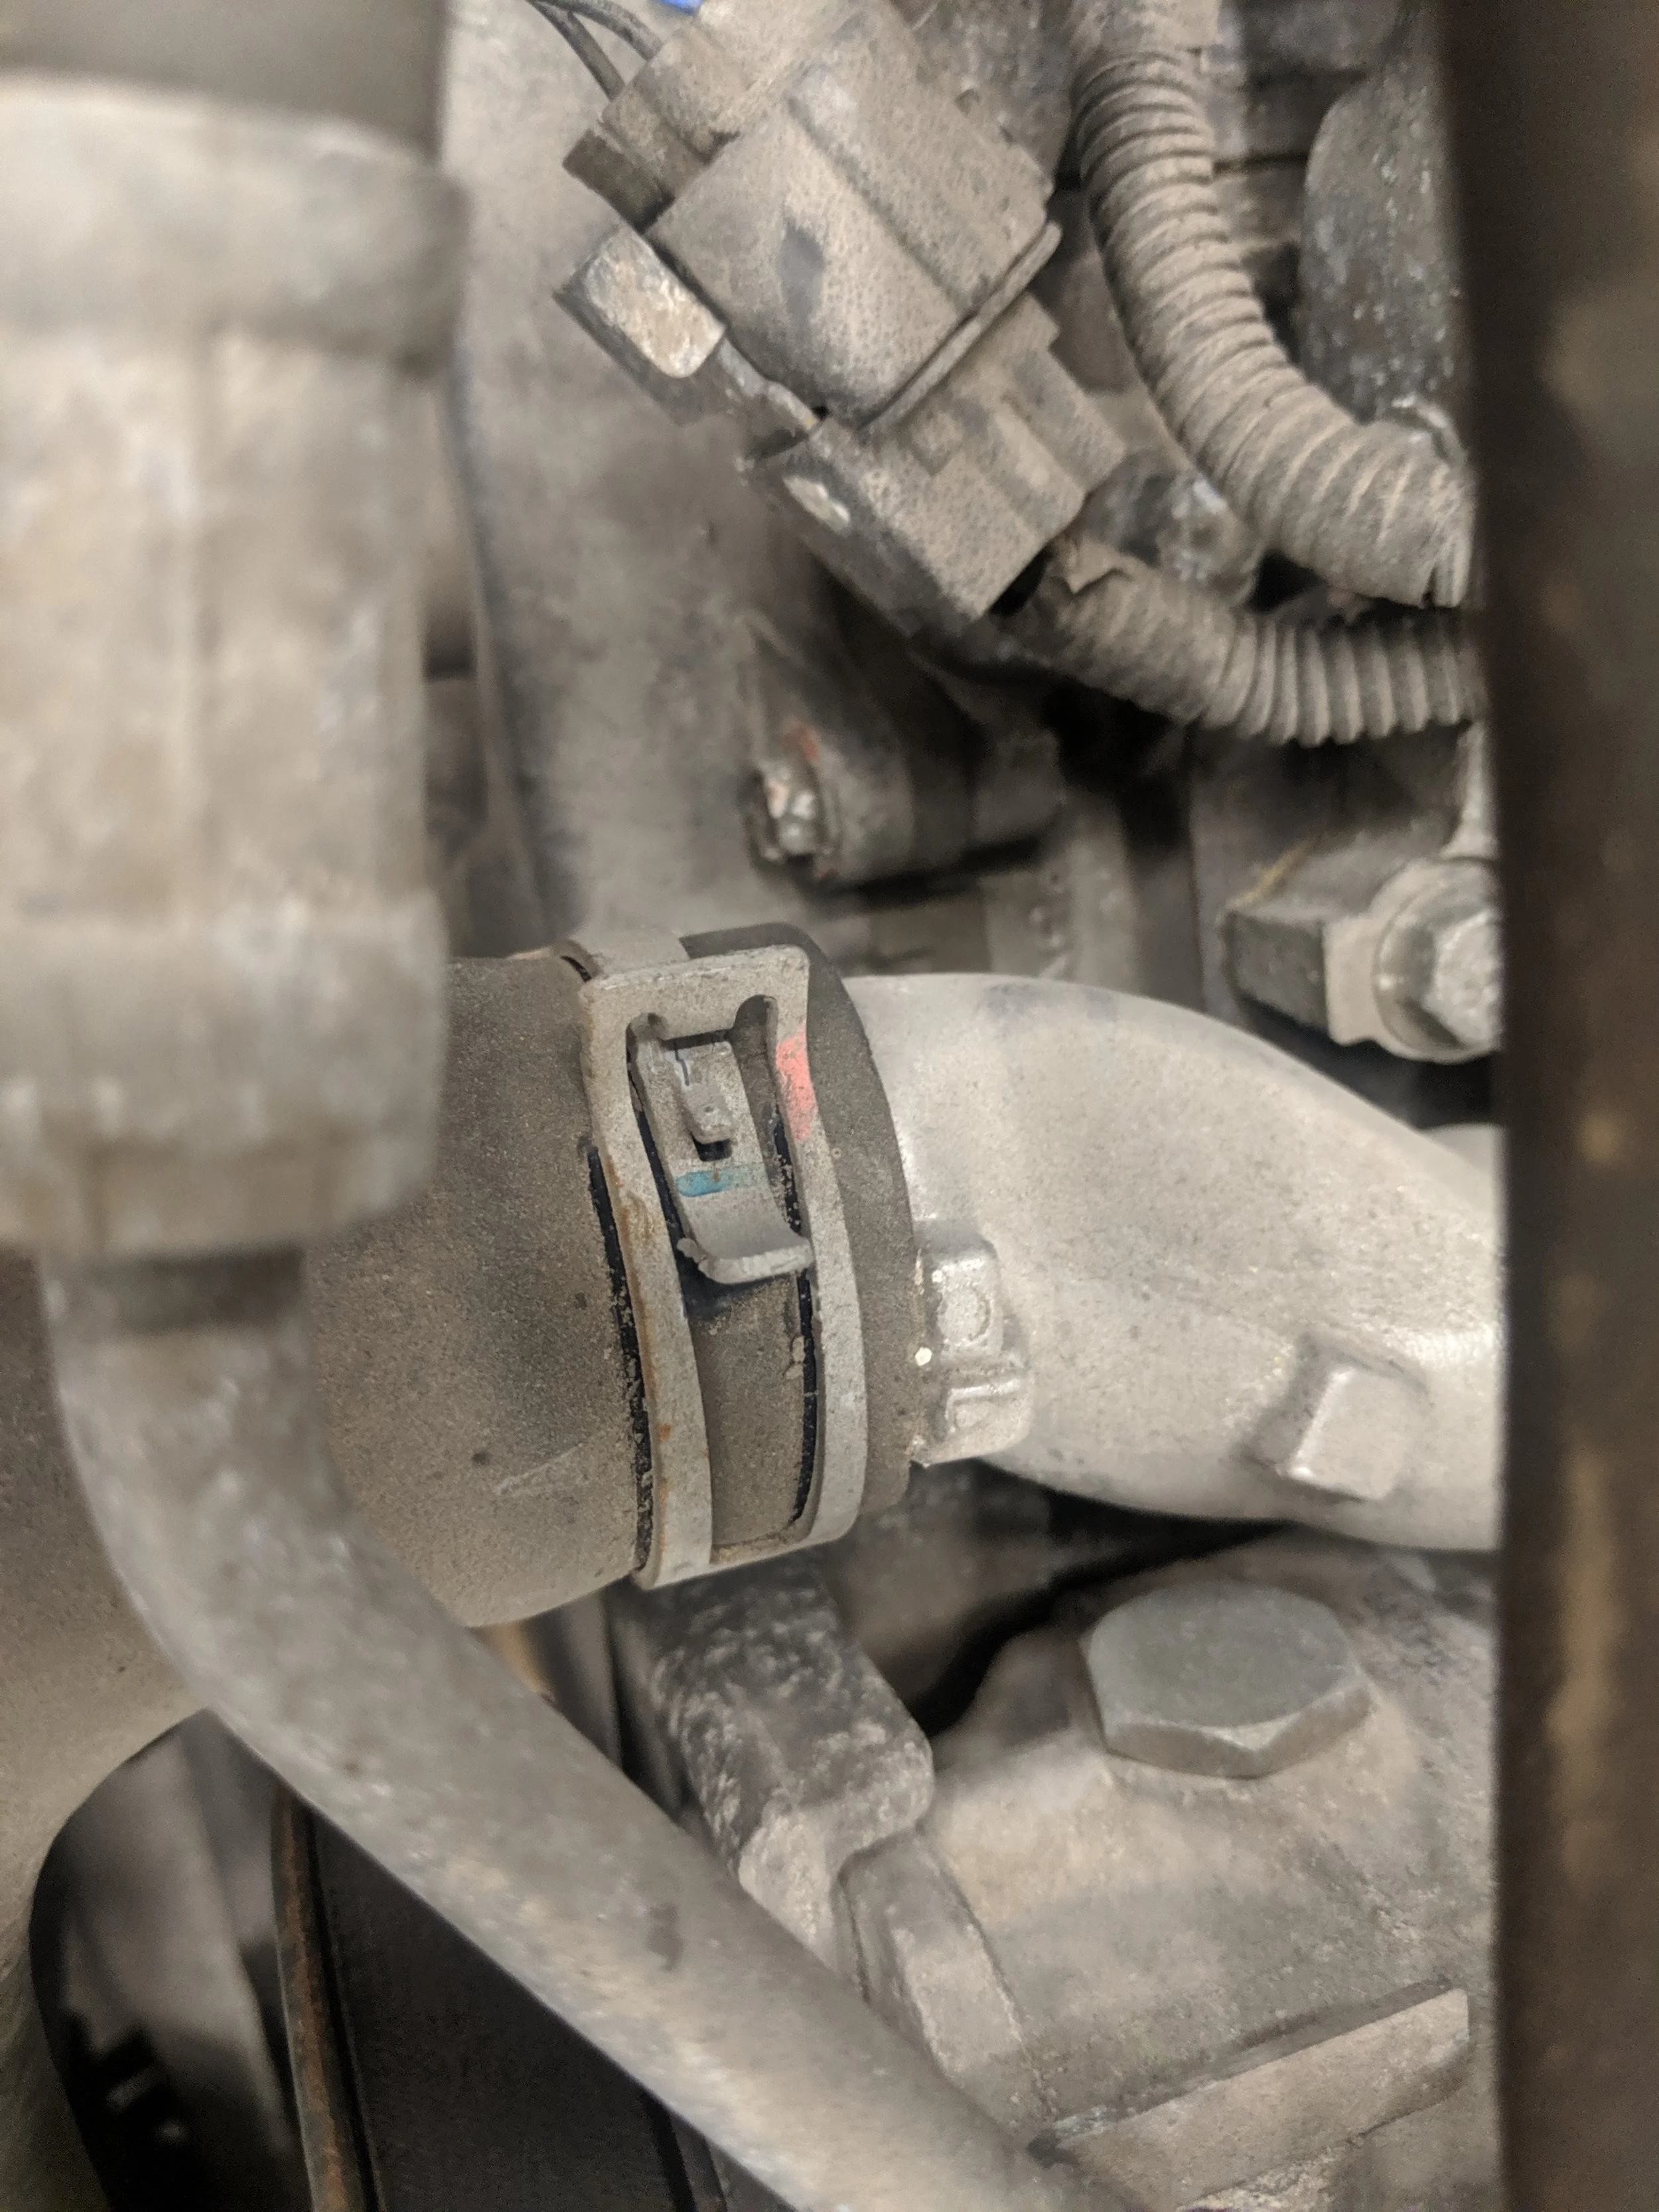
Loosen the engine side clamp to allow the hose to move easily.
Now your work area is much more open and easy to acces.
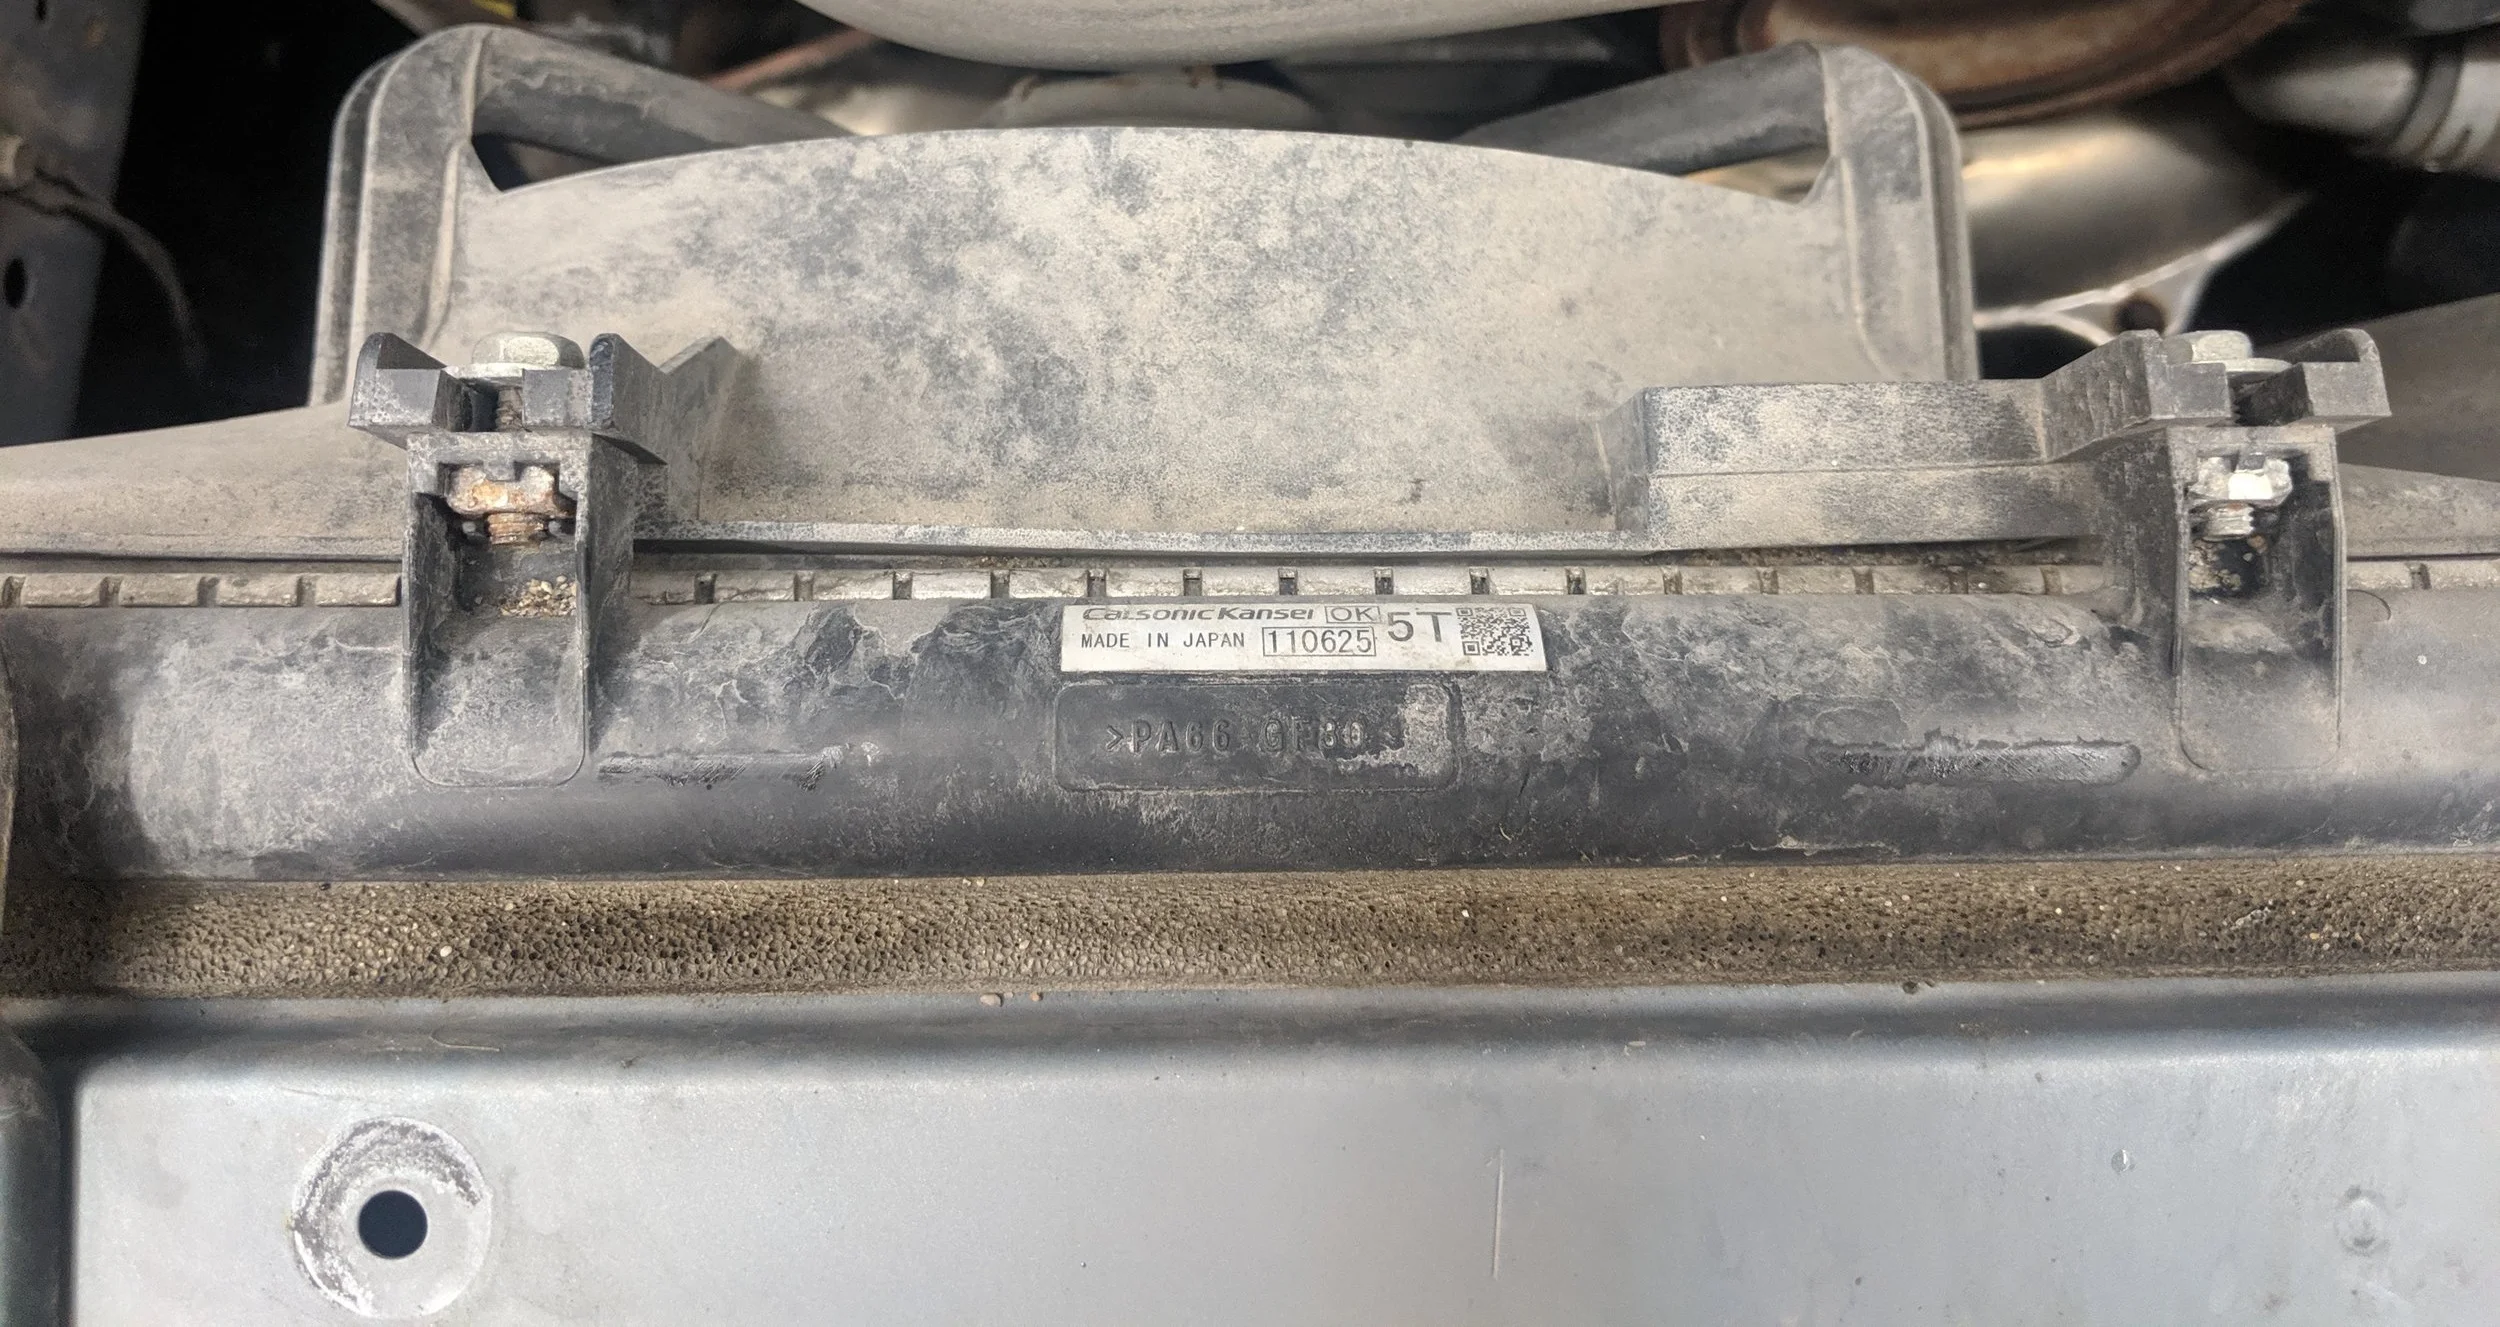
Next on the list will be removing the radiator fans and coolant overflow tank, this is another step to help open up our work space. The coolant tank is snapped into place with a plastic clip, press it away from the tank and slide it out. You can now remove the four 10 mm bolts that hold both radiator fans in. Each fan has an electrical connection, unplug those and the passenger side should come right out.If you have an automatic you may have transmission cooler lines that run through the bottom of the driver’s side fan. Free those up and the fan will come right out.

Remove and set this off to the side.
Passenger side fan to be removed.

Driver’s side fan on its way out
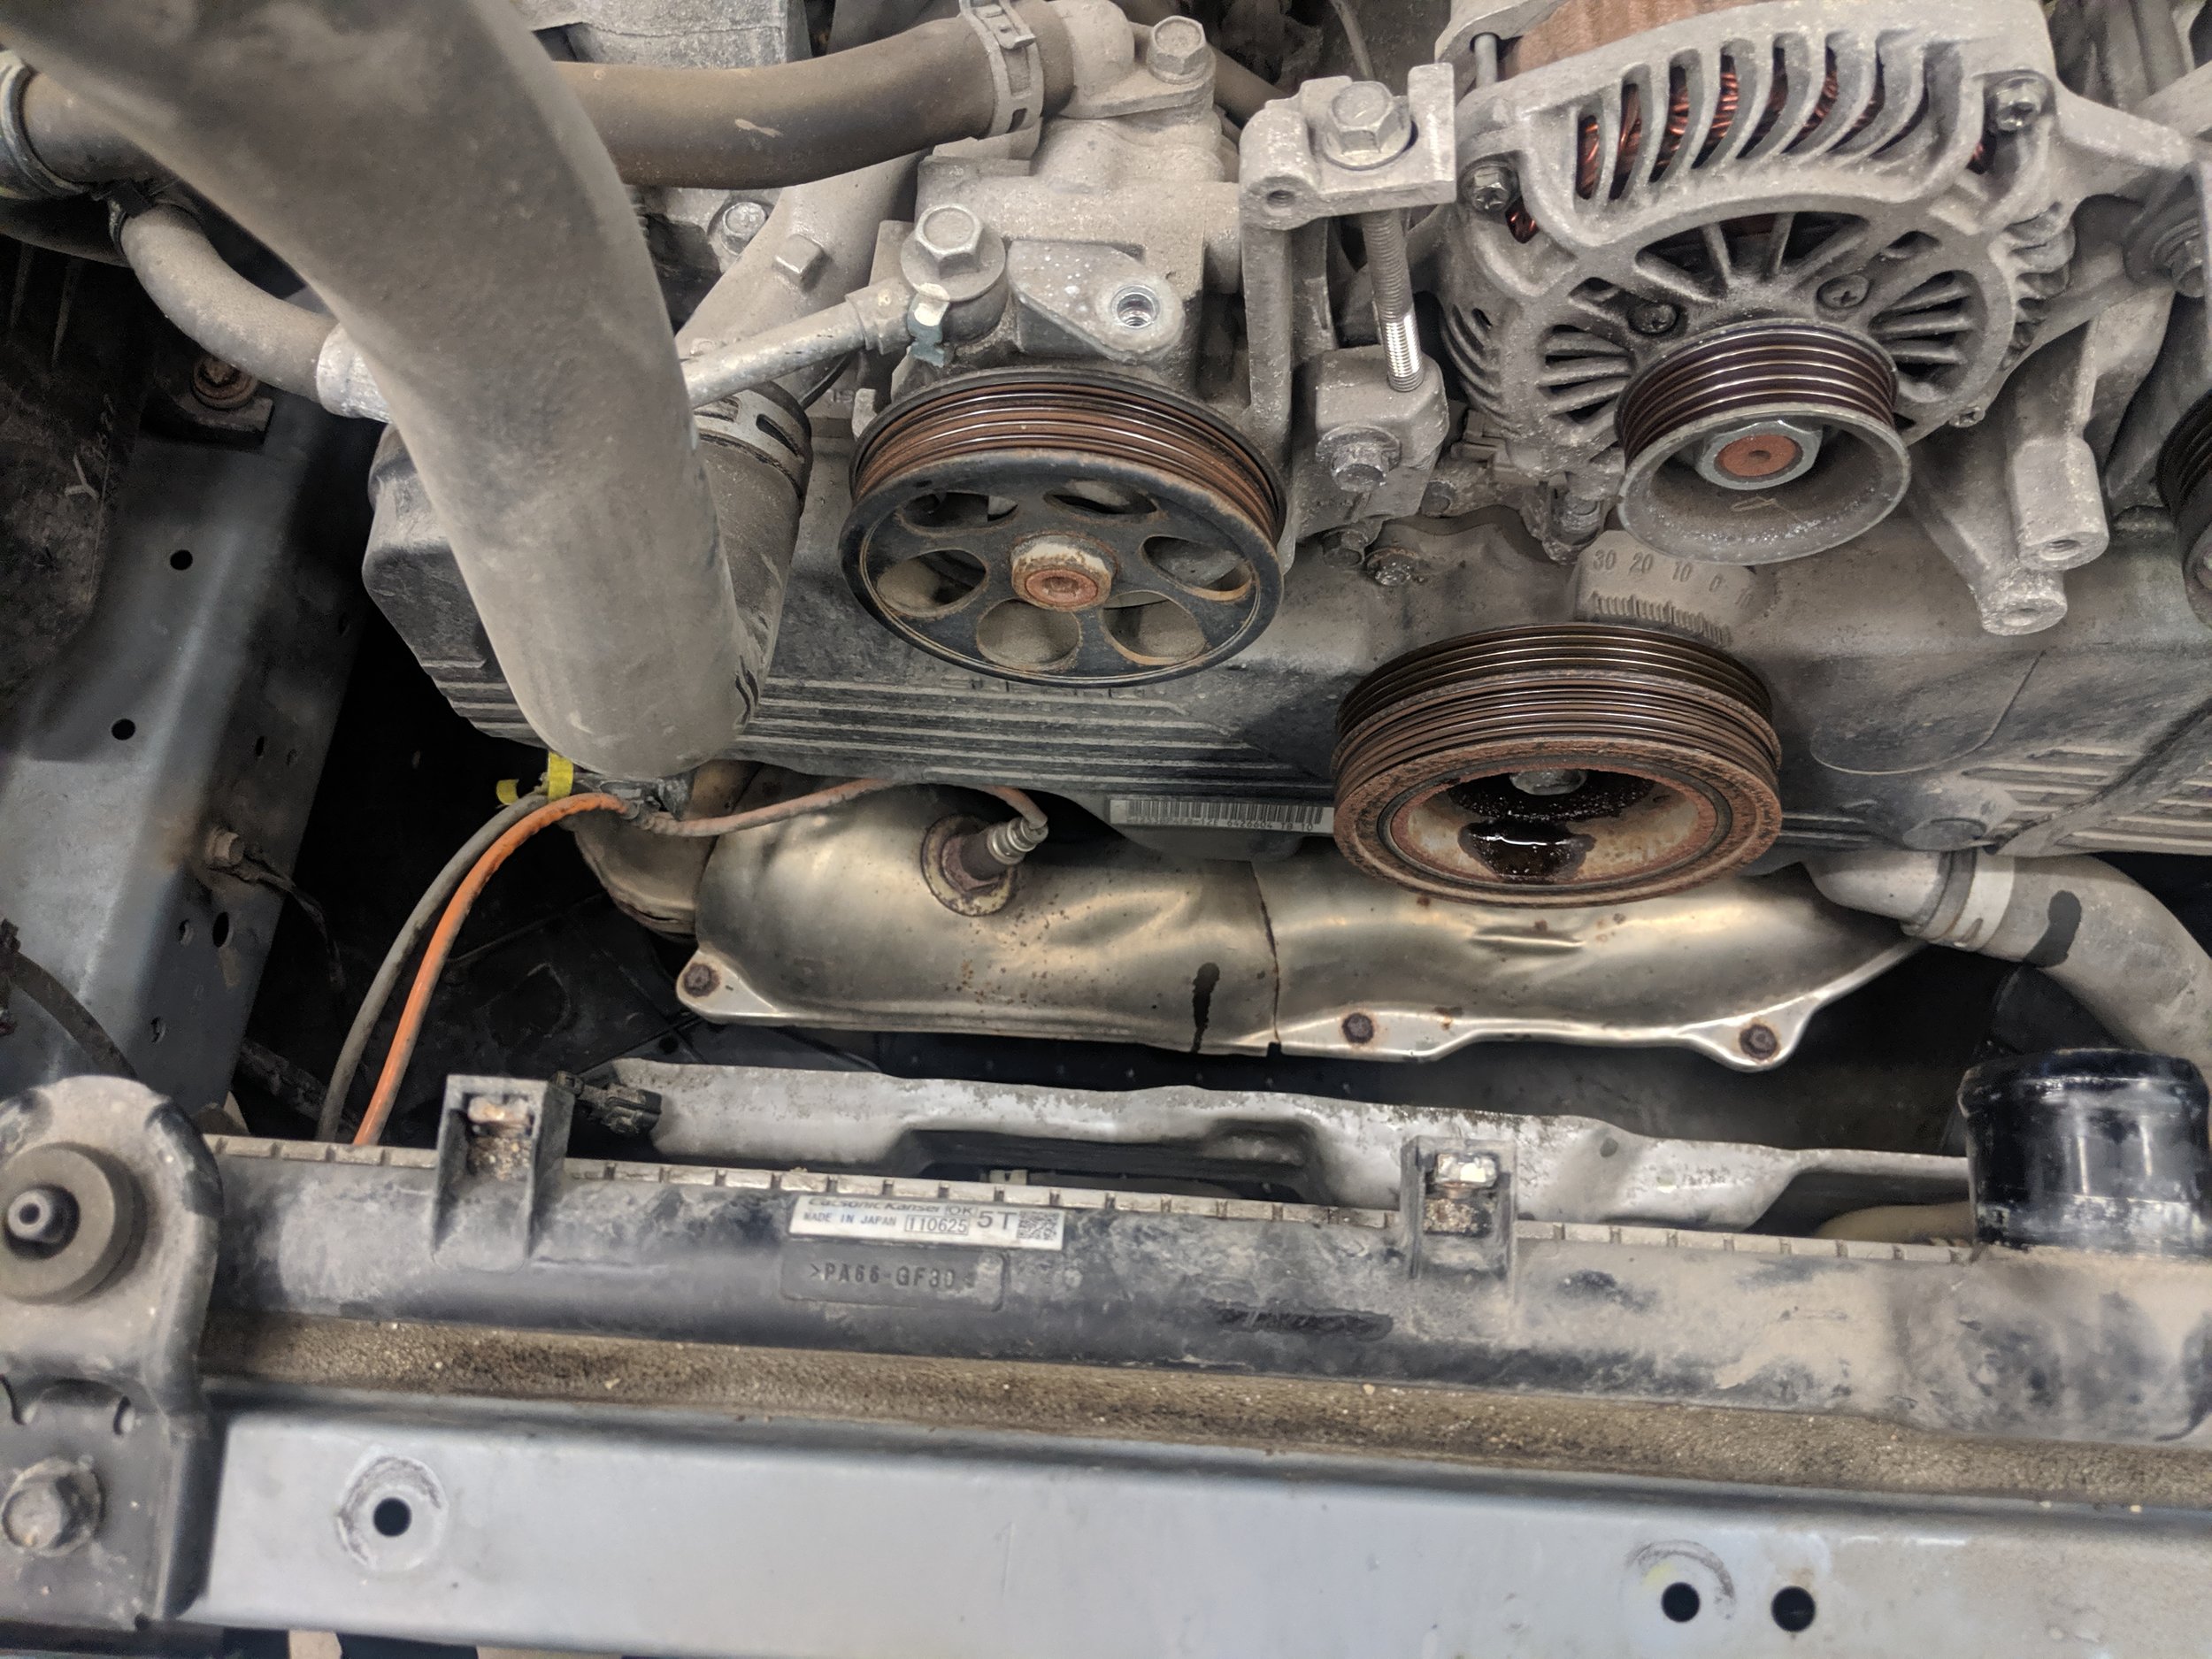
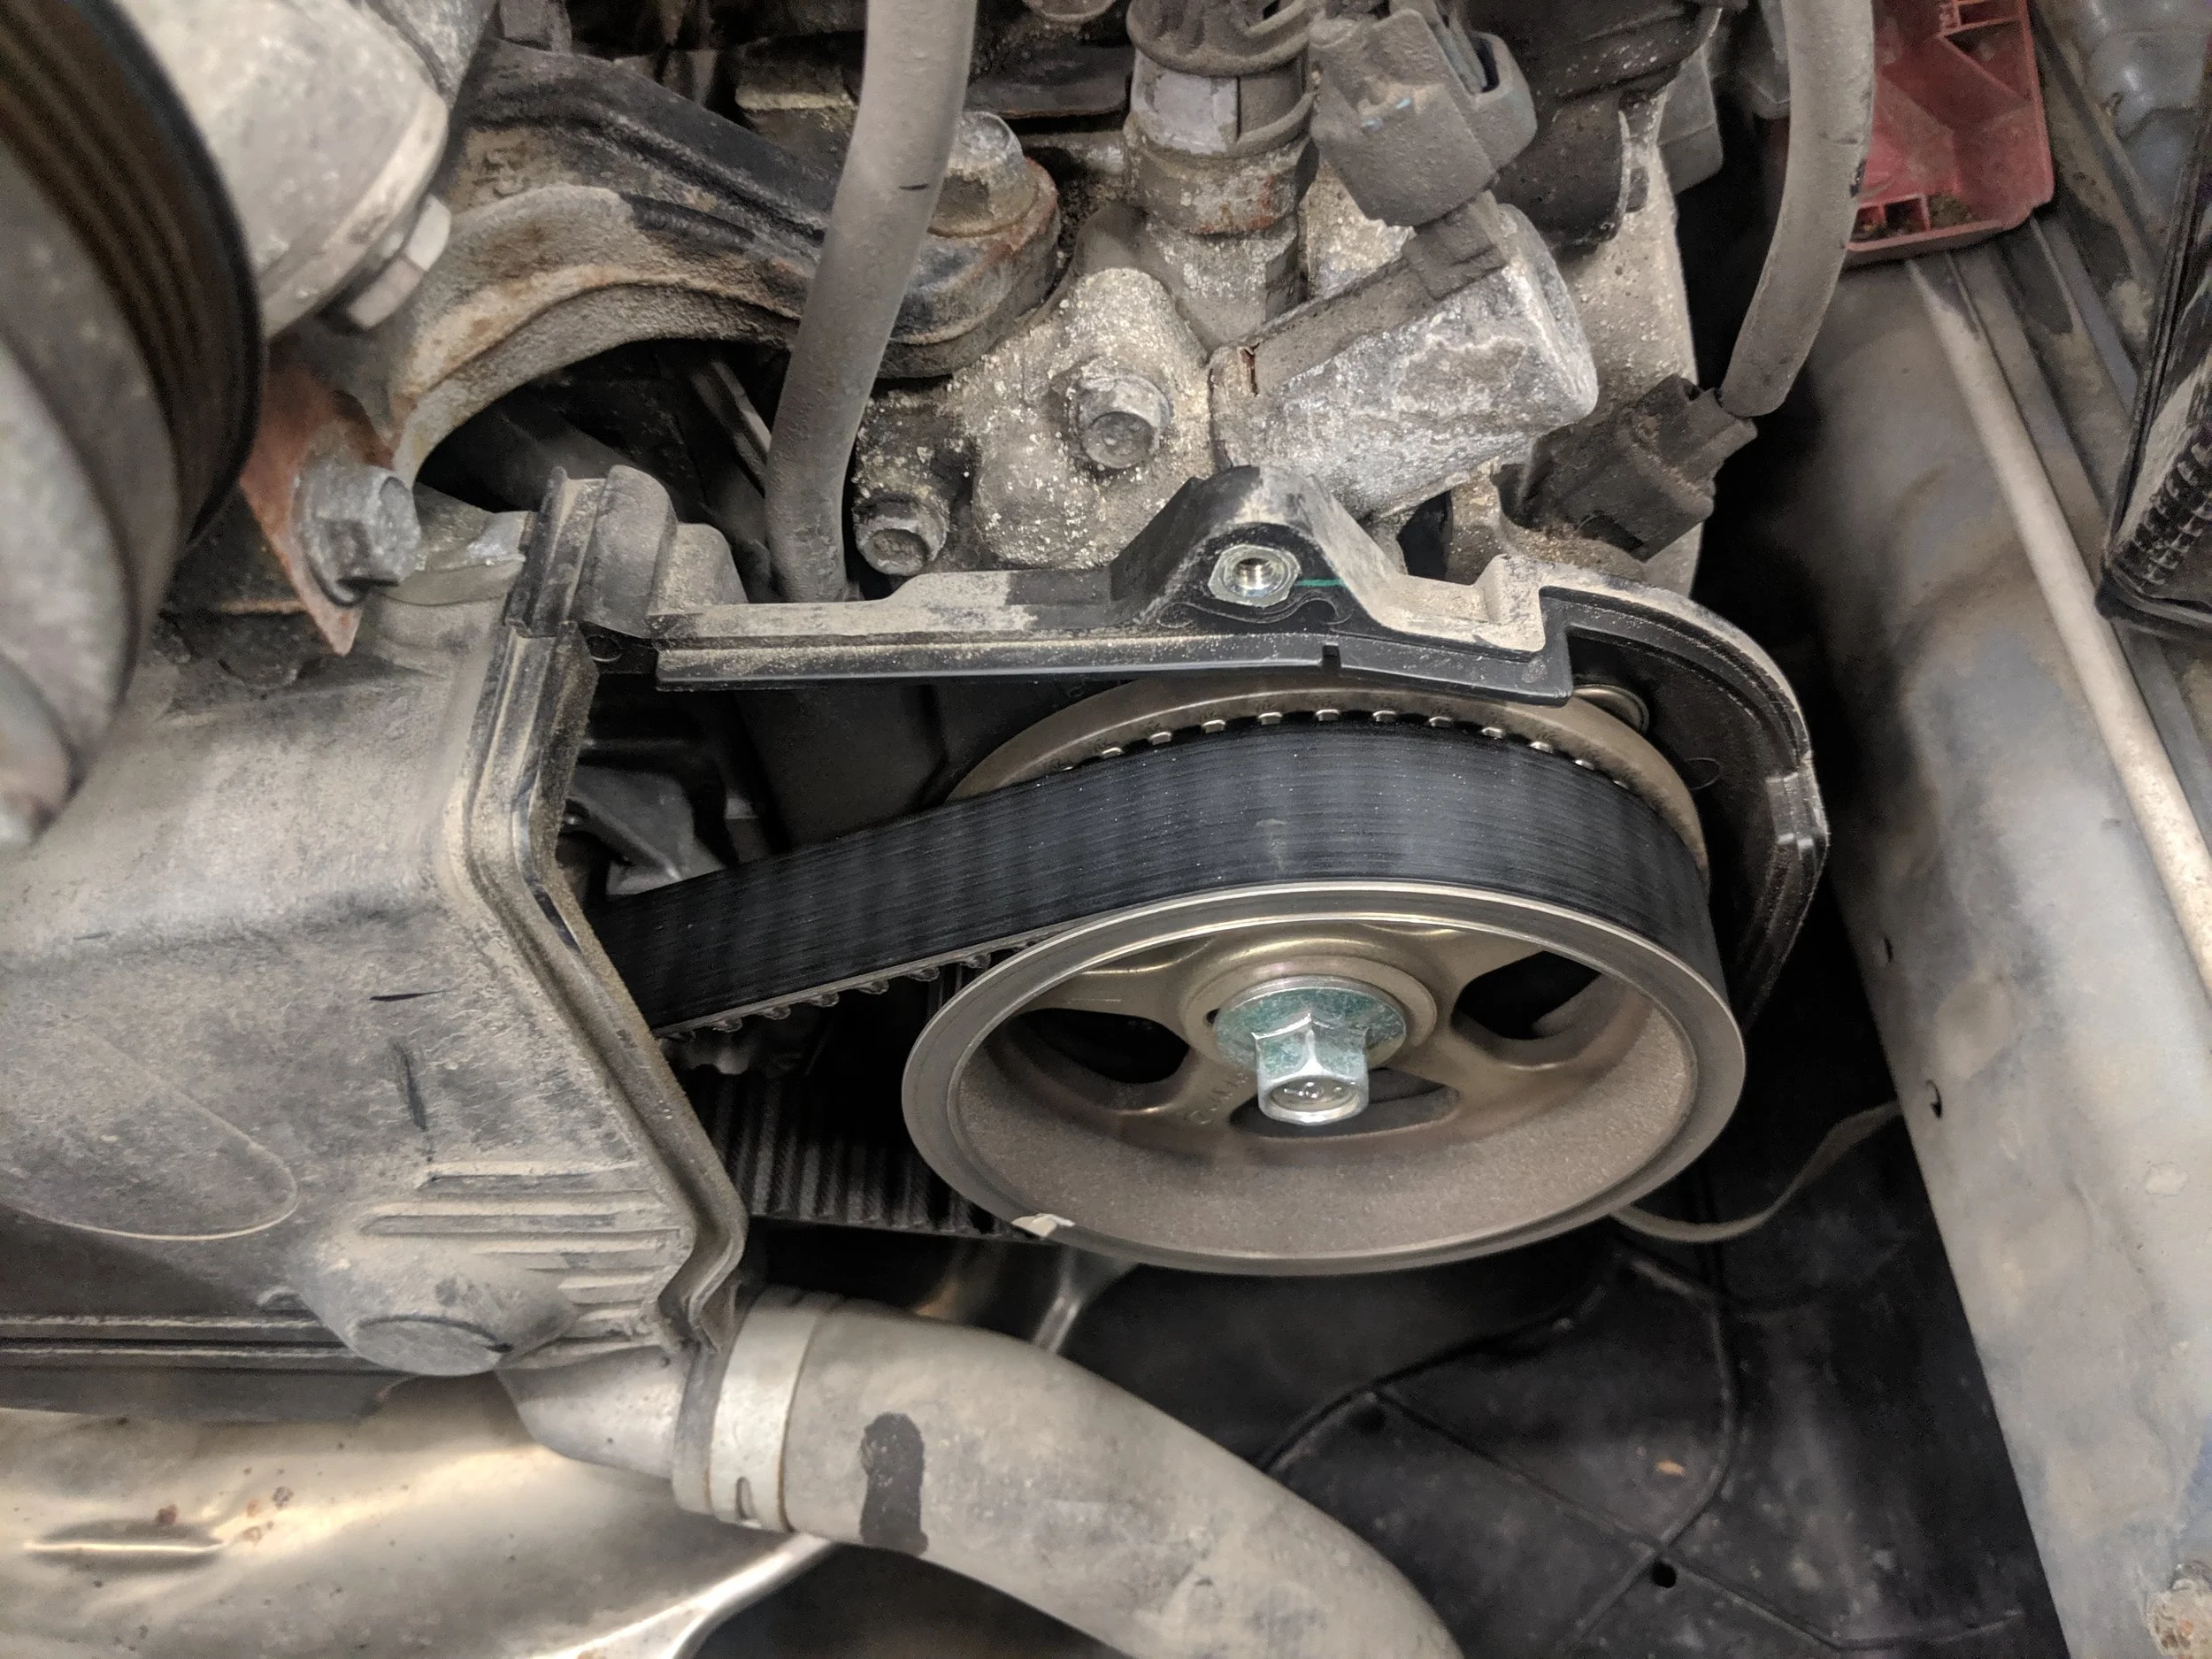
Now we can tackle the belts, removing the belt cover which should be 2-3 10 mm bolts. Now on to the power steering belt, the tension is held with all 12 mm bolts and can be easily completed with one 12mm and ratchet. Link here for a full version of replacing the power steering belt.

Belts removed, on to the crank pulley bolt.
There are two different types of A/c belts, older cars will typically be a belt with an adjuster, this car is newer style and features a stretch belt. You can get this belt and place it back on, but most guidelines will tell you a stretch belt is good for one use, i.e. one and done. A new belt from Subaru will come with instructions, belt installation tools and a belt, making this a very easy to job to replace.
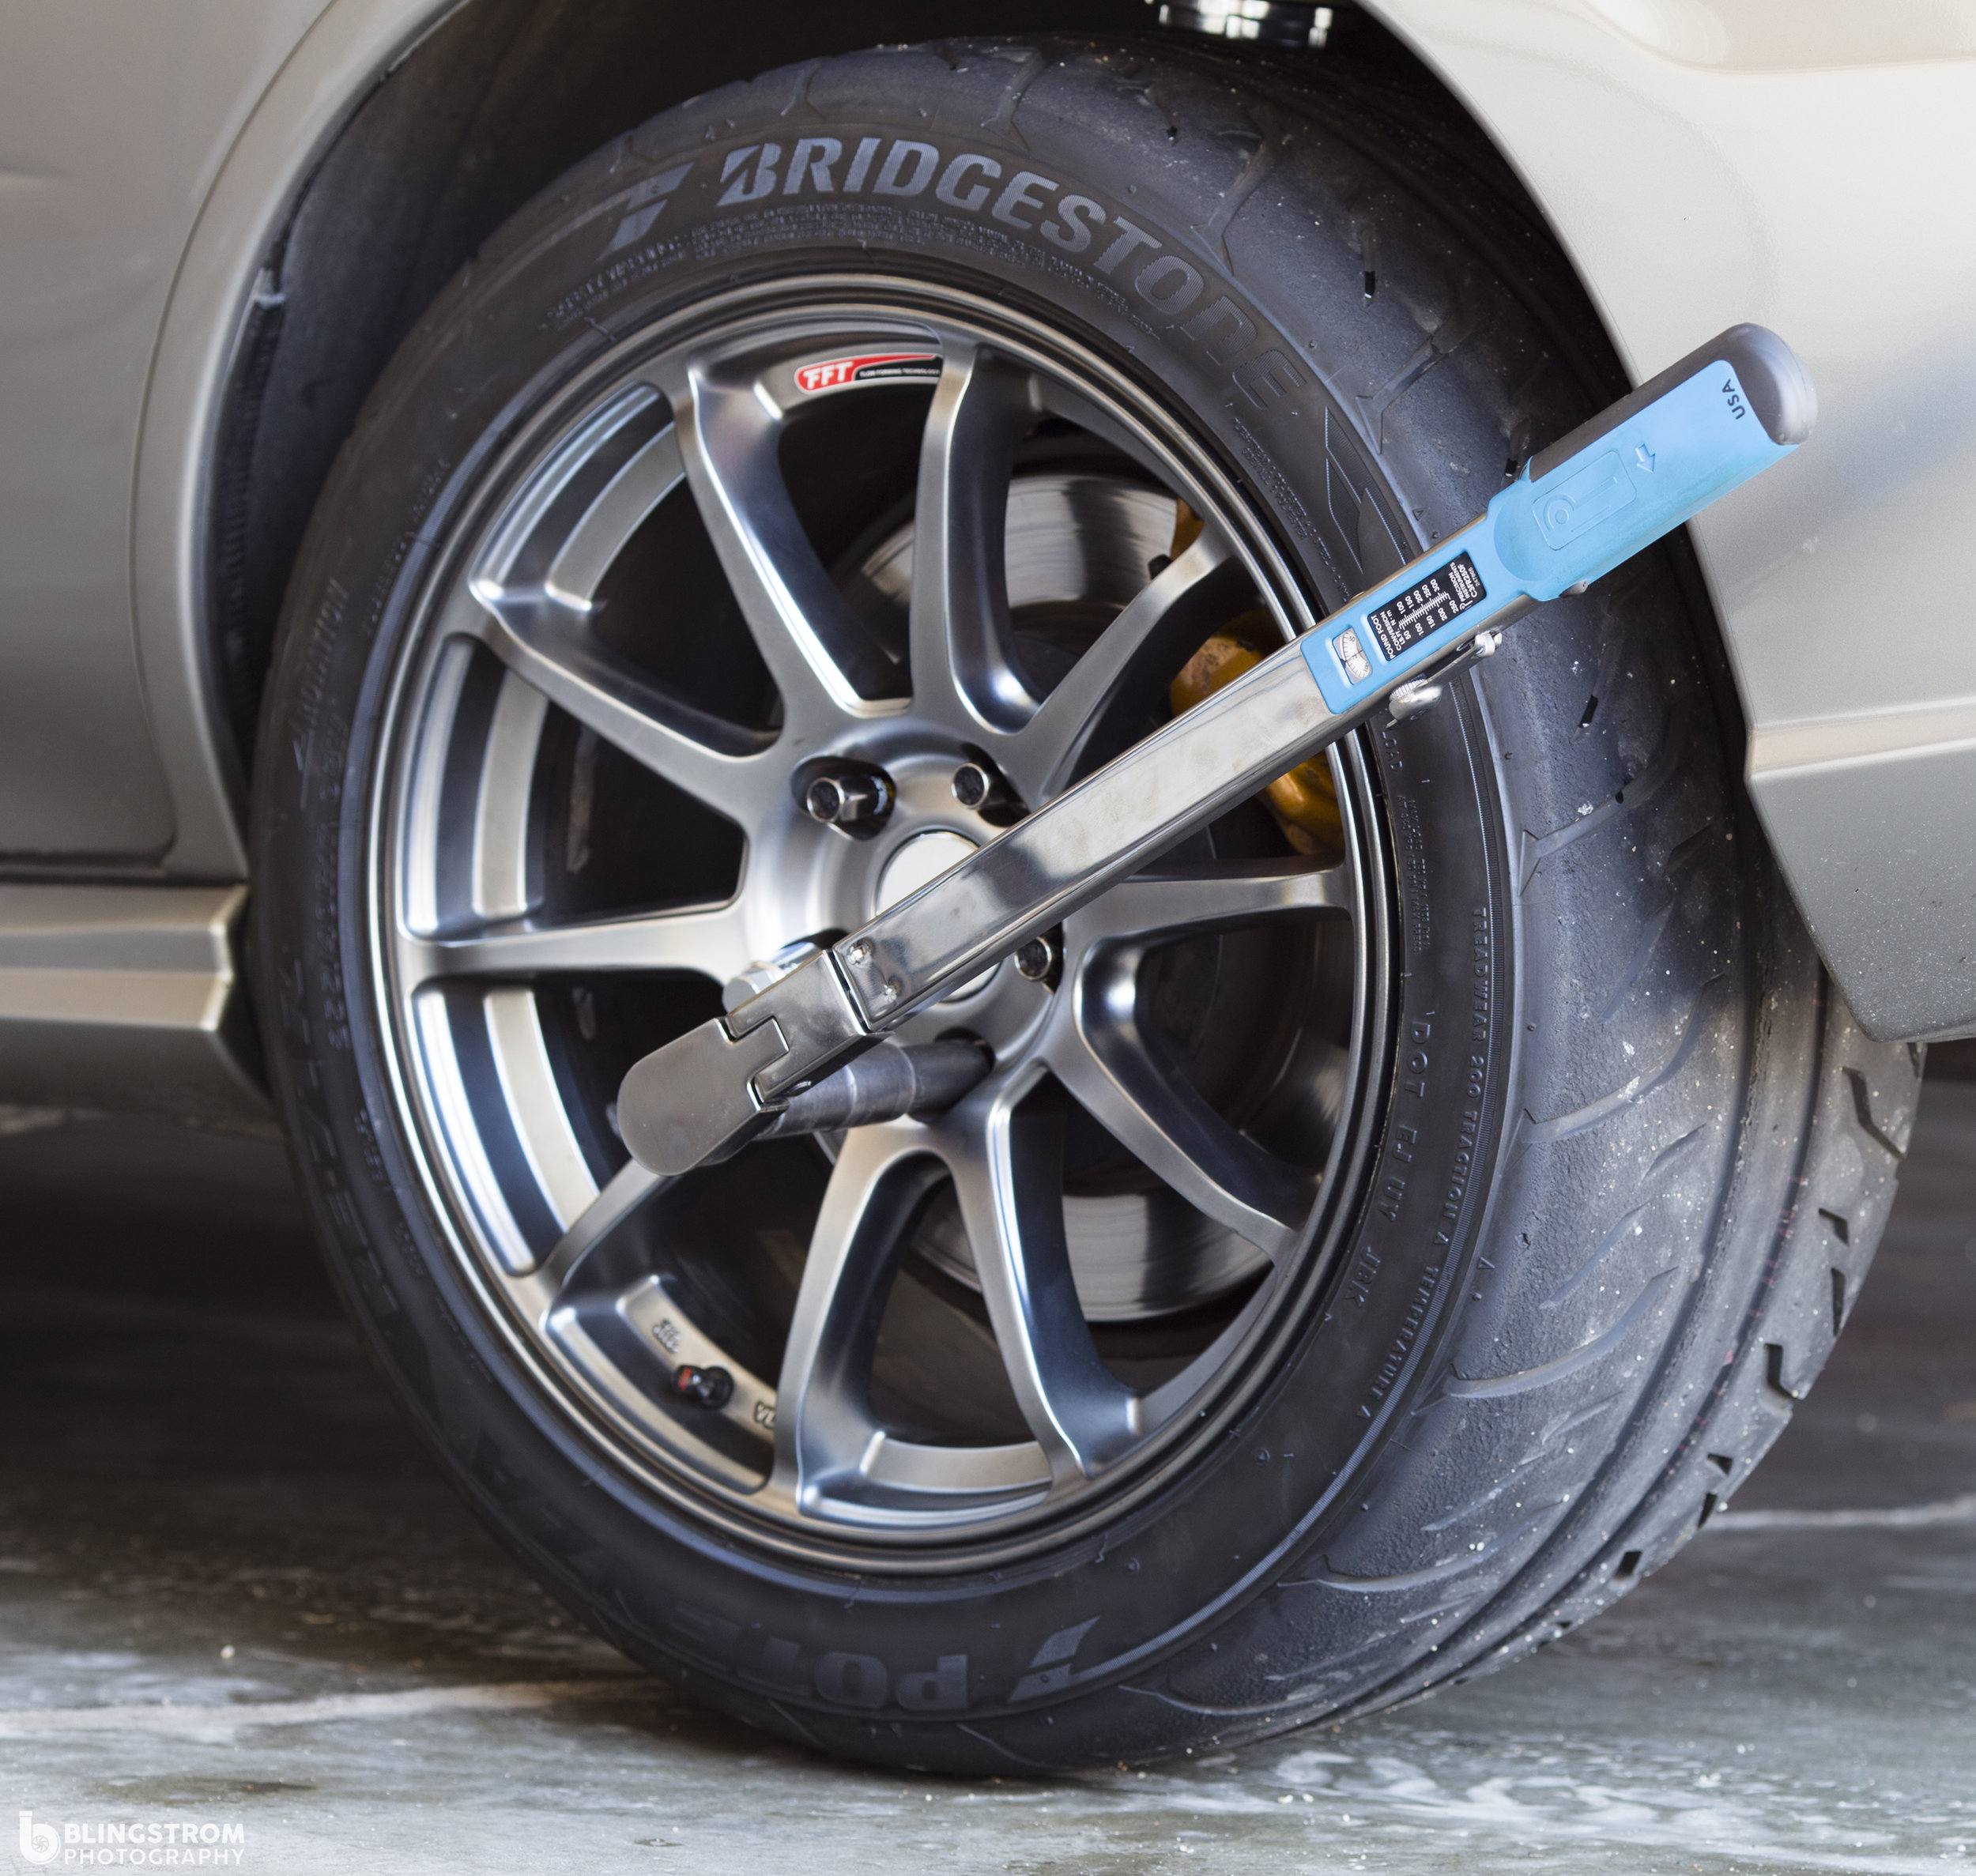
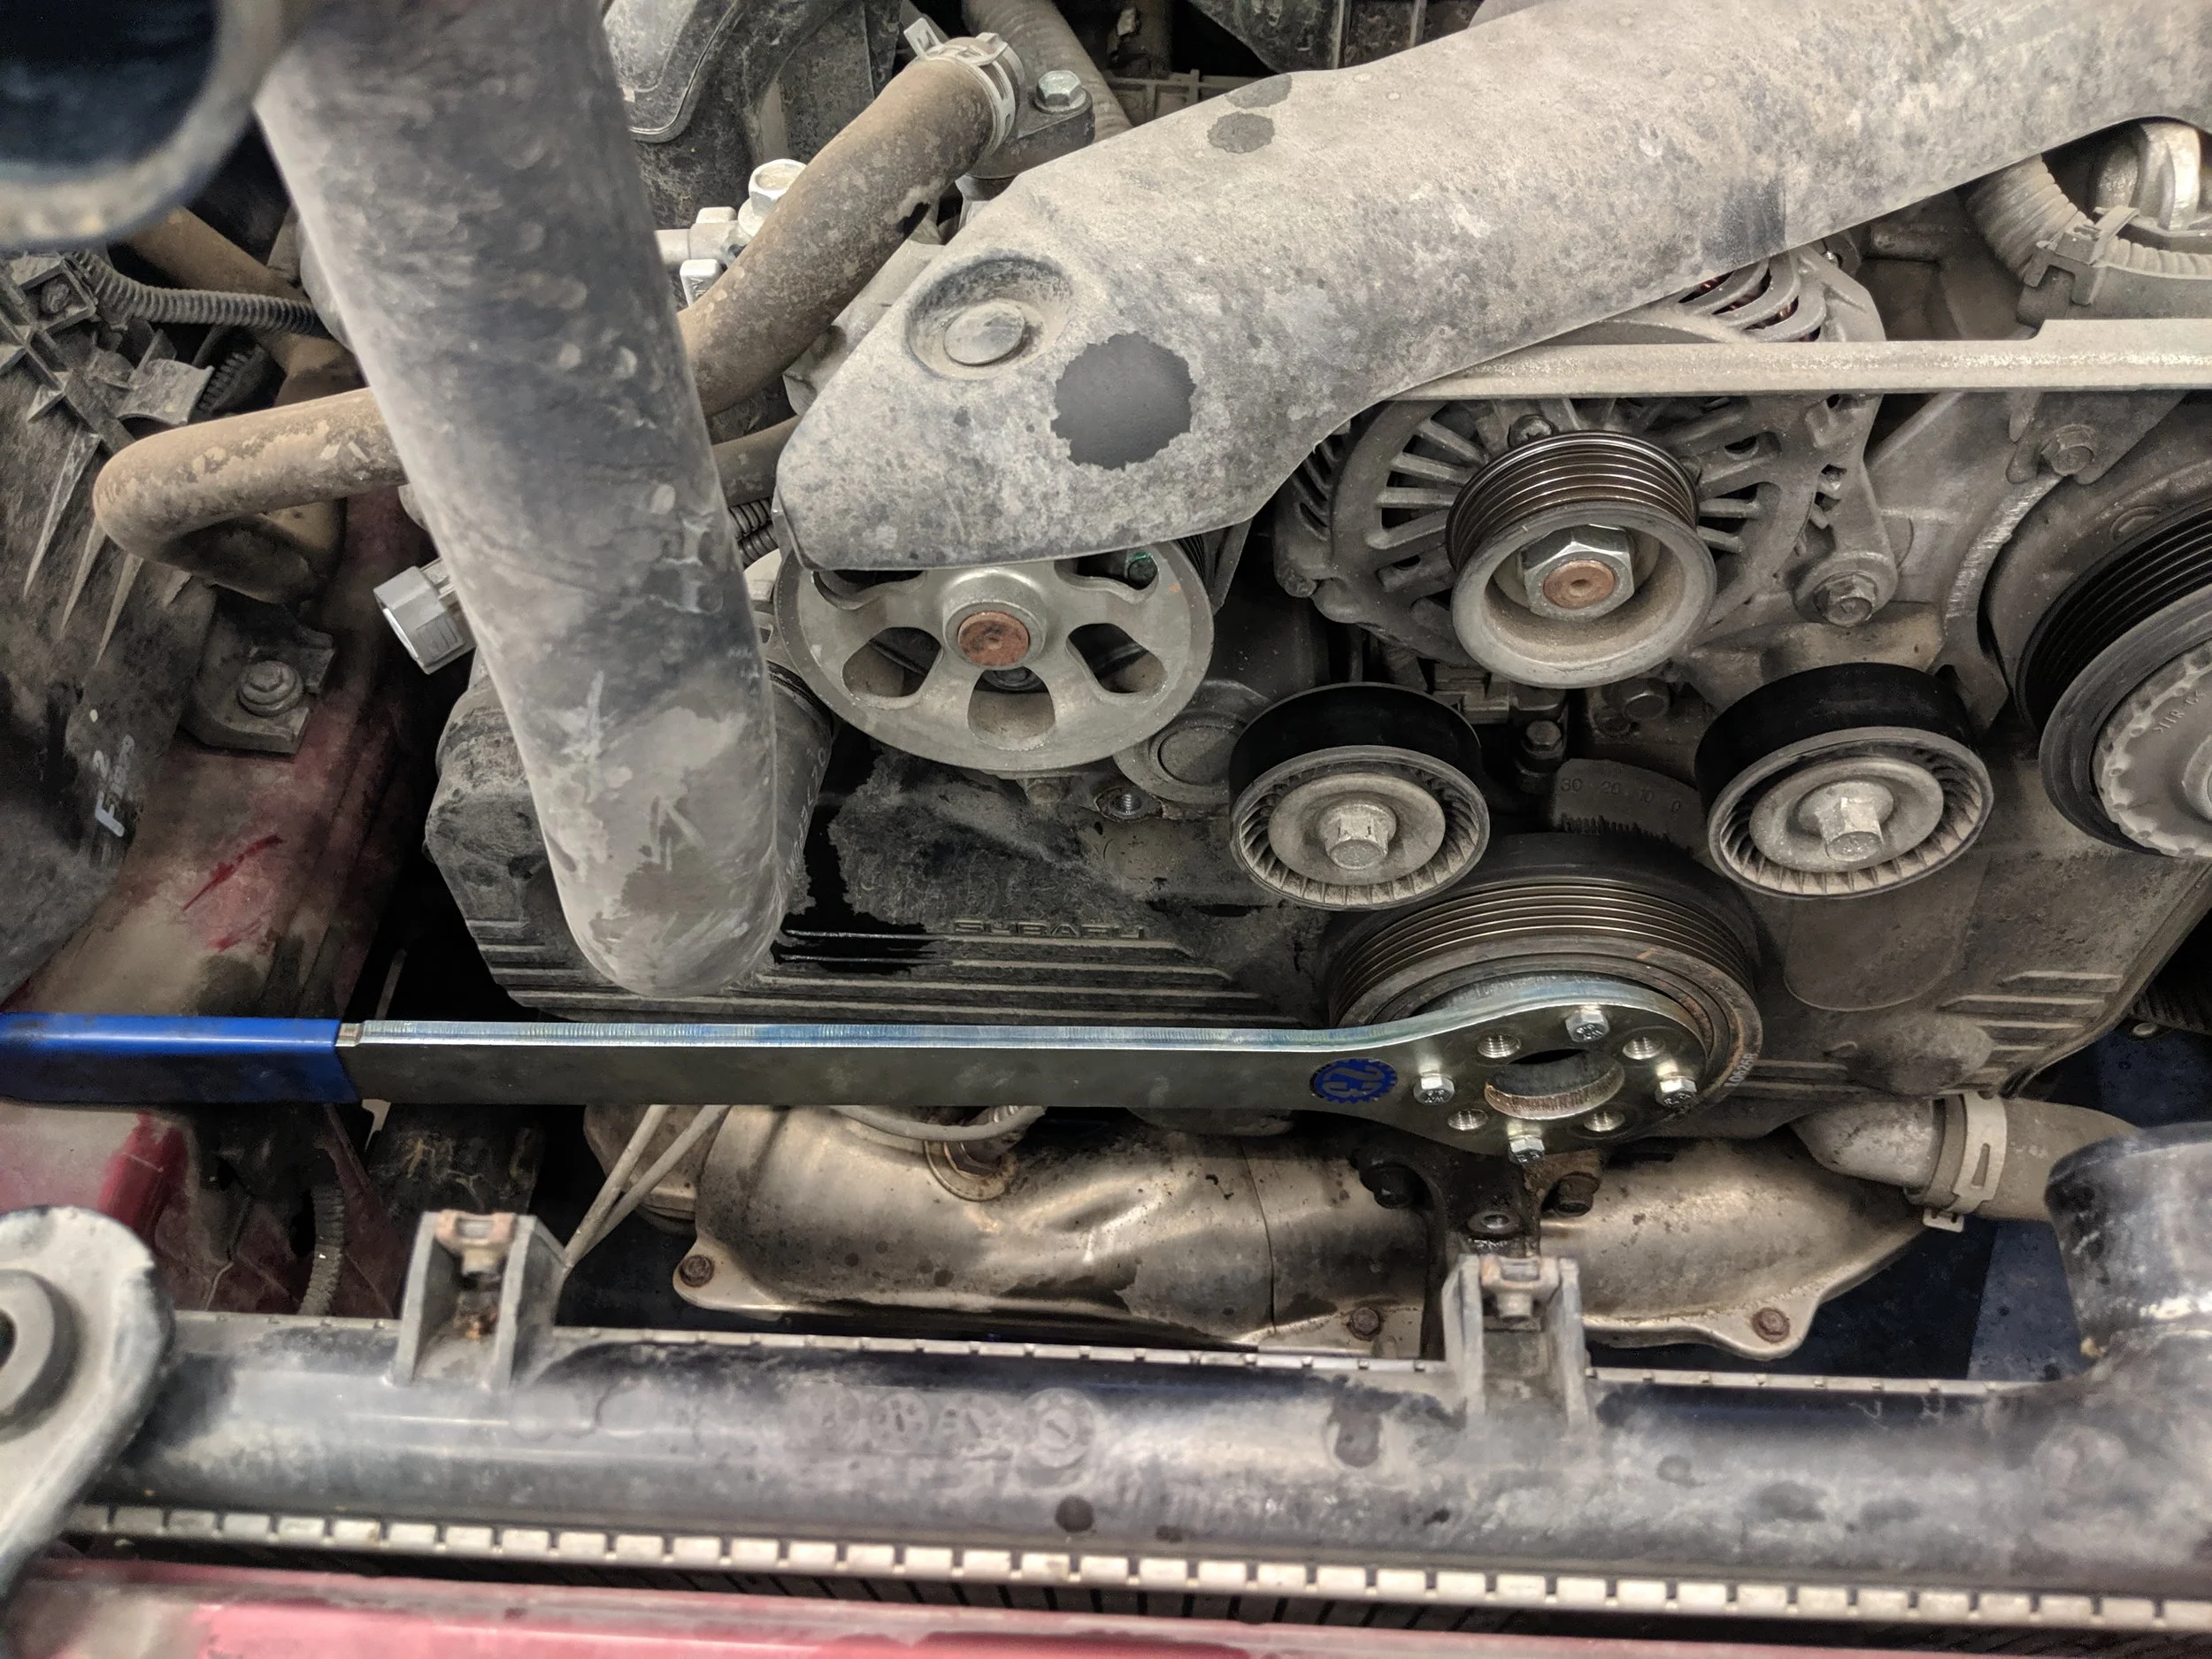
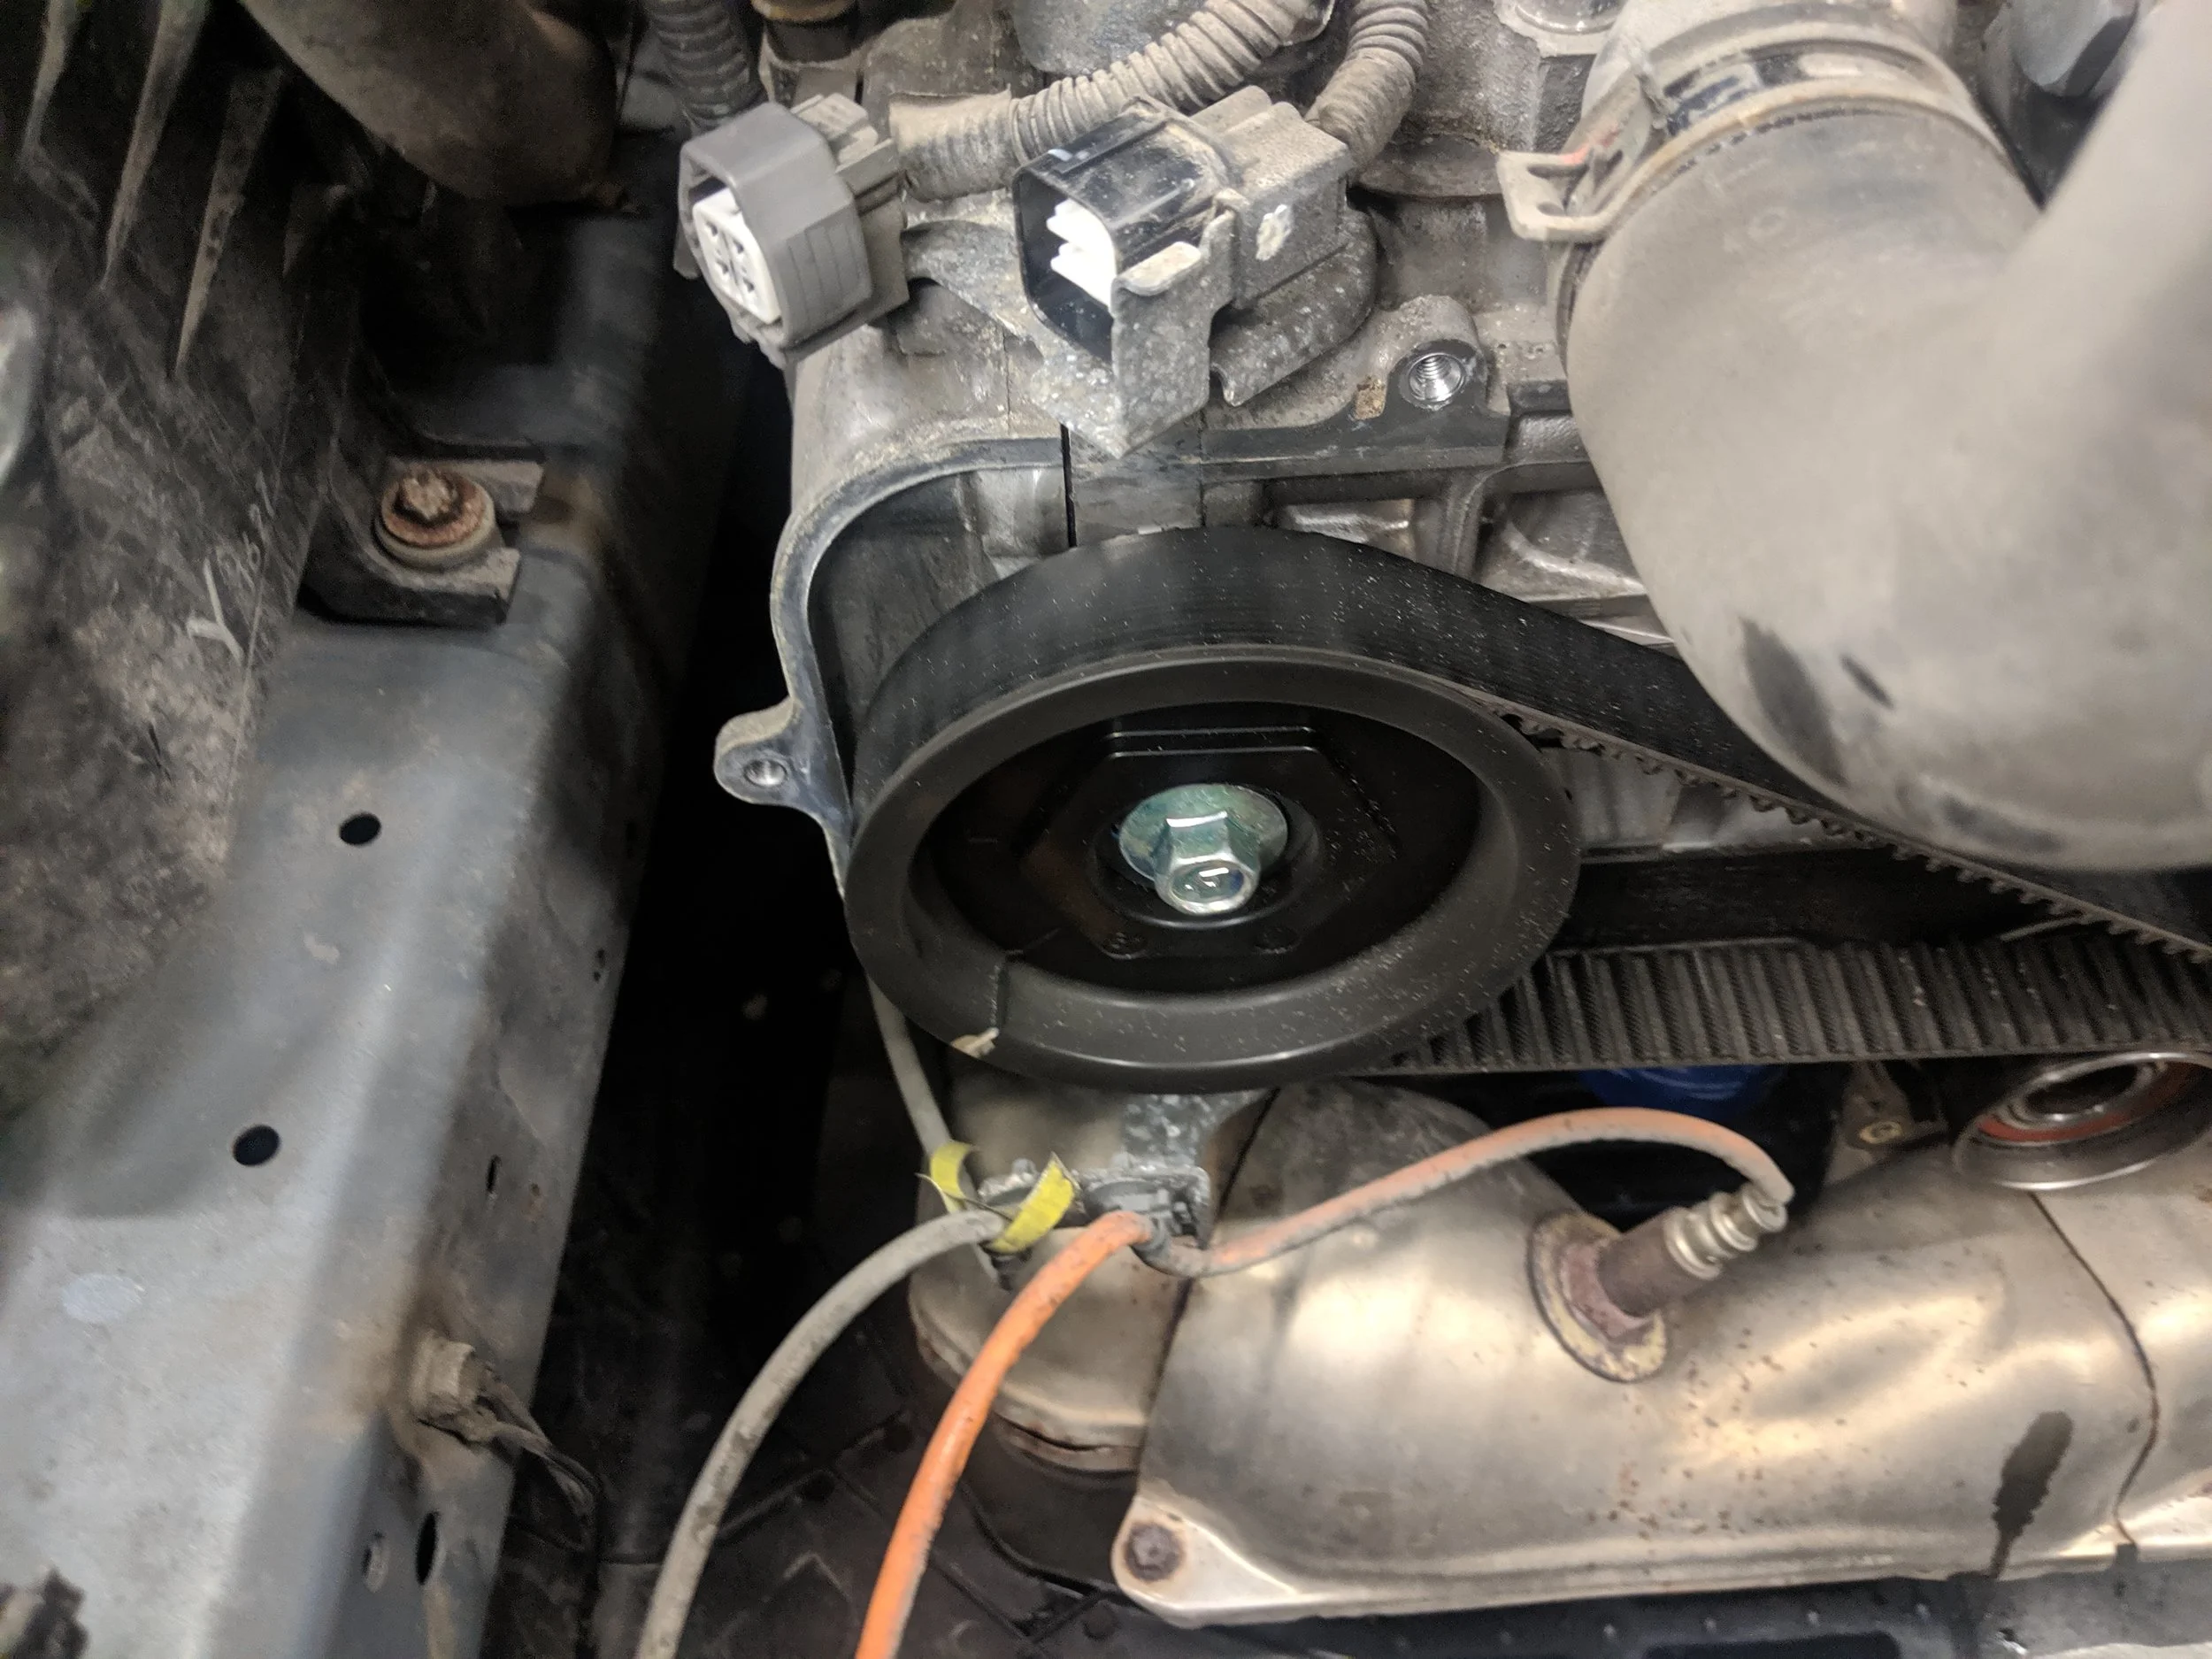
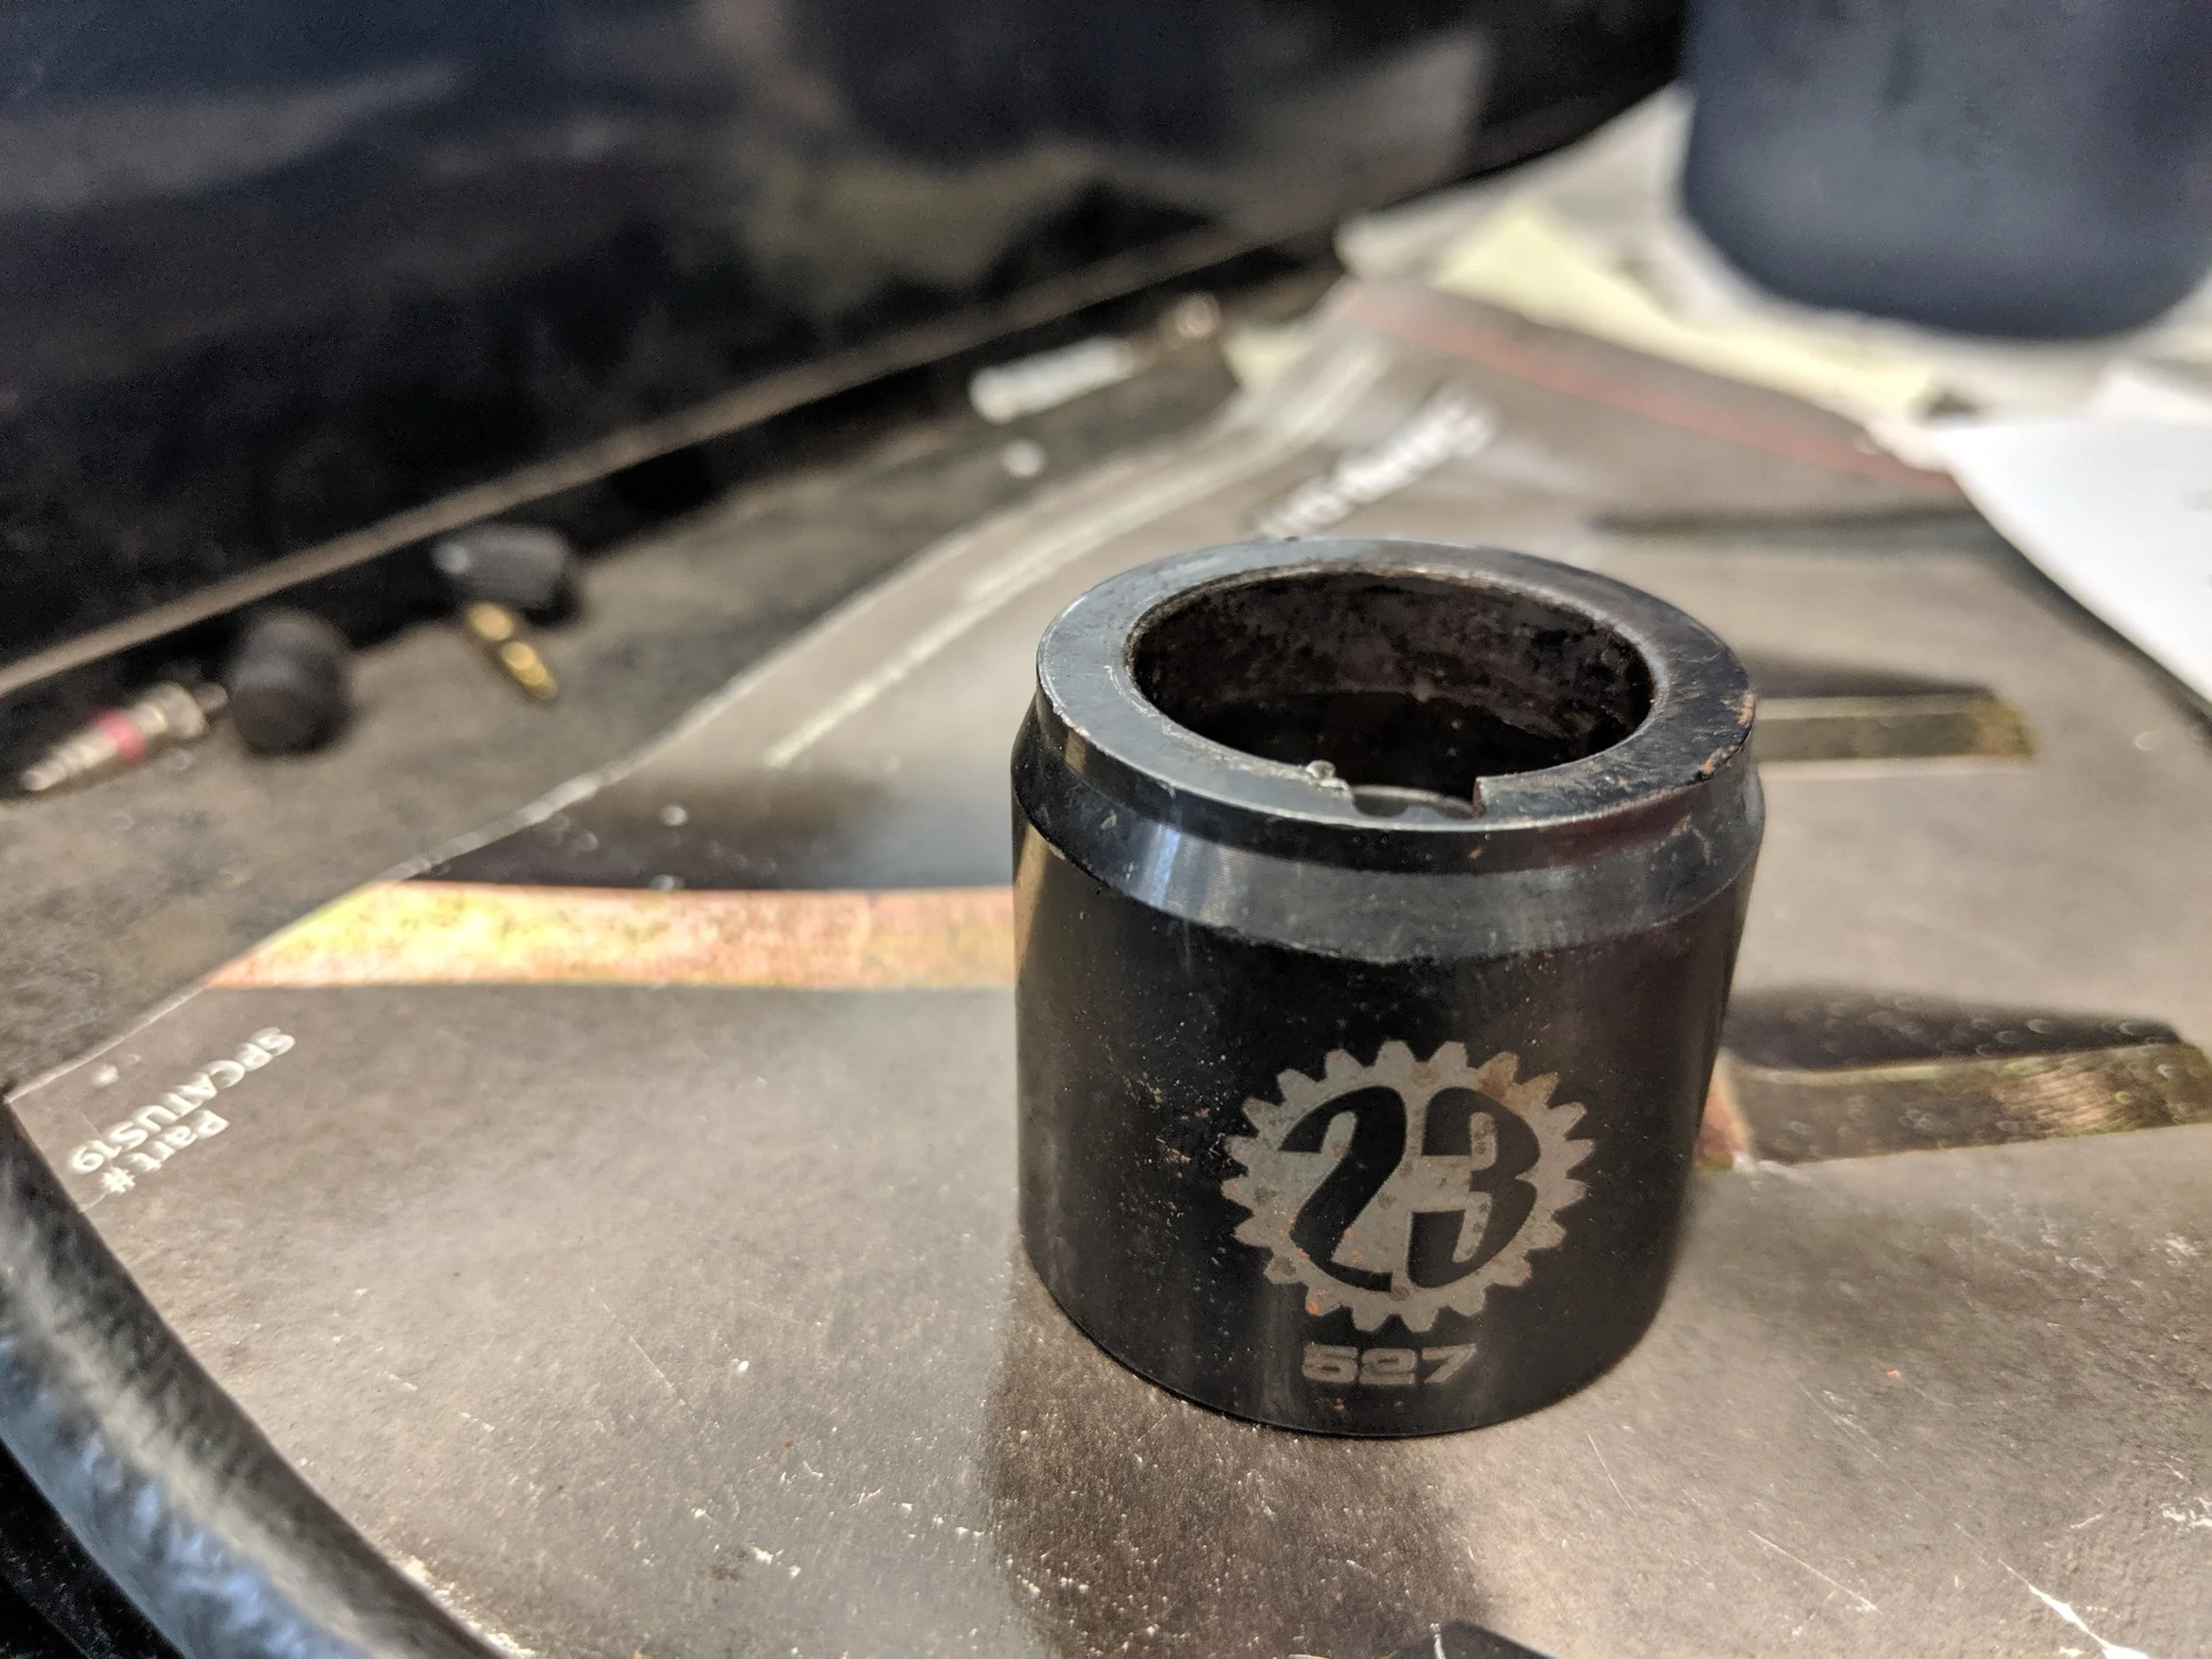
With both belts removed from the crank pulley, we can begin to remove it This are torqued at 130 foot pounds, so be ready for a battle. The Company23 crank pulley holder can make this an easy job when paired with a nice sized breaker bar. Once it is removed spray the surrounding area with rust penetrant, this will help the pulley slide off the crank snout.
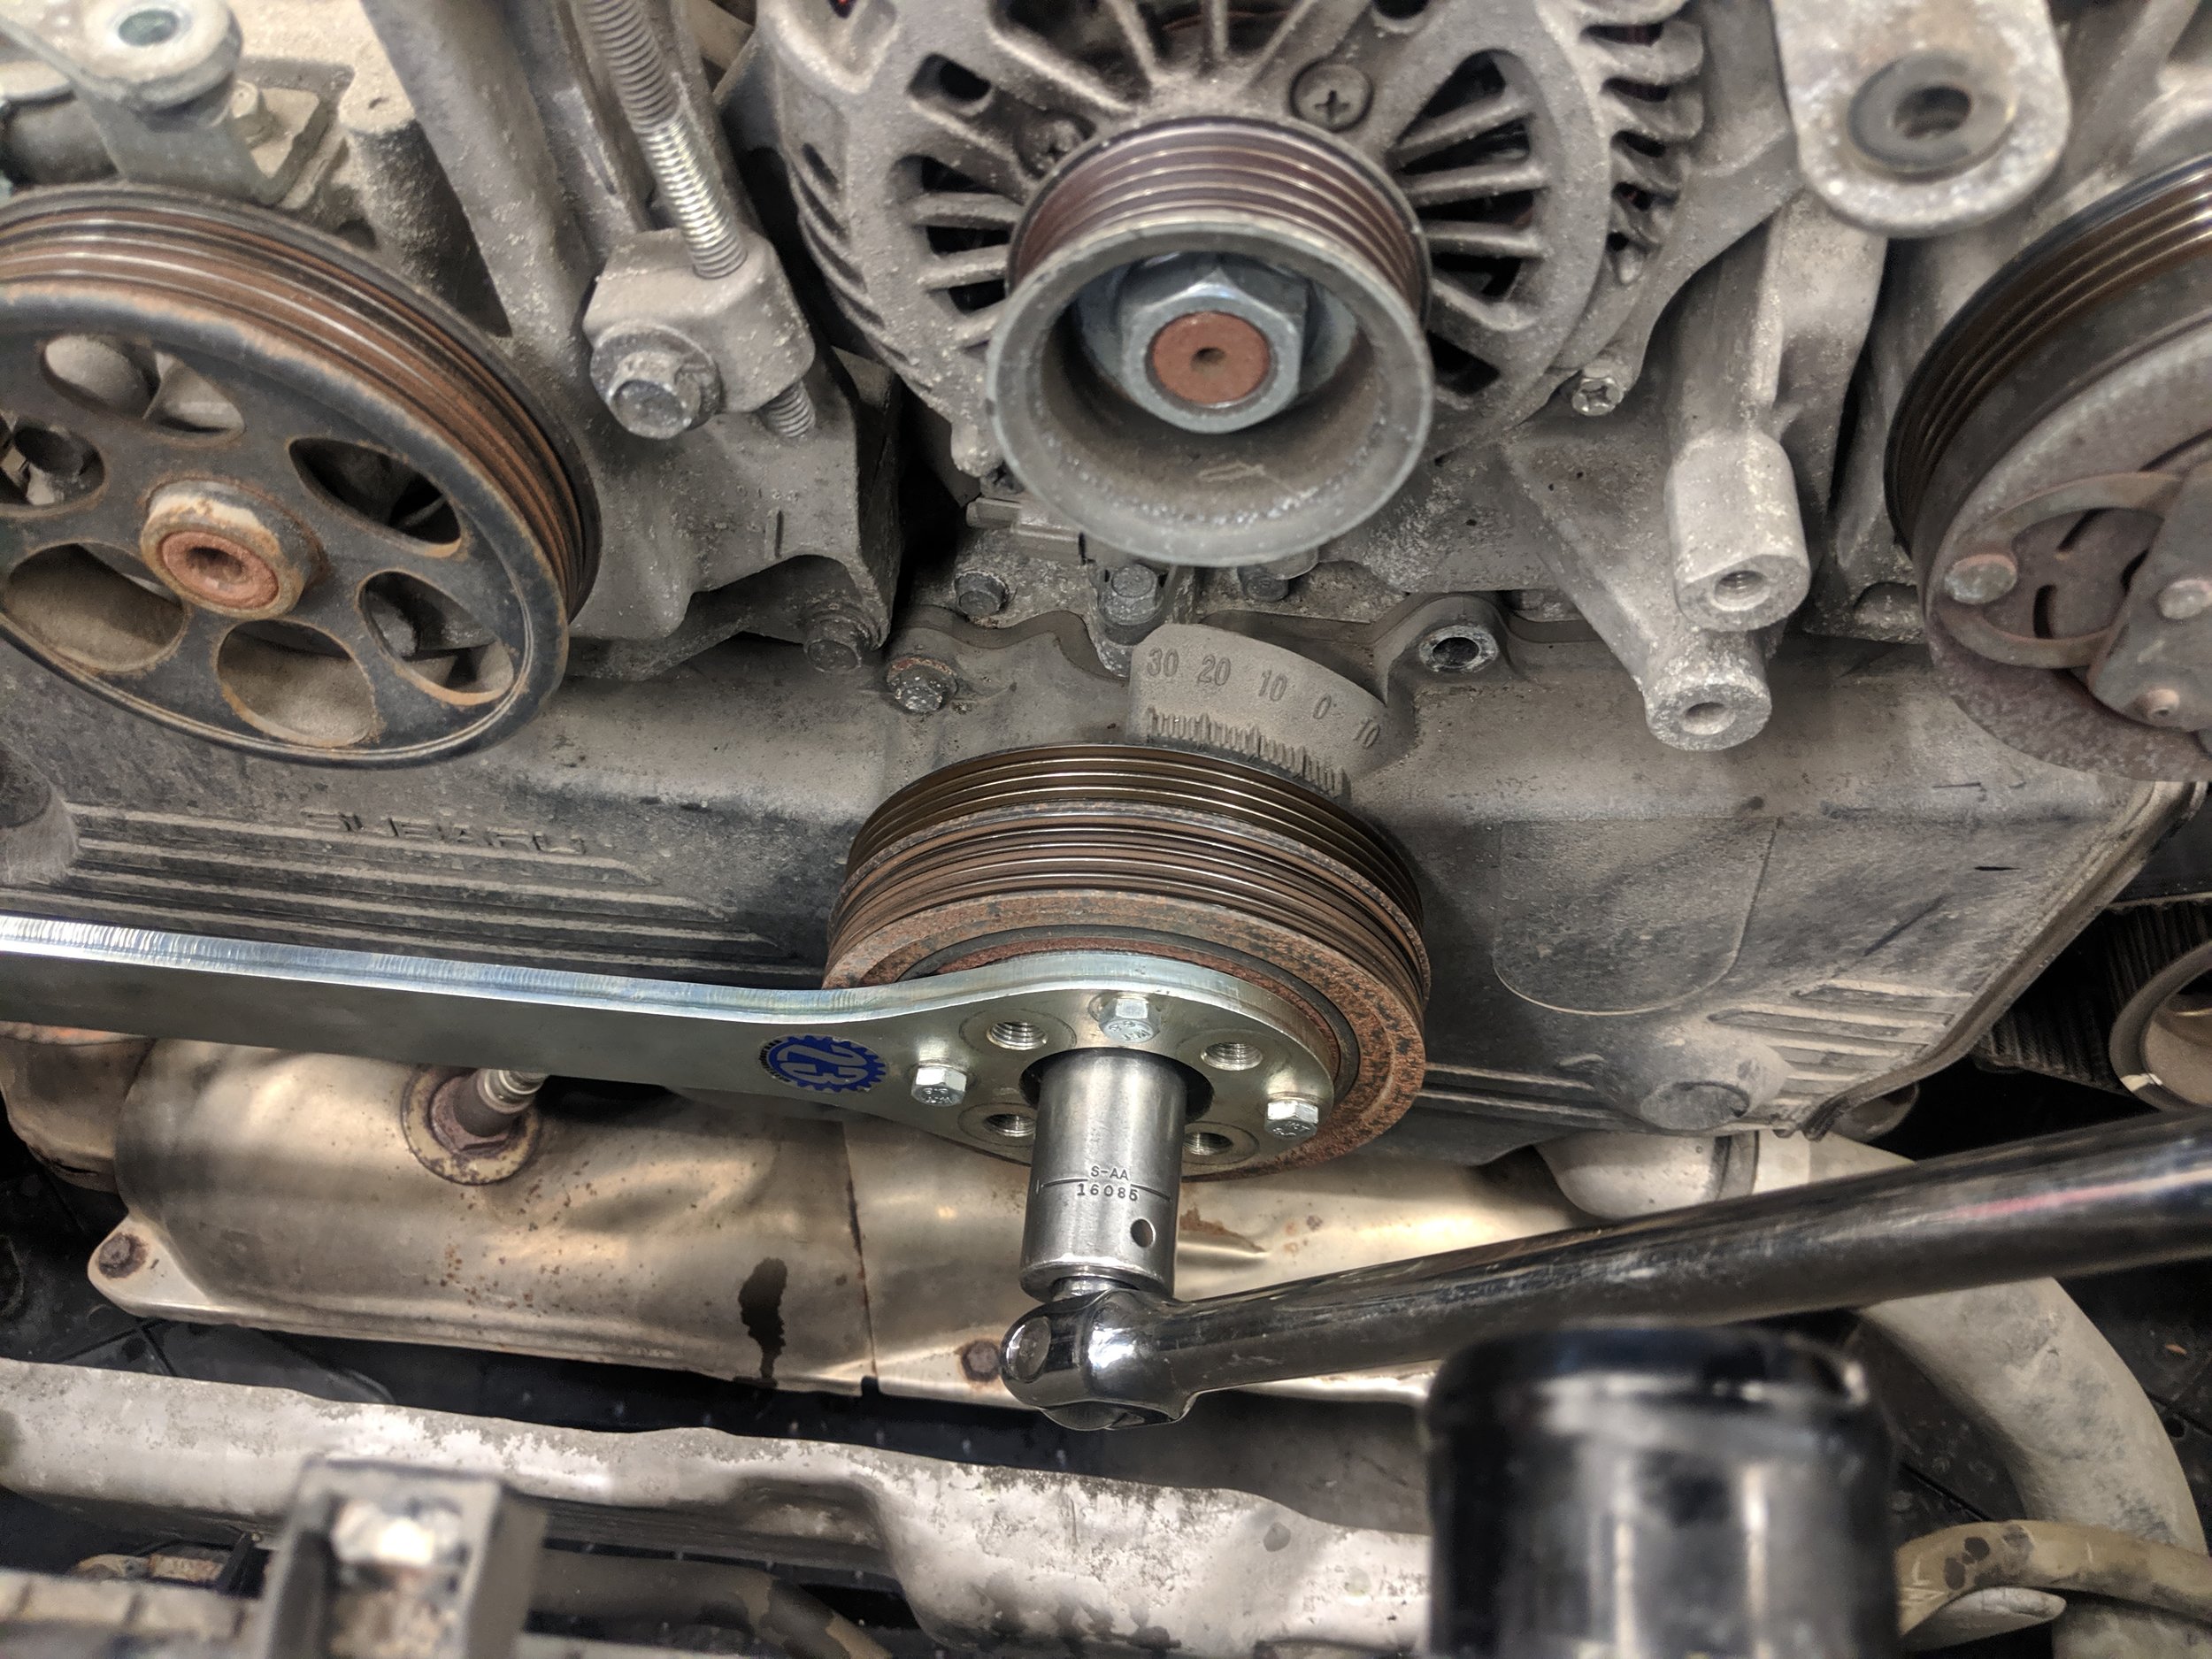
Breaking the pulley loose can take quit a bit of force. These tools will help make this a nonissue.
You can use a dedicated crank puller but I generally use a few nice sized taps with my rubber mallet to help beak it free. I generally will rethread the pulley bolt back into crank to make sure the crank pulley doesn’t fall off the snout and become damaged.
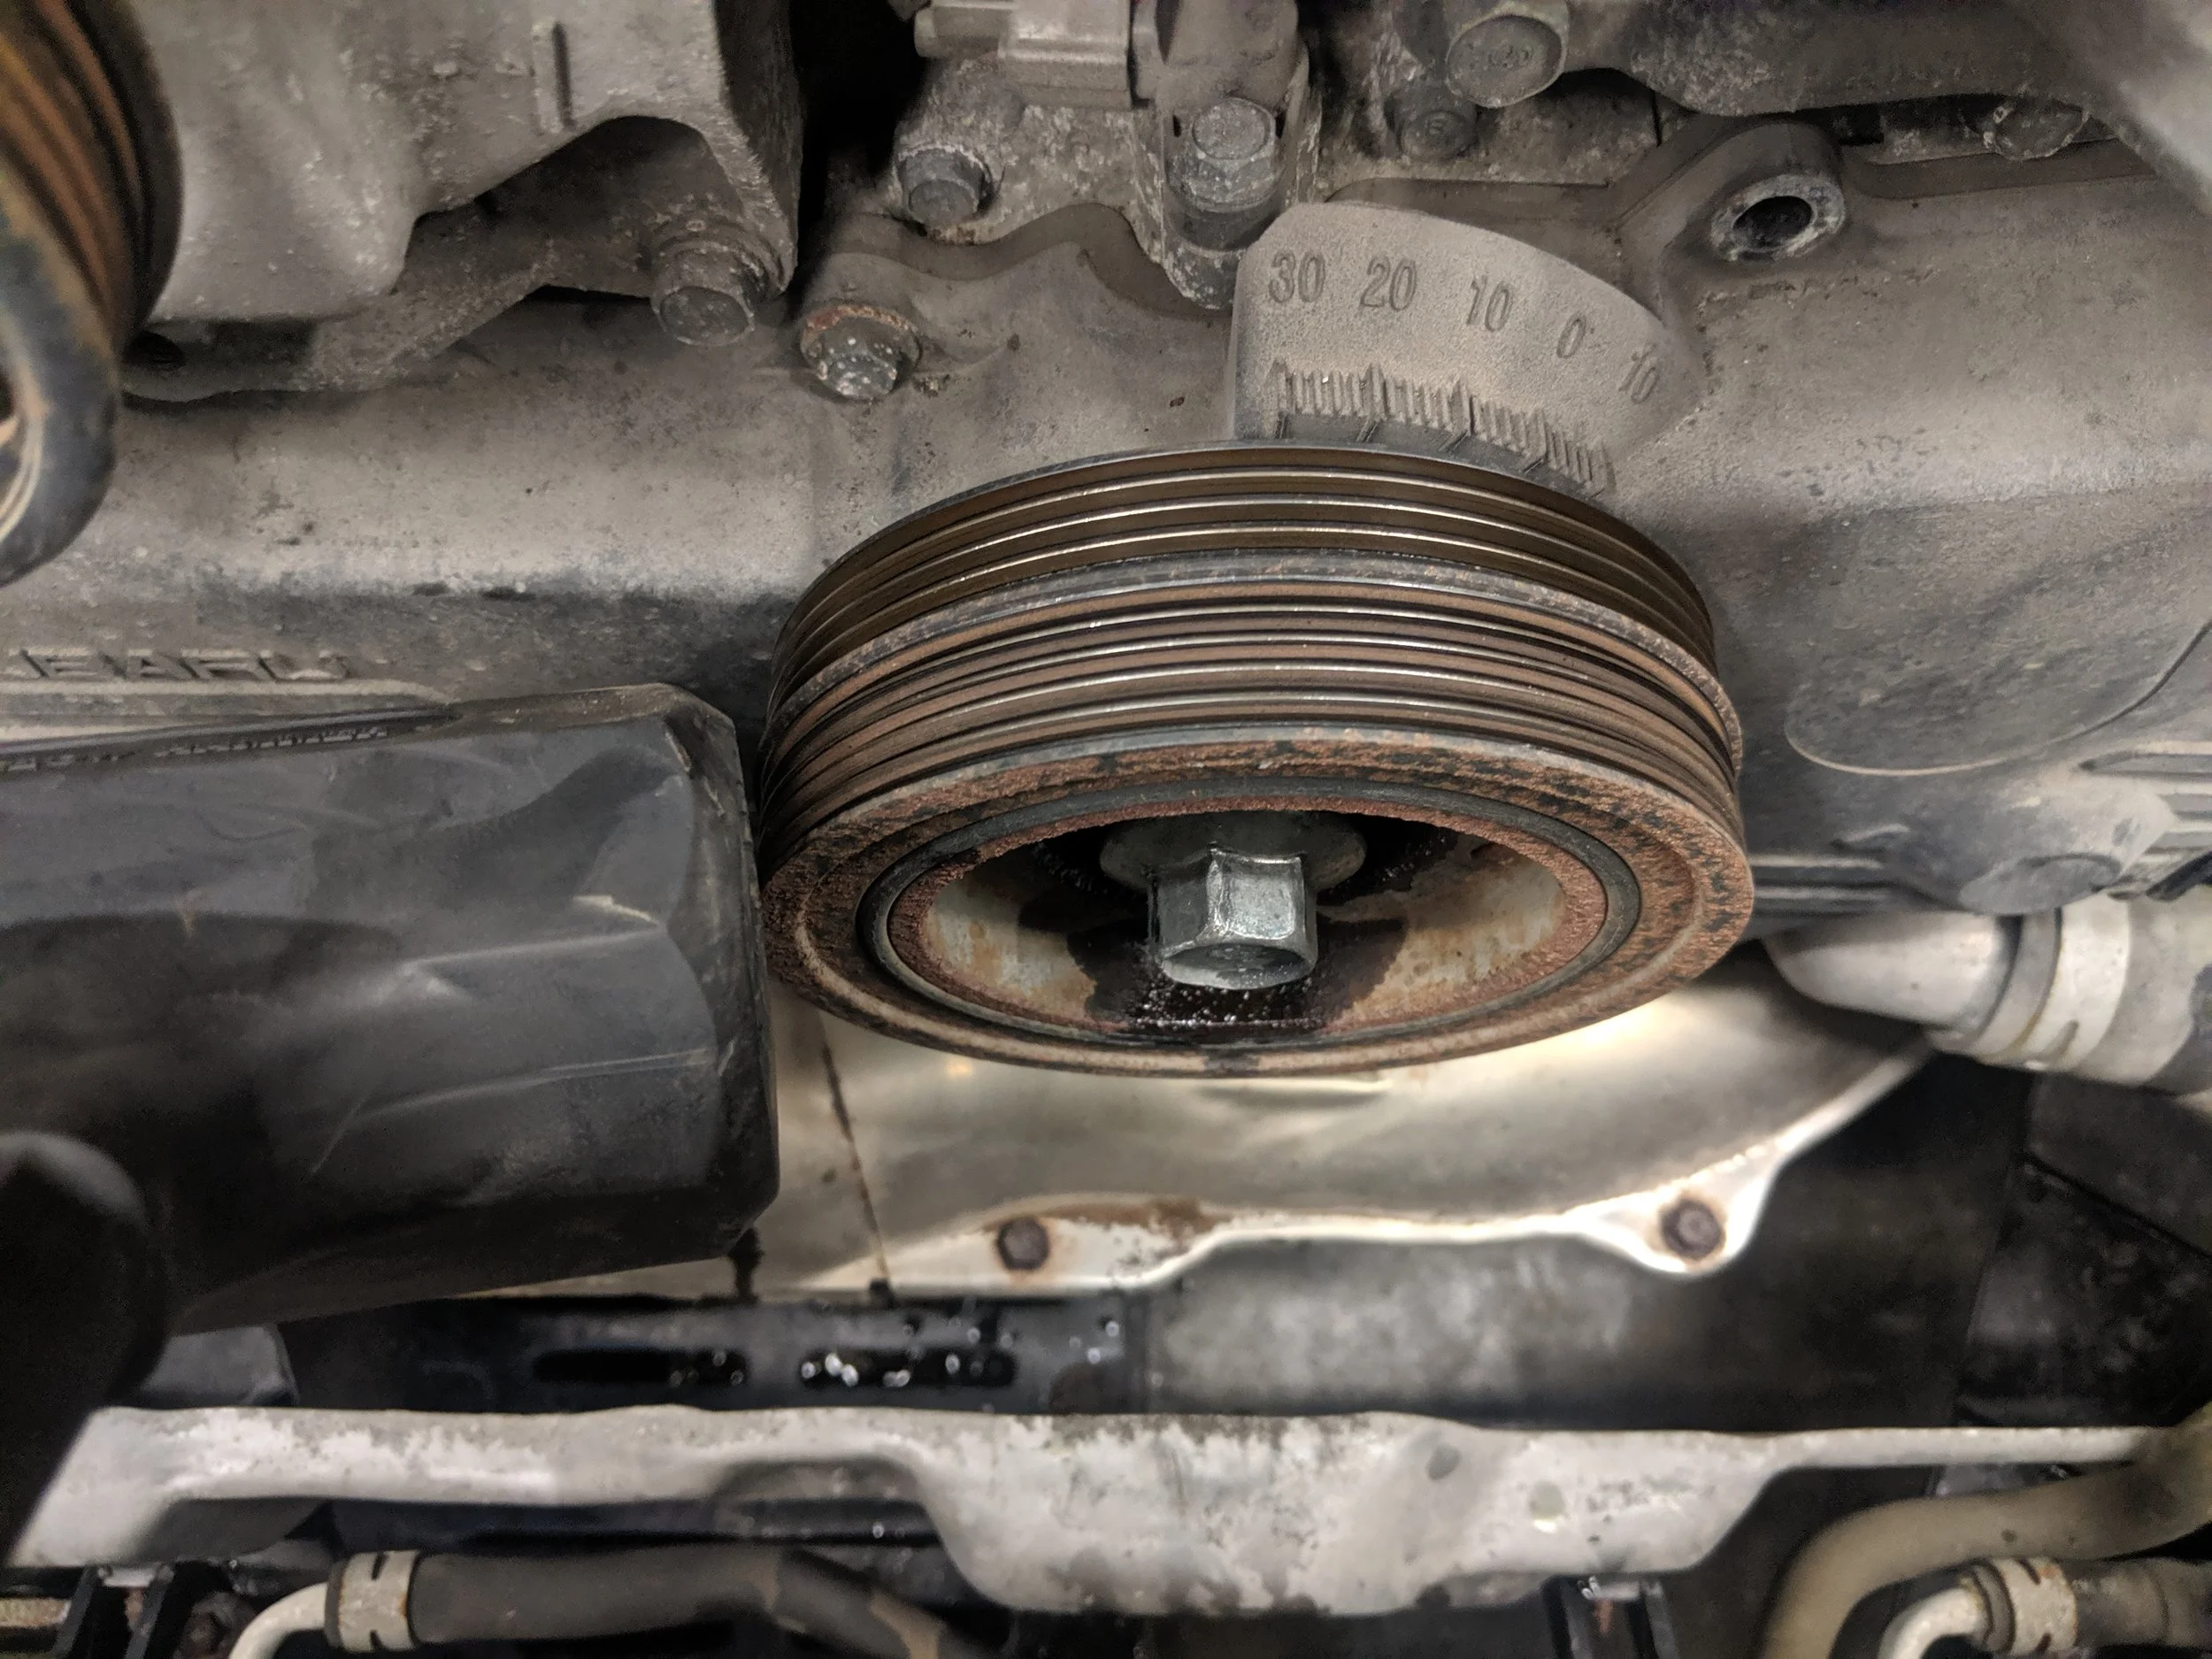
With the pulley bolt hand threaded on, tap the crank pulley to loosen it off crank snout.
The O2 sensor wiring runs in front of the passenger timing cover, if you are looking to maximize your space you can disconnect them now or just push them to the side.
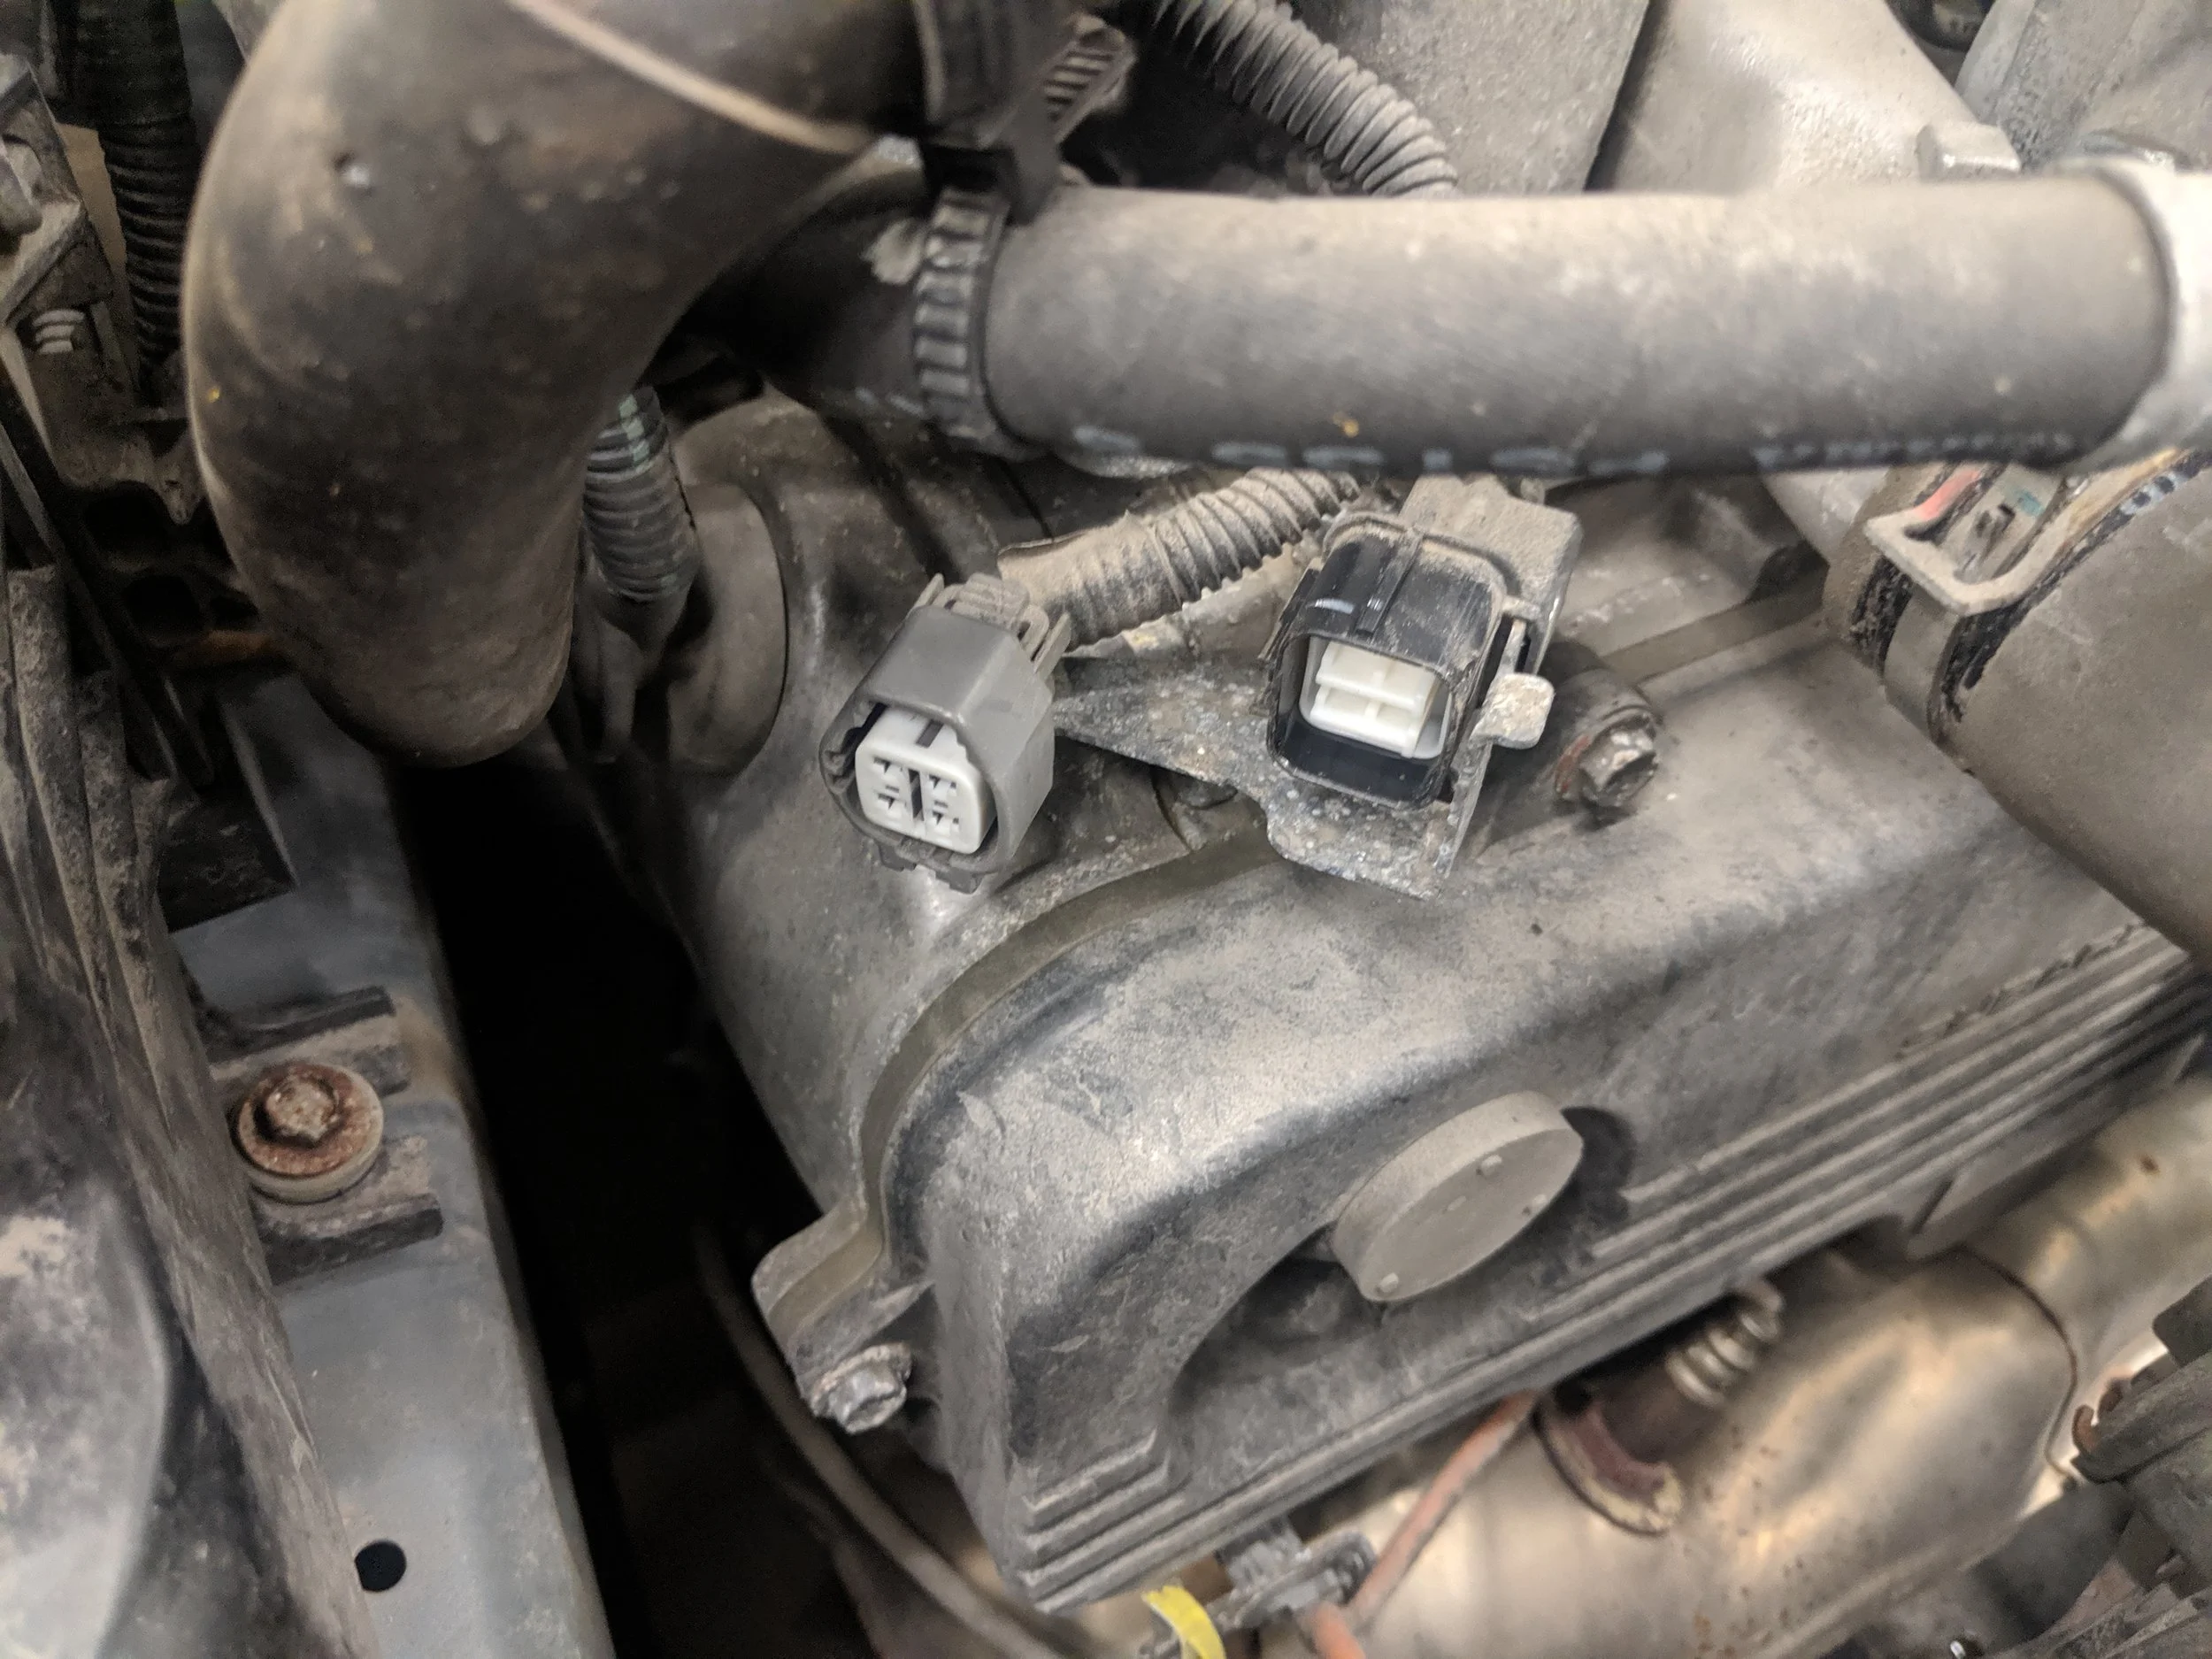
O2 wiring could be removed earlier, but we can make sure it is completed now.
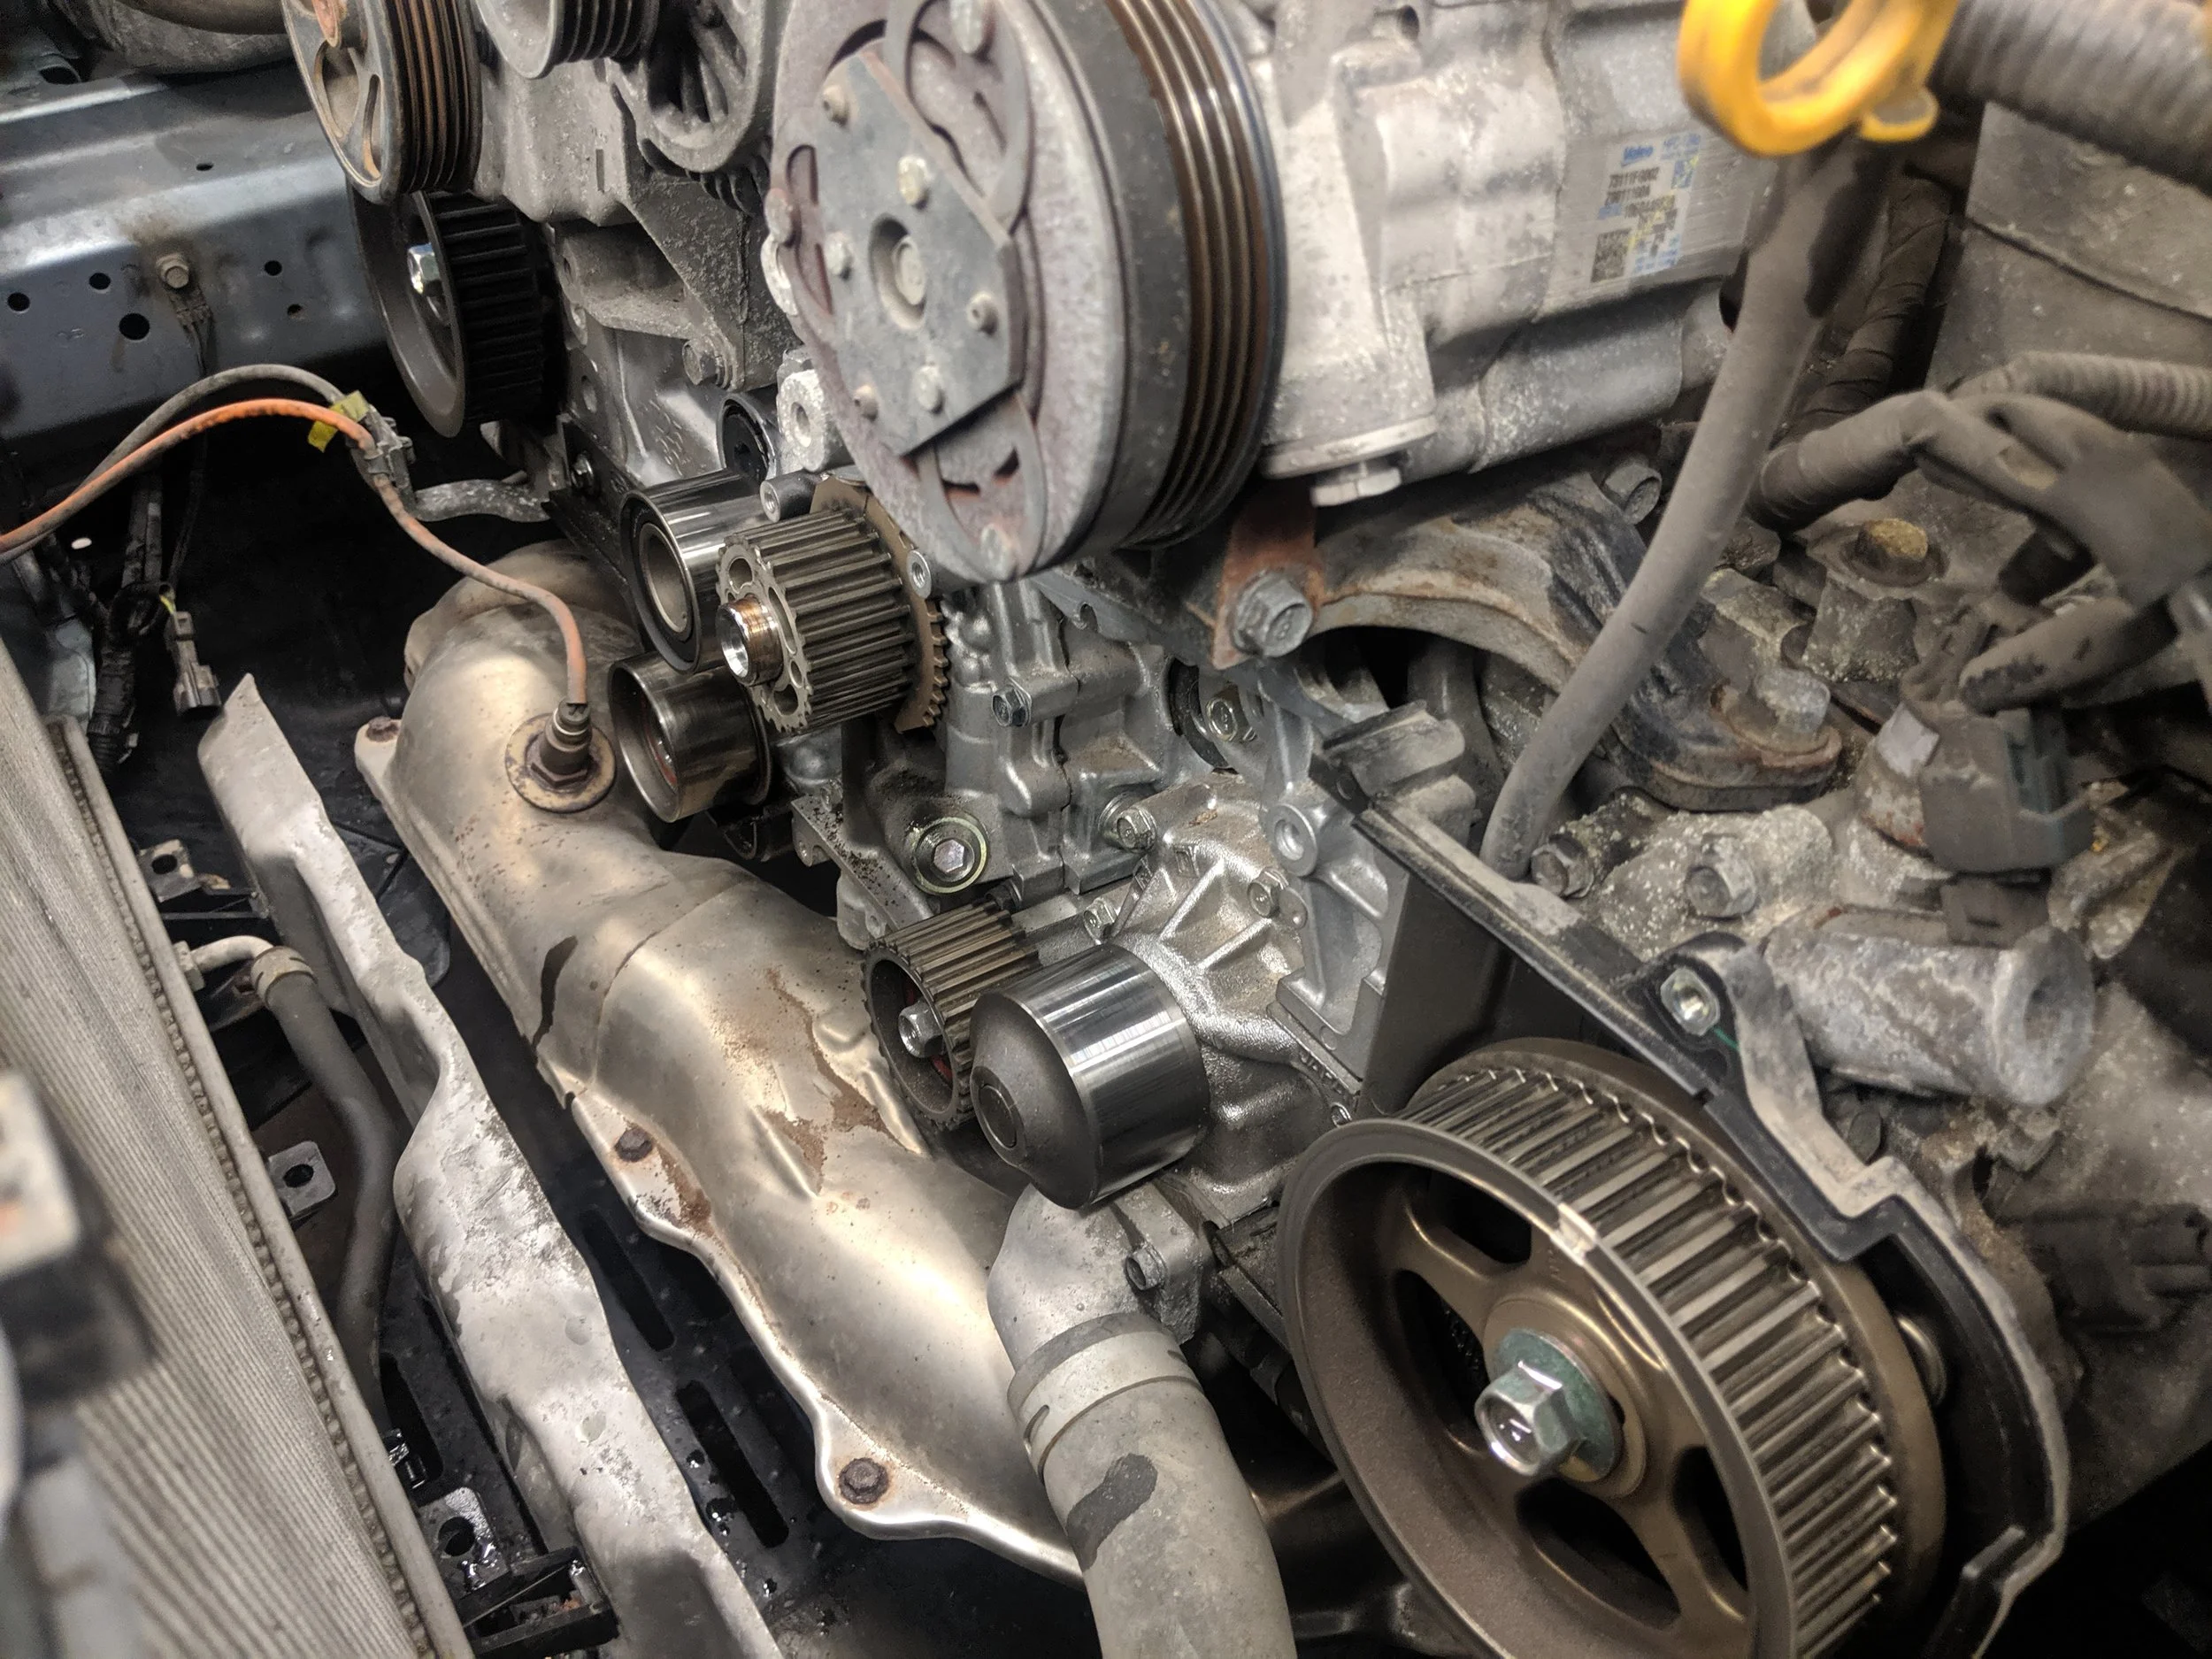
We can now start removing the timing belt covers. With you electric ratchet in hand and deep 10 mm, you will find that every six inches will be a bolt. Start with the driver’s side which is just three bolts, this will expose the driver’s side cam gear. On to the larger passenger side, there many more bolts, some even hidden from view. So before you go gorilla trying to remove the cover, give it a quick double check or watch where the resistance is coming from. With the cover removed the full timing belt system will be visible.
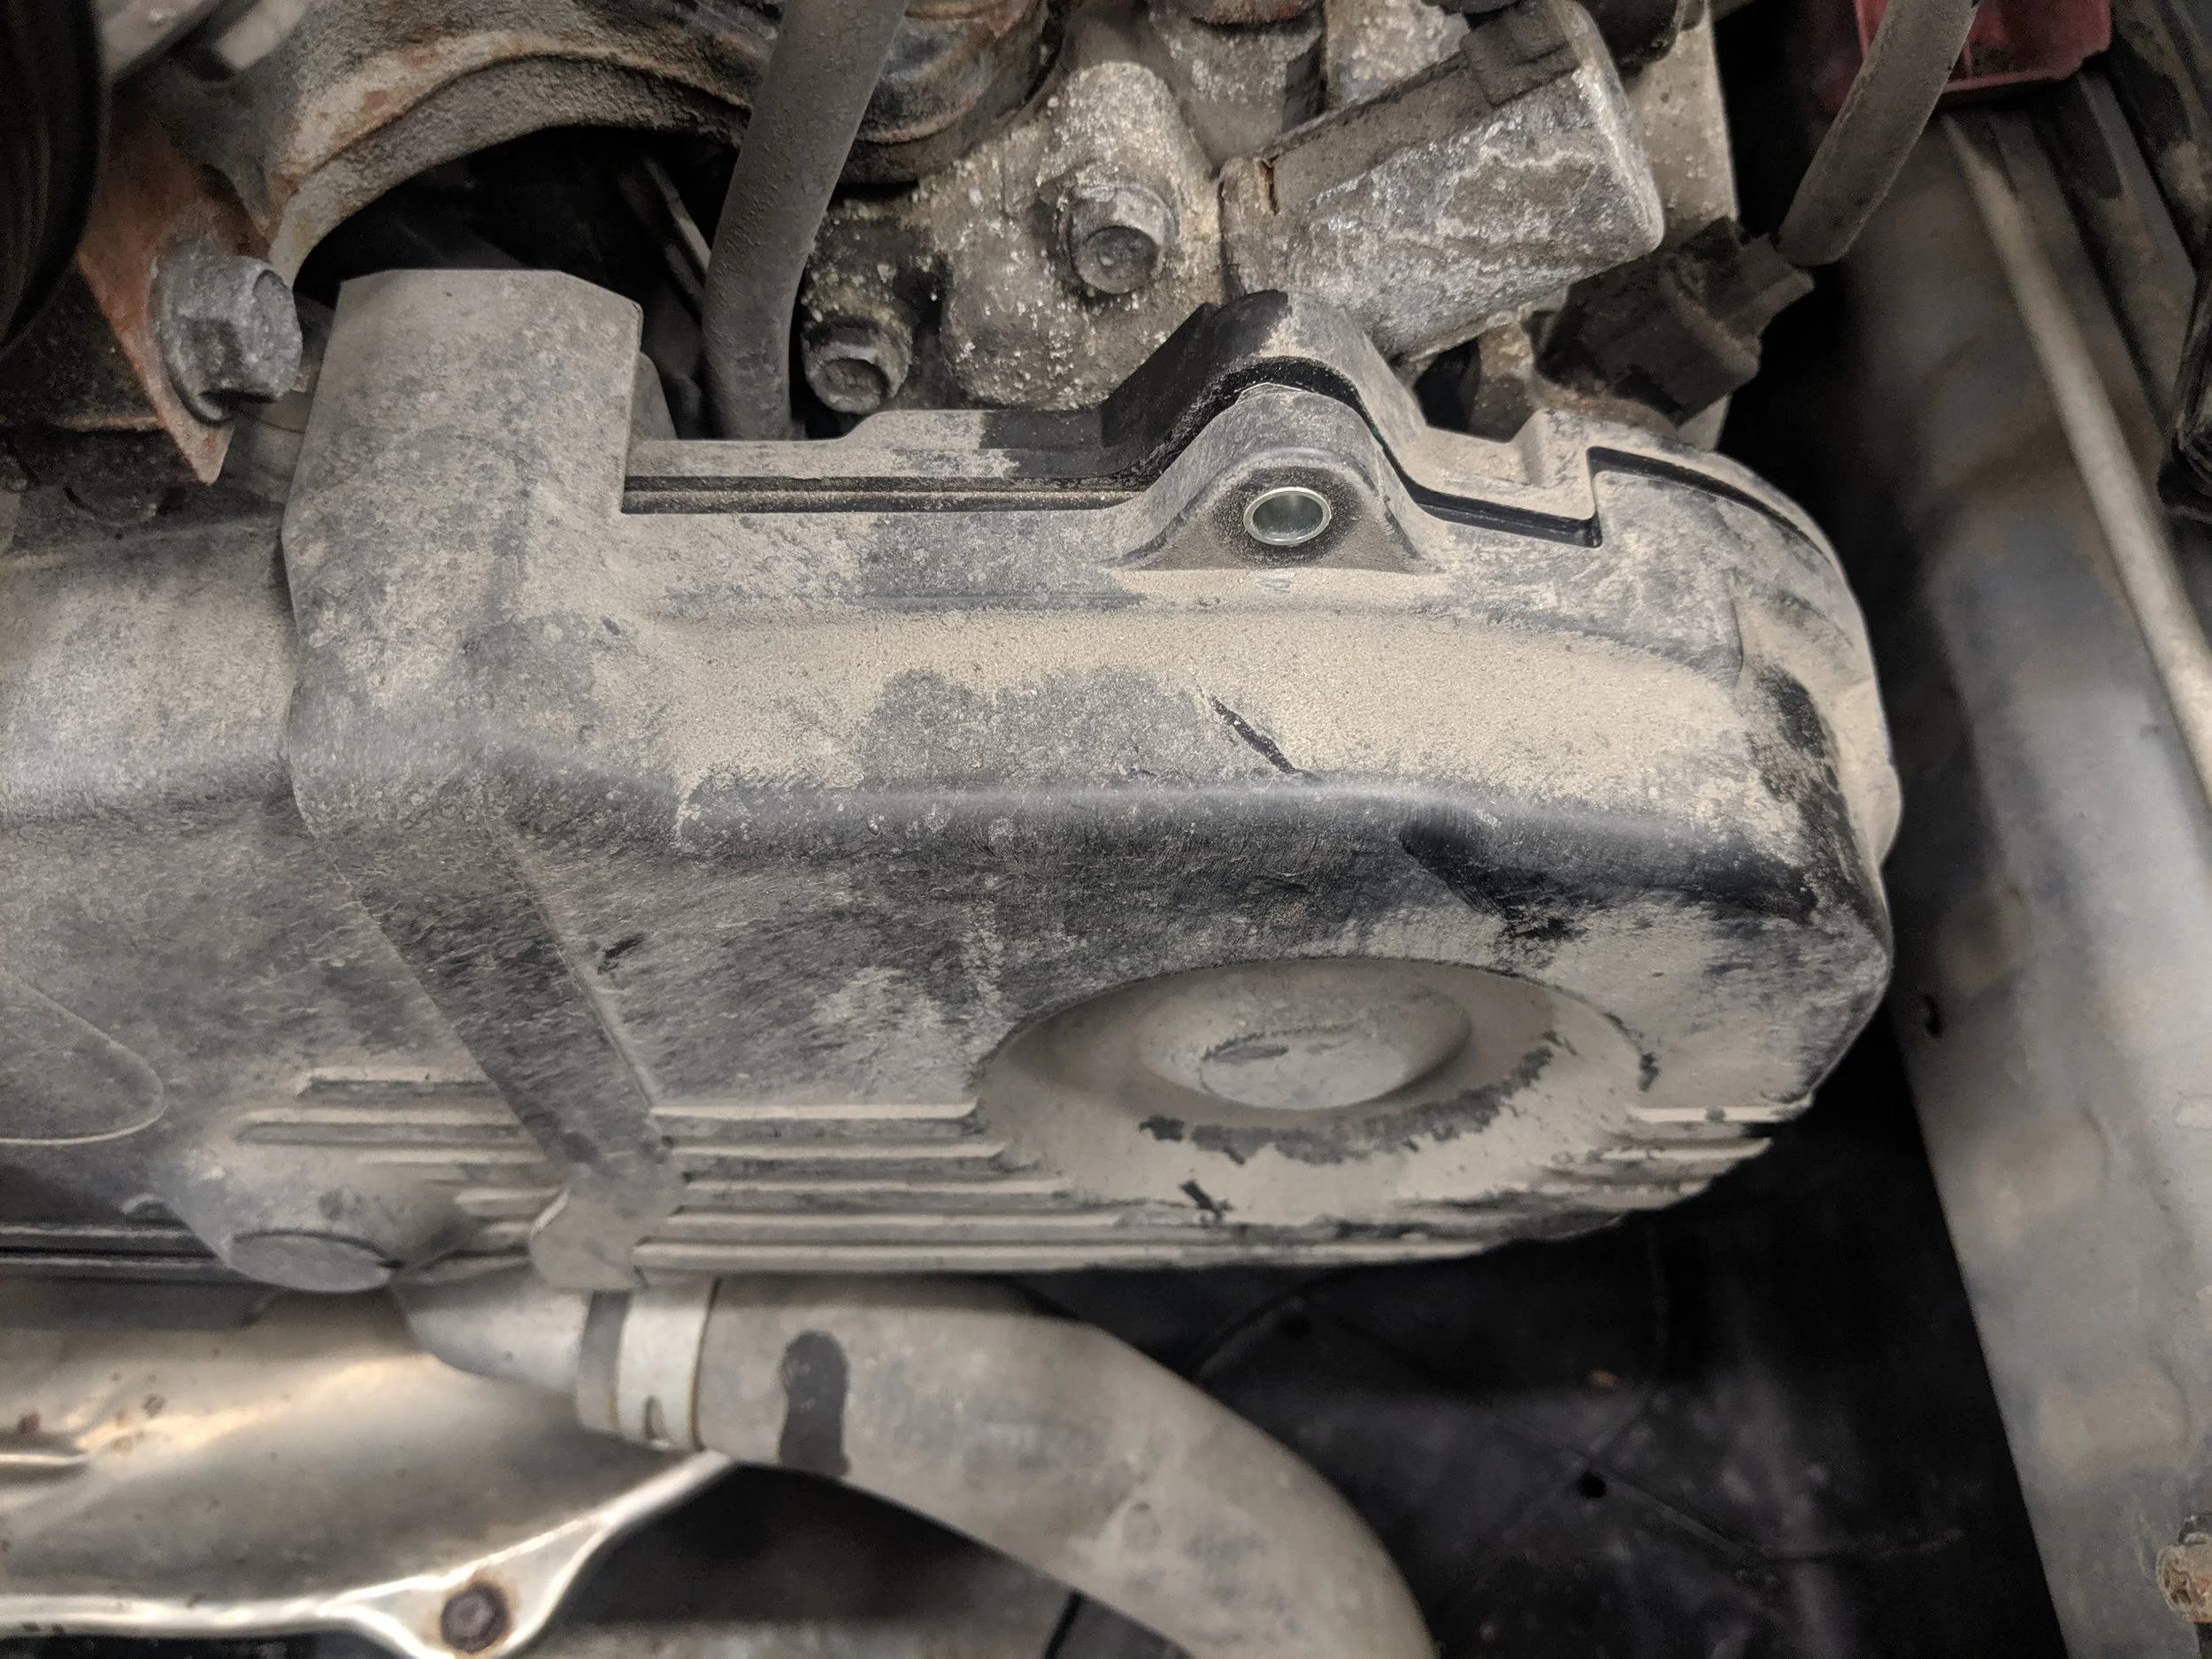
Start with driver’s side cover.
On to the passenger side cover. Many more bolts but nothing too crazy.
Our next task is to align the timing marks, if you have the Company23 crank snout tool this is the time to use it. Otherweise you can put a few washer on the crank snout and put the pulley bolt back in. Rotate the engine clockwise until the crank arrow and line putting upwards towards the block marking and both cams on their marks you ready for the next step.
This will allow you to align the crank and cam timing to start the repair.

Note
Now your plan of repair will take effect. The vehicle for demonstration purposes only wanted the belt replaced while letting the pulleys be. My own replacement method has been to replace all the pulleys and water pump. I prefer to replace the pulleys, water pump and tensioner to ease my mind. I would recommend if you are only replacing the belt to double check all your pulleys, spin them by hand and to check the bearings are rolling smoothly. Now back to the install.
With everything lined up we can now start with the removal. If you are going about replacing all your pulleys you can now loosen them all while the belt tension holds them in place. If you are just replacing the belt now is the time to remove the tensioner. You can just undo the bolt and start bringing it out, or you can remove the lower passenger idler pulley which will relieve the belt tension, making it easier to remove the tensioner.

When your pulleys are lined up. you can remove the tensioner and off comes the belt.
The crank cog should be in this position.
If you are reusing your tensioner now is the time to find you bench vice to place the pin back into it. Slow and steady wins the race here, taking your time to hydraulic tensioner to go back into it’s home is key. WIth it tightened back down you can slide in a tensioner key, allen wrench or drill bit. Whatever you may have handy.
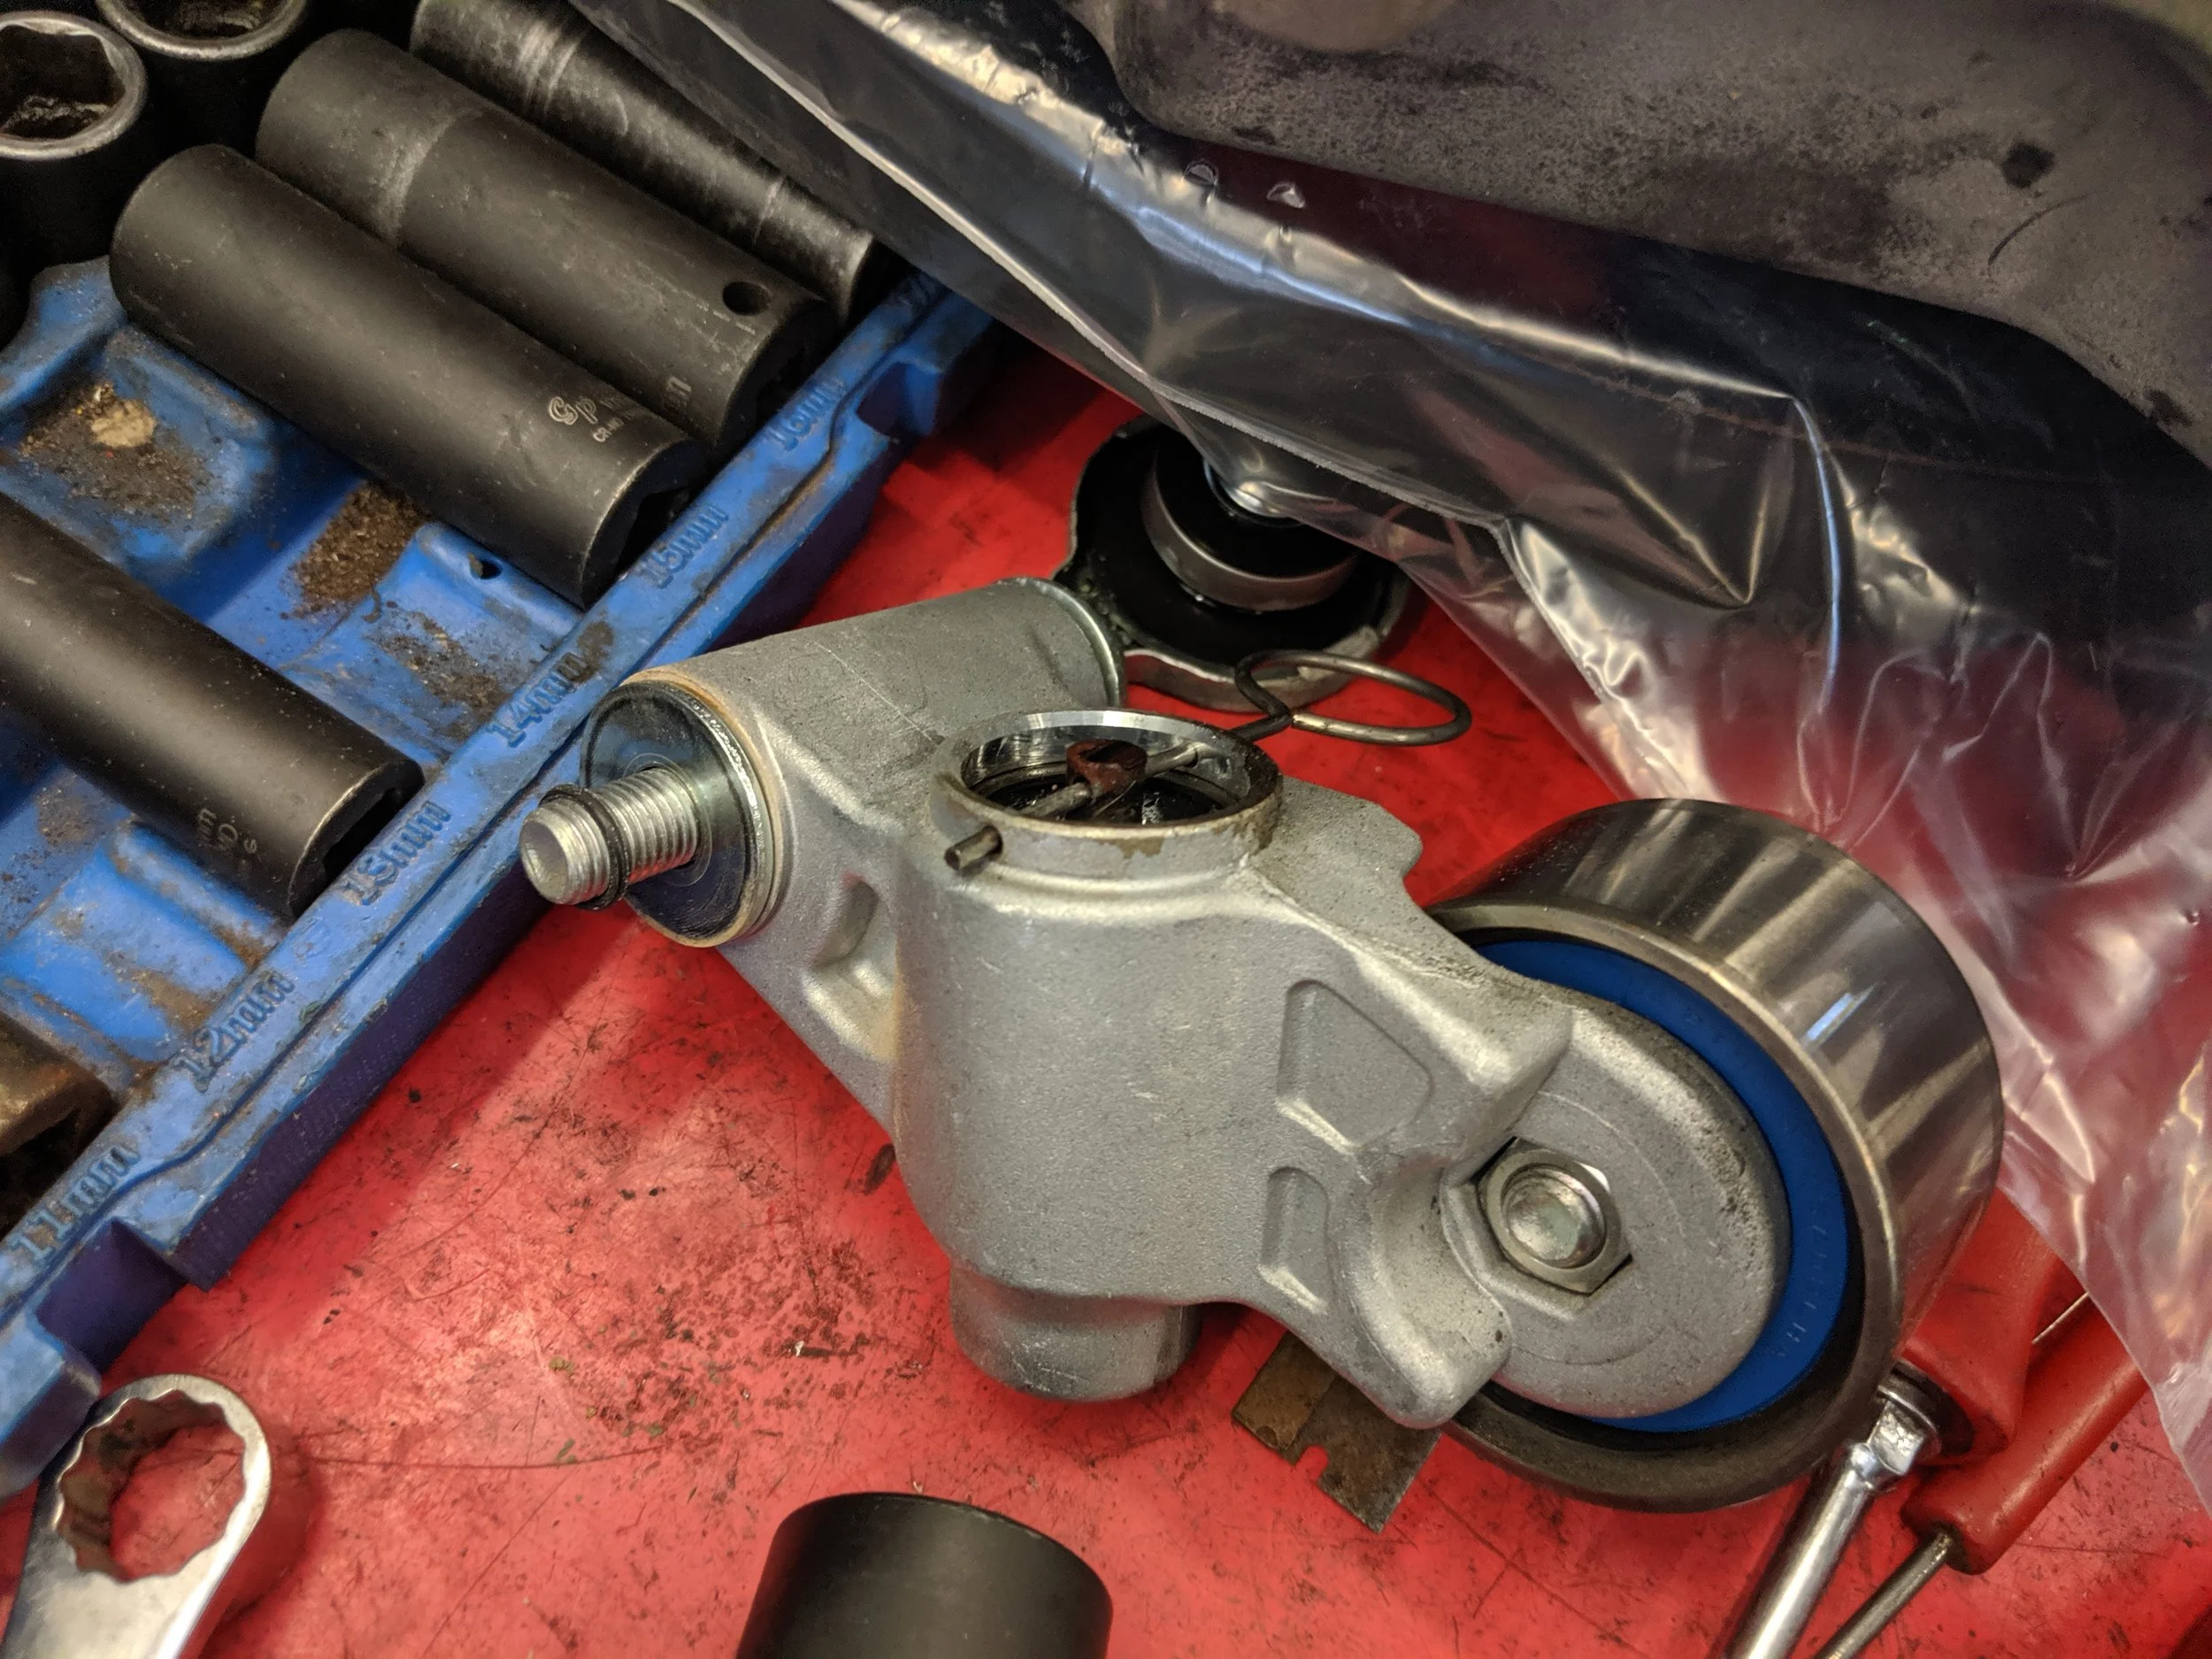
With the tensioner off the car, slowly compressing the tensioner to install the pin back within it.
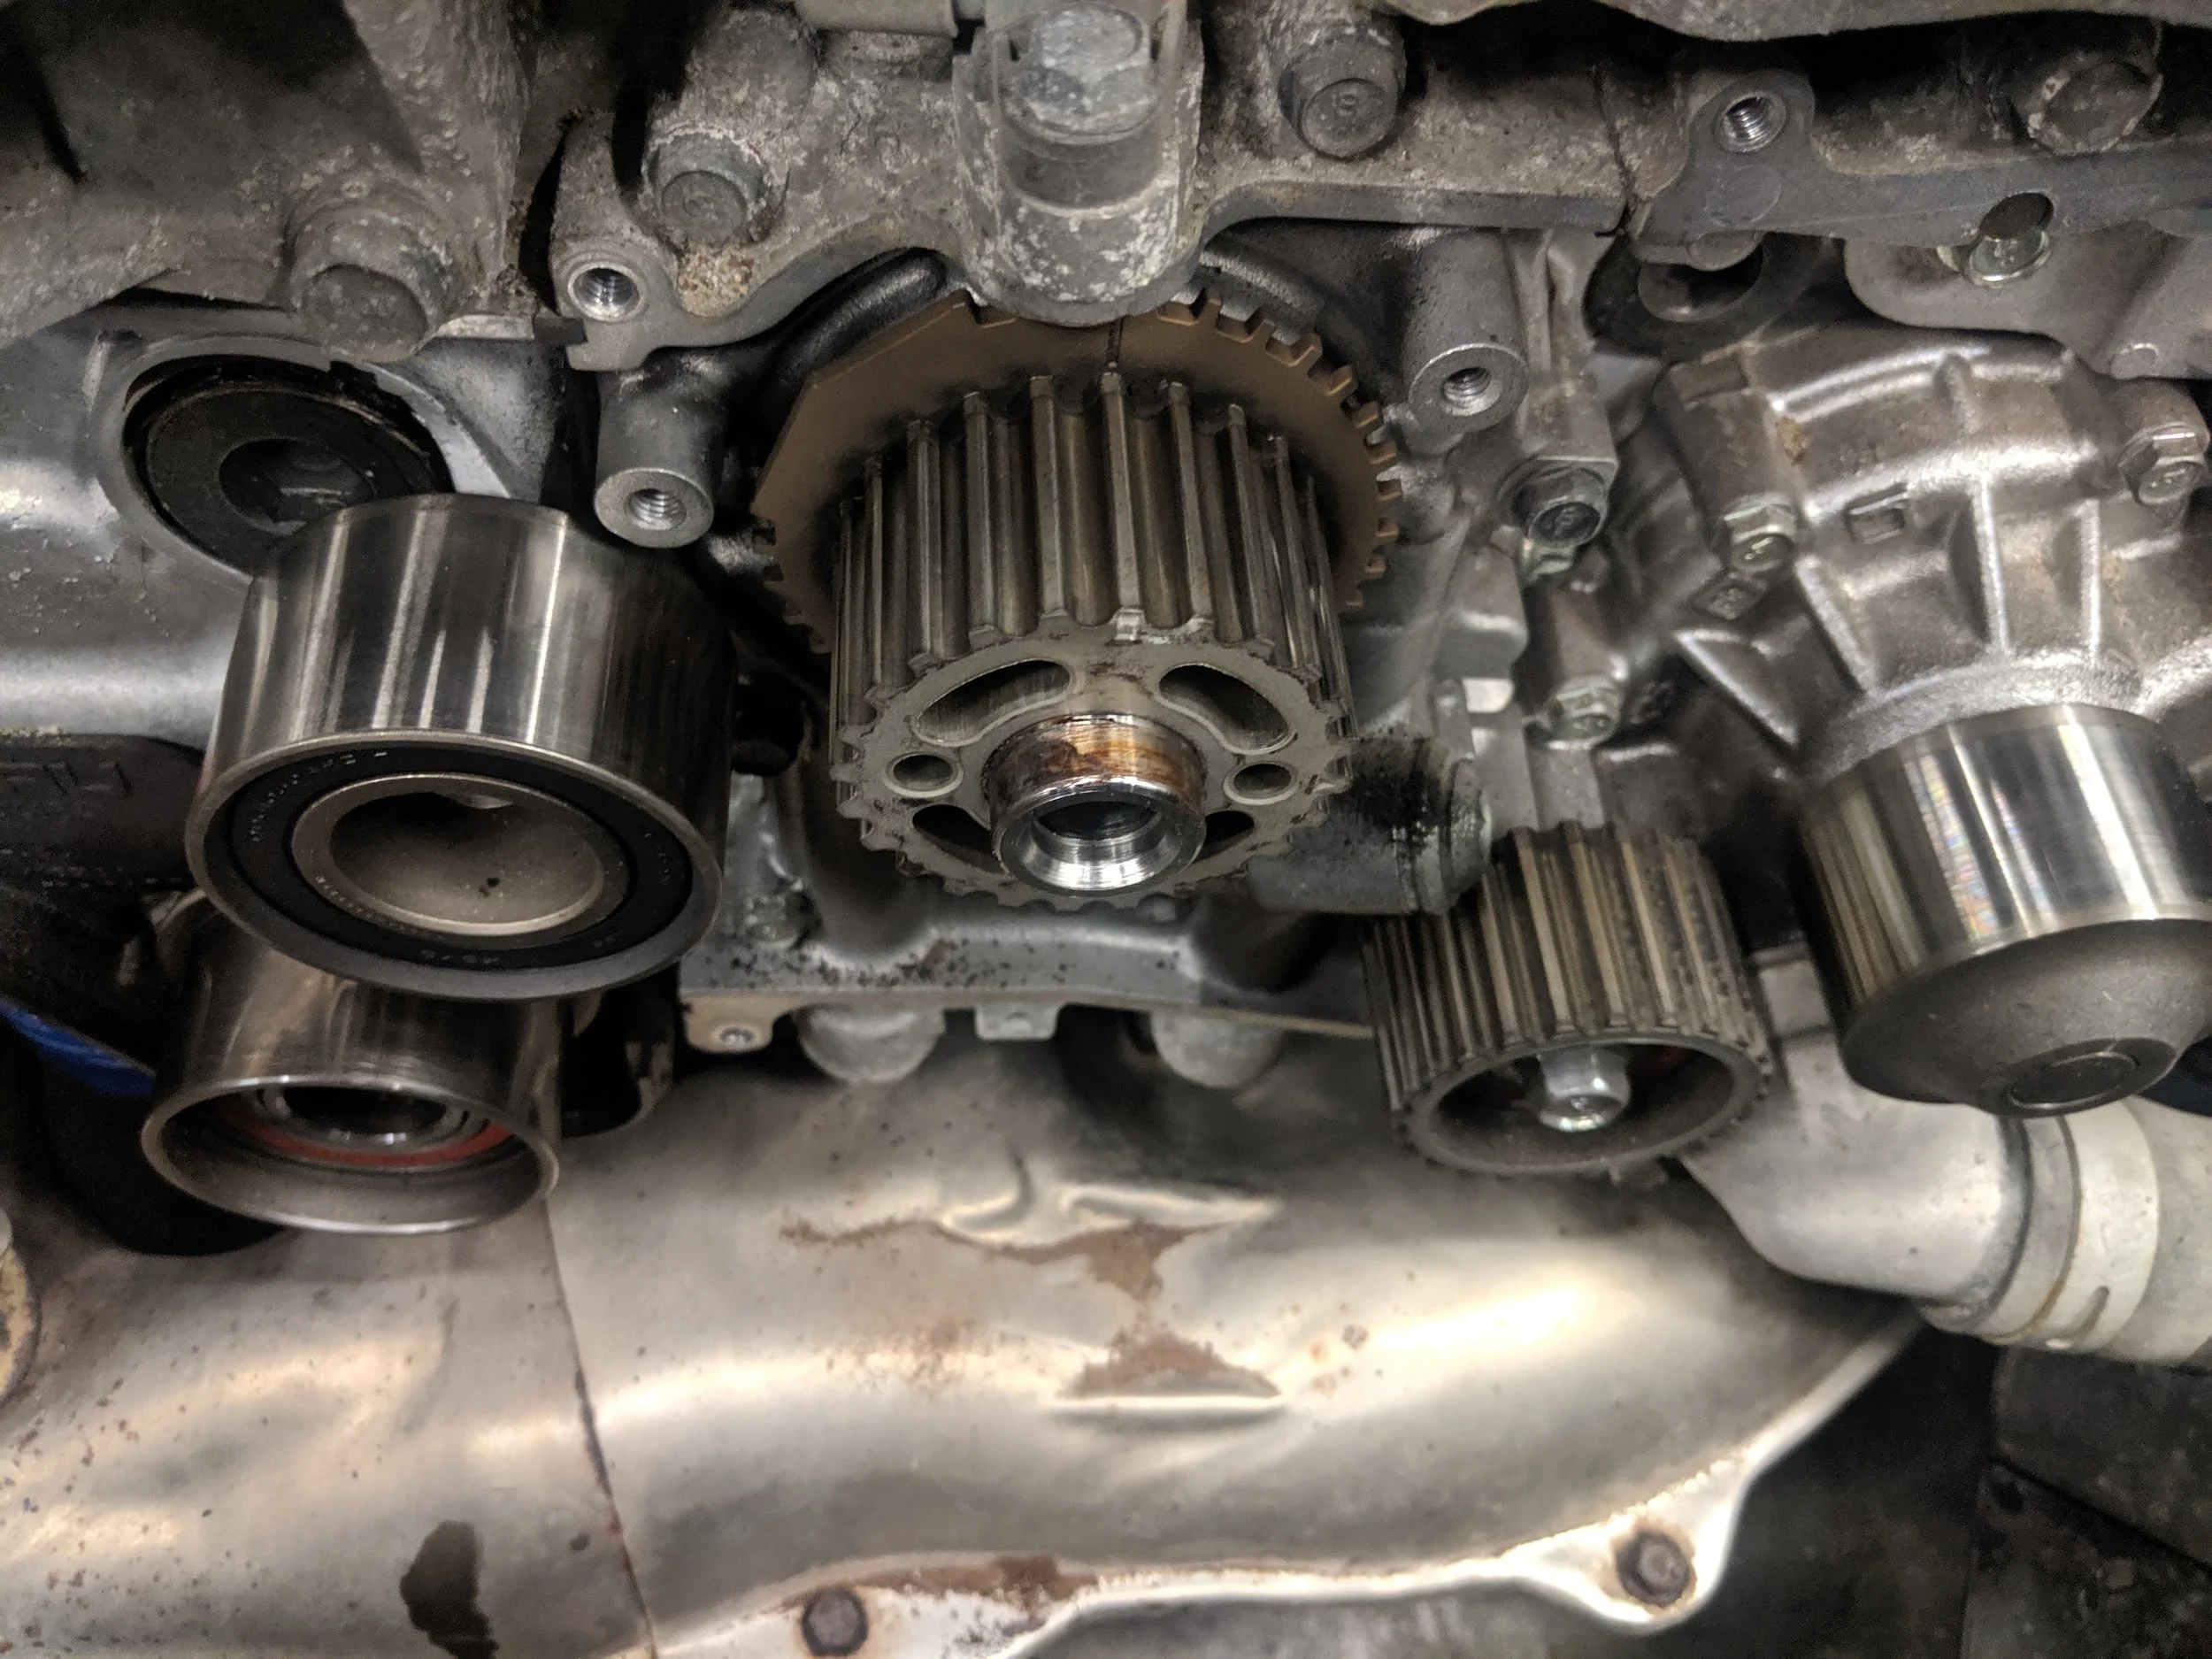
Having released the belts tension, we can start removing it. With the belt off you will now test your pulleys, listening for any gravely noises that indicates a pulley that needs replacement. You can also peek around your cam seals
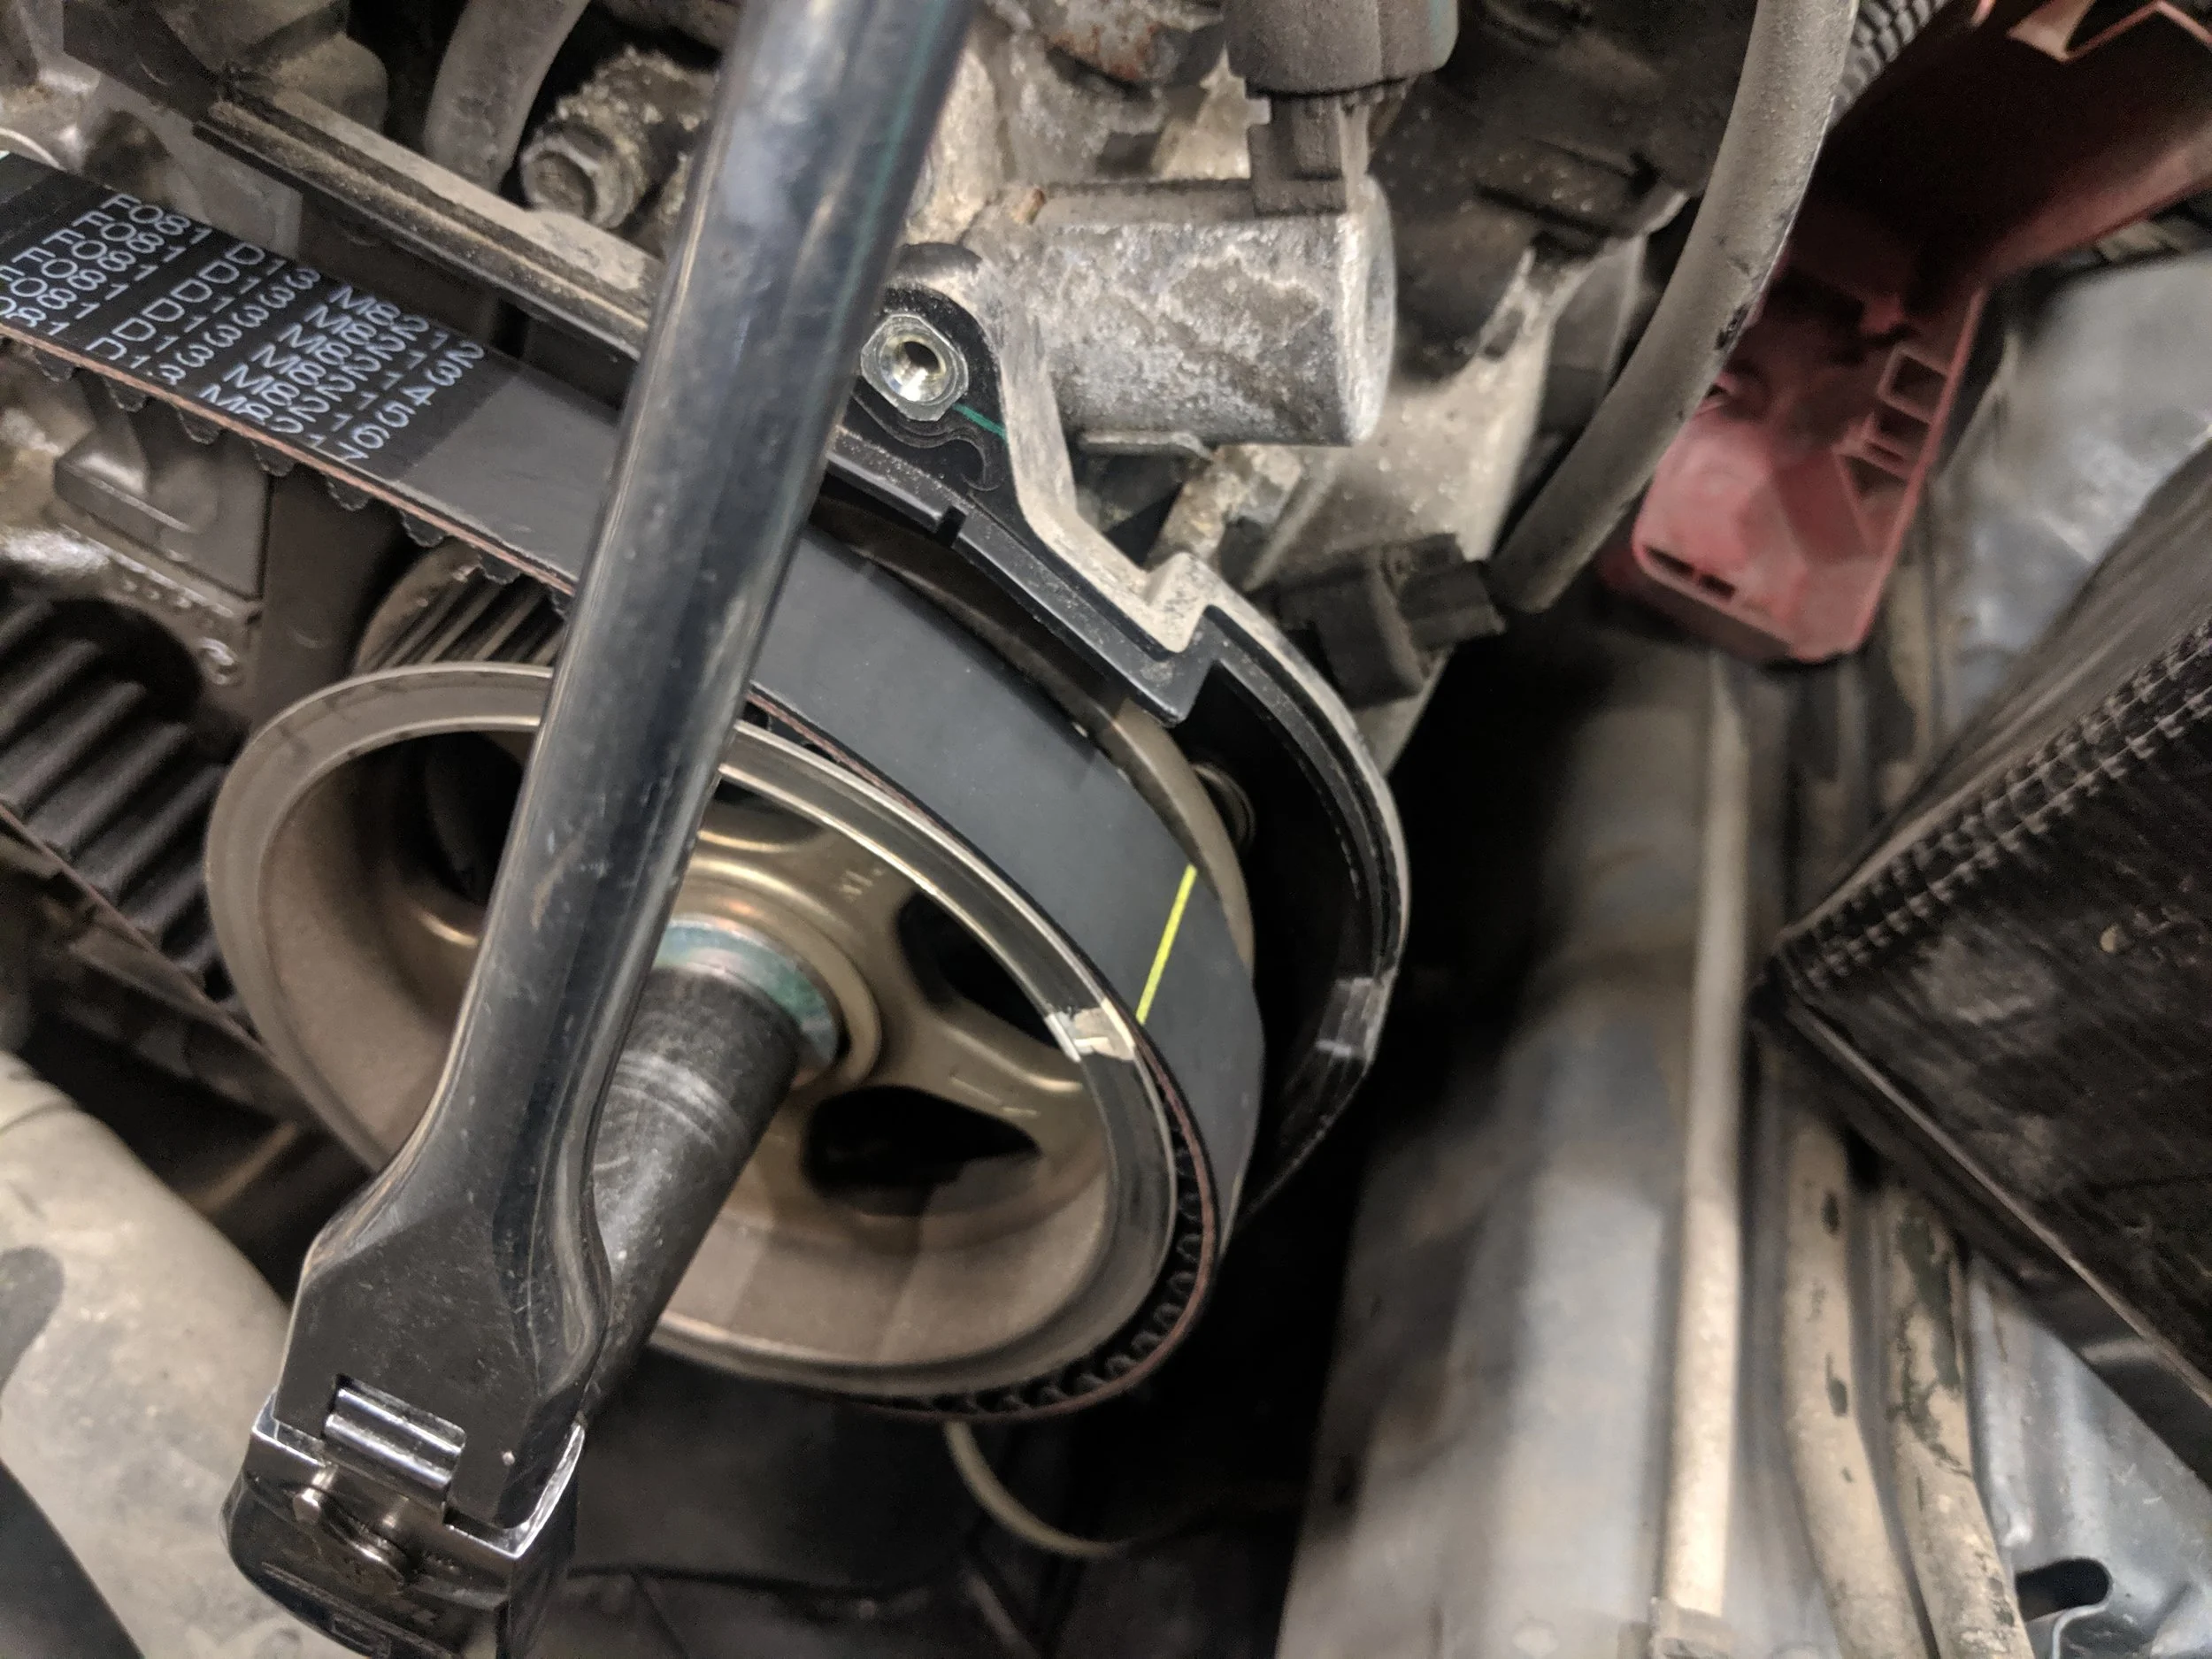
Check your belt direction and find the timing marks, the dotted line will before the crank, align it with the markers. I use a small pair of vice grips on a very light setting to hold them in place. Next we will string the the belt through the idler pulley and on to the passenger cam gear. With it in position we can use our binder clip to hold it in place.

Center dotted line for the crank pulley. Note the vice grips are barely even pressing on the belt, they are just holding it to the crank so it won’t fall off.

Passenger cam gear lined up and binder clip holding it in place.
Moving forward to the other idler, cog pulley and water pump to finally land upon the driver’s side cam gear. This gear should be facing down from the instructions above.
To line up the driver’s side gear easily we will take our ratchet and spin it clockwise allowing the cam to shift the mark downward. With it in this position we can start putting the timing belt on.

When you spin the cam clockwise it will end up around 6 o’clock. Spinning it back counter clockwise it will end up right around here, line up the cam marking and belt marking and move it back to the timing marking on the rear timing cover.
Pulling the cam back into the proper posting with marks lined up. Missing in this image is using the binder clip to hold the belt on while moving the cam.
With the belt aligned we are ready to install the tensioner. Lining up the tensioner you can start thread the bolt in with your fingers. Once it is started you can ratchet it on down and torque it to 29 foot pounds. Double checking that all your belt markings are lined up and everything is how you want it. You can pull the pin on the tensioner and allow it to do its job.

Tensioner ran down with my ratchet and ready for the torque wrench.

Torqued to 29 ft pounds and ready to move on.

Pin pulled, belt is now under tension.
You may now spin the enjoy around by the crank snout to check that your timing stays put. If everything is still in is proper place you can start your installing all the parts you have removed.

Double check that all your marking line up still and you can be on your way to reconnecting everything.
Beginning with the passenger side timing cover, then on to the driver’s side. Next will be the the crank pulley, followed by the a/c and alternator belt. After those we will do the fans, the fans connectors and on to the O2 connections. Then you move on to the radiator hose, you can now start filling the system with coolant. The last touches can be the air intake and belt cover.

Make sure to line up the key way when installing the crank. Otherwise, you are going to have a bad time.
Do a final double check to make sure everything is in its proper place and the engine can now be started. With it started you will want to watch for leaks from the radiator hoses or the water pump if you replaced it. If there aren’t any fluid leaks allow the engine to run till the fans come on and the thermostat opens. Also making sure the engine sounds normal and the cel is not illuminated on the dash.

All done! You can now celebrate!
You can now take it for a short drive and double check your work. Keep your eye on your coolant level too, make sure to top it off as bubbles clear out.
Congratulations, you can now take a 105k mile or 105 month break. Whichever comes first.
Amazon tool links
Grey Pneumatic 3/8th socket set
Milwaukee 3/8ths electric ratchet
Grey pnuematic wobble socket set
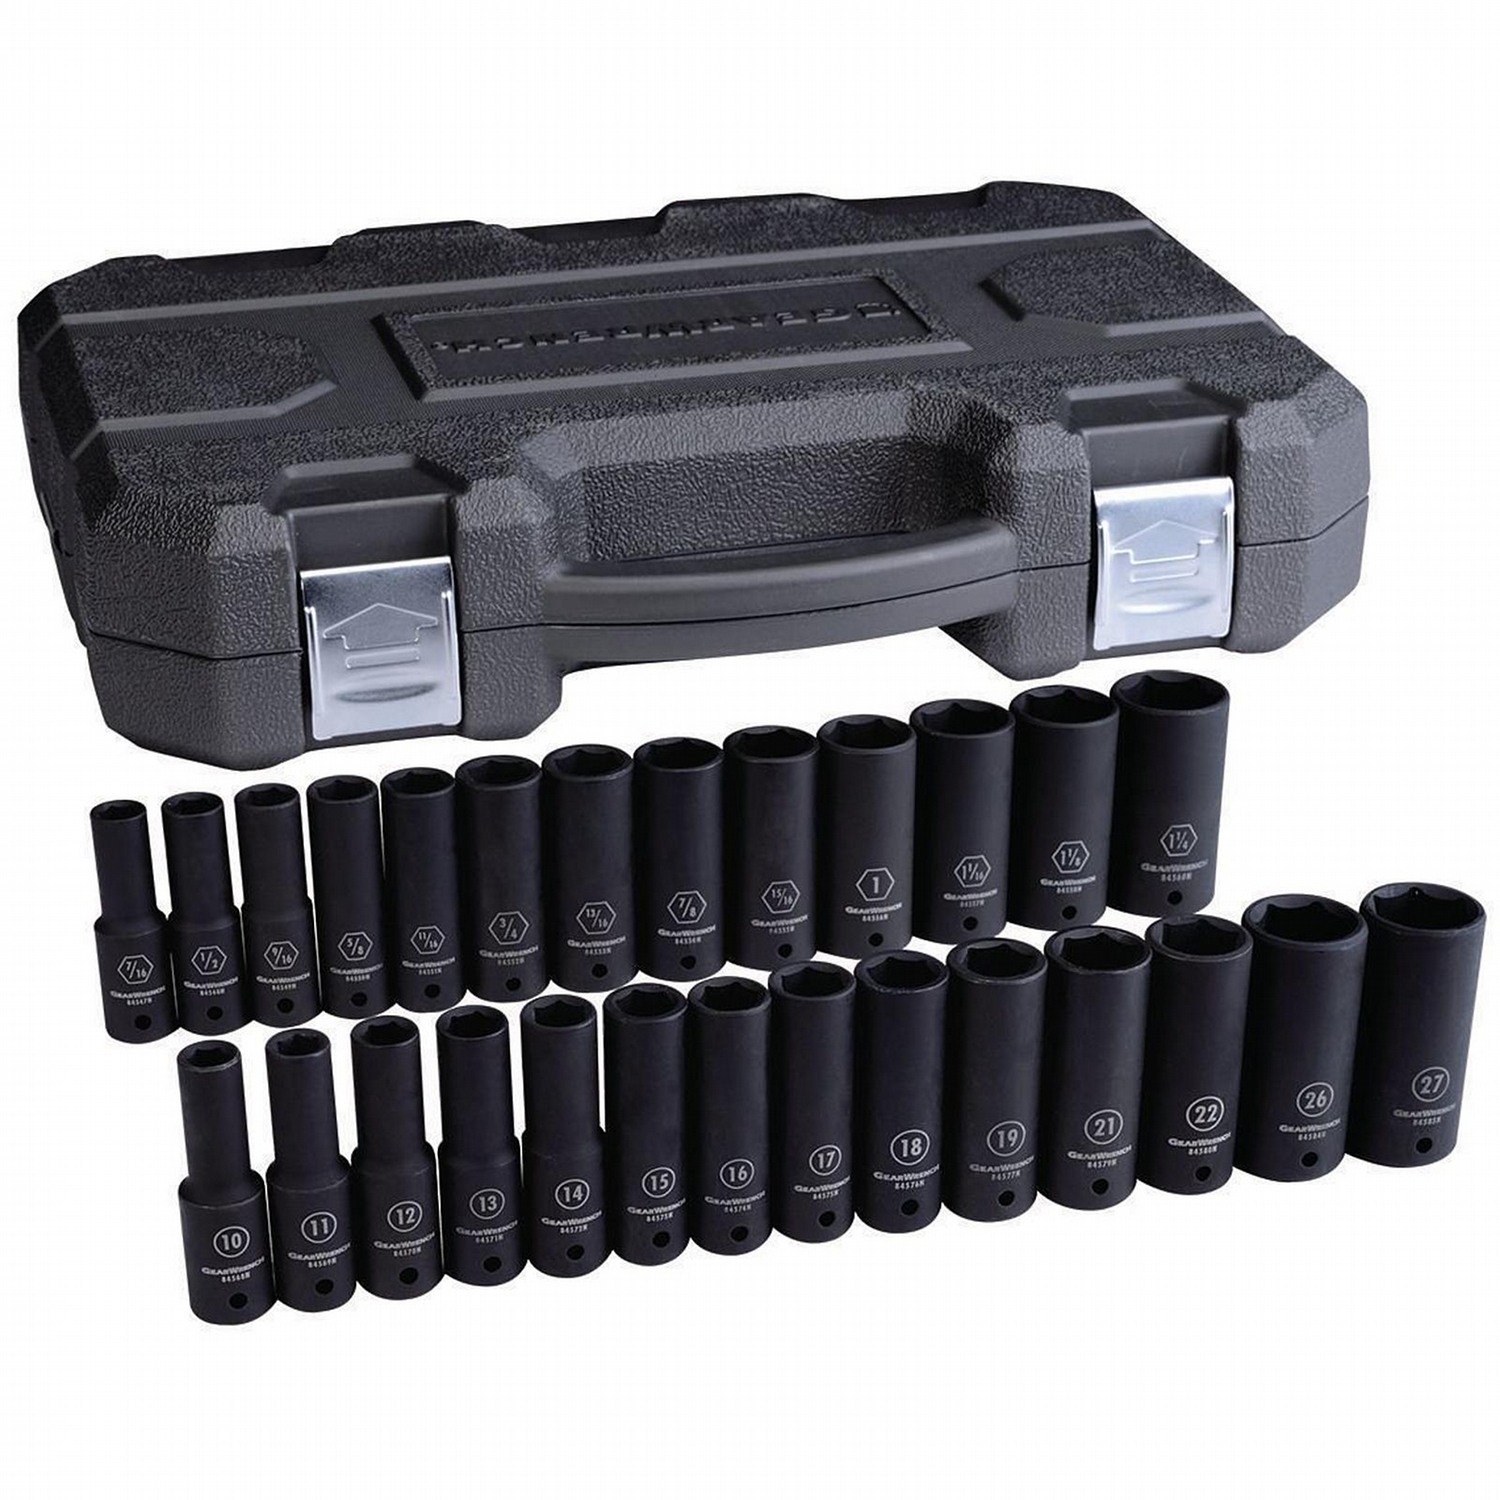
GEARWRENCH 1/2" Drive 6 Point Deep Impact Metric Socket 22mm
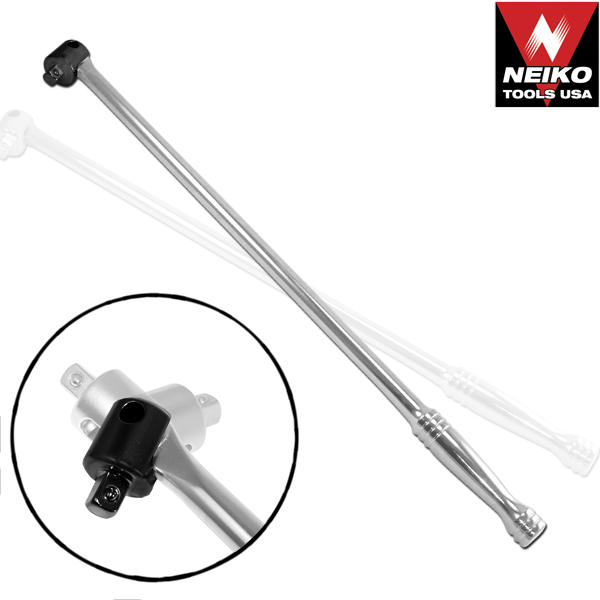
Neiko 00206A 1/2 Inch Drive Premium Breaker Bar, 24" Length
Precision Instruments PREC3FR250F Silver 1/2" Drive Split Beam Torque Wrench with Flex Head
EPAuto 3/8-Inch Drive Click Torque Wrench
Company23 Subaru Crank Pulley Tool 1 v2
Company23 EJ Crankshaft Socket for Subaru
Amazon parts links
Always double check these parts fit your specific vehicle.