Shine up your Subaru intercooler! Shiny things for your engine bay.
Time makes fools of us all, especially when it comes to maintaining our cars. Whether it rubber hoses failing, seals leaking or rust trying to take over… it’s really hard to keep your eye on ever
Subaru engine bays are pretty tough to make them pretty. Hopefully we just don’t make it look worse.
I have never been a show car guy but I do like to keep my car in a presentable condition for those few times I make it out to a meet or just happen across an enthusiast in the street. One area I have always wanted to deal with was the top mount intercooler. Time and use have not been easy on it and the shiny aluminum is now dirty, dingy and has plenty of surface corrosion on it.
Having a plethora of projects to complete has kept me from thinking too much about freshening up the tmic. But recently I have been adding some under hood modifications that has me motivated to clean it. If this is where you are with your car, come along as we figure it out together. I sourced the below methods from reading how others combatted these issues on aluminum items, not necessarily a Subaru Tmic. There are likely many better ways out there but this worked well for me. Feel free to share your information in the comments section.
Time frame
I spent around 1 hour figuring how to get my intercooler to what you see at the end of the article. But don’t forget you need to remove and reinstall your tmic, so might need another 30-45 minutes. Hopefully the tool, tips and hints help you to complete this job a little quicker.
Tools | Parts
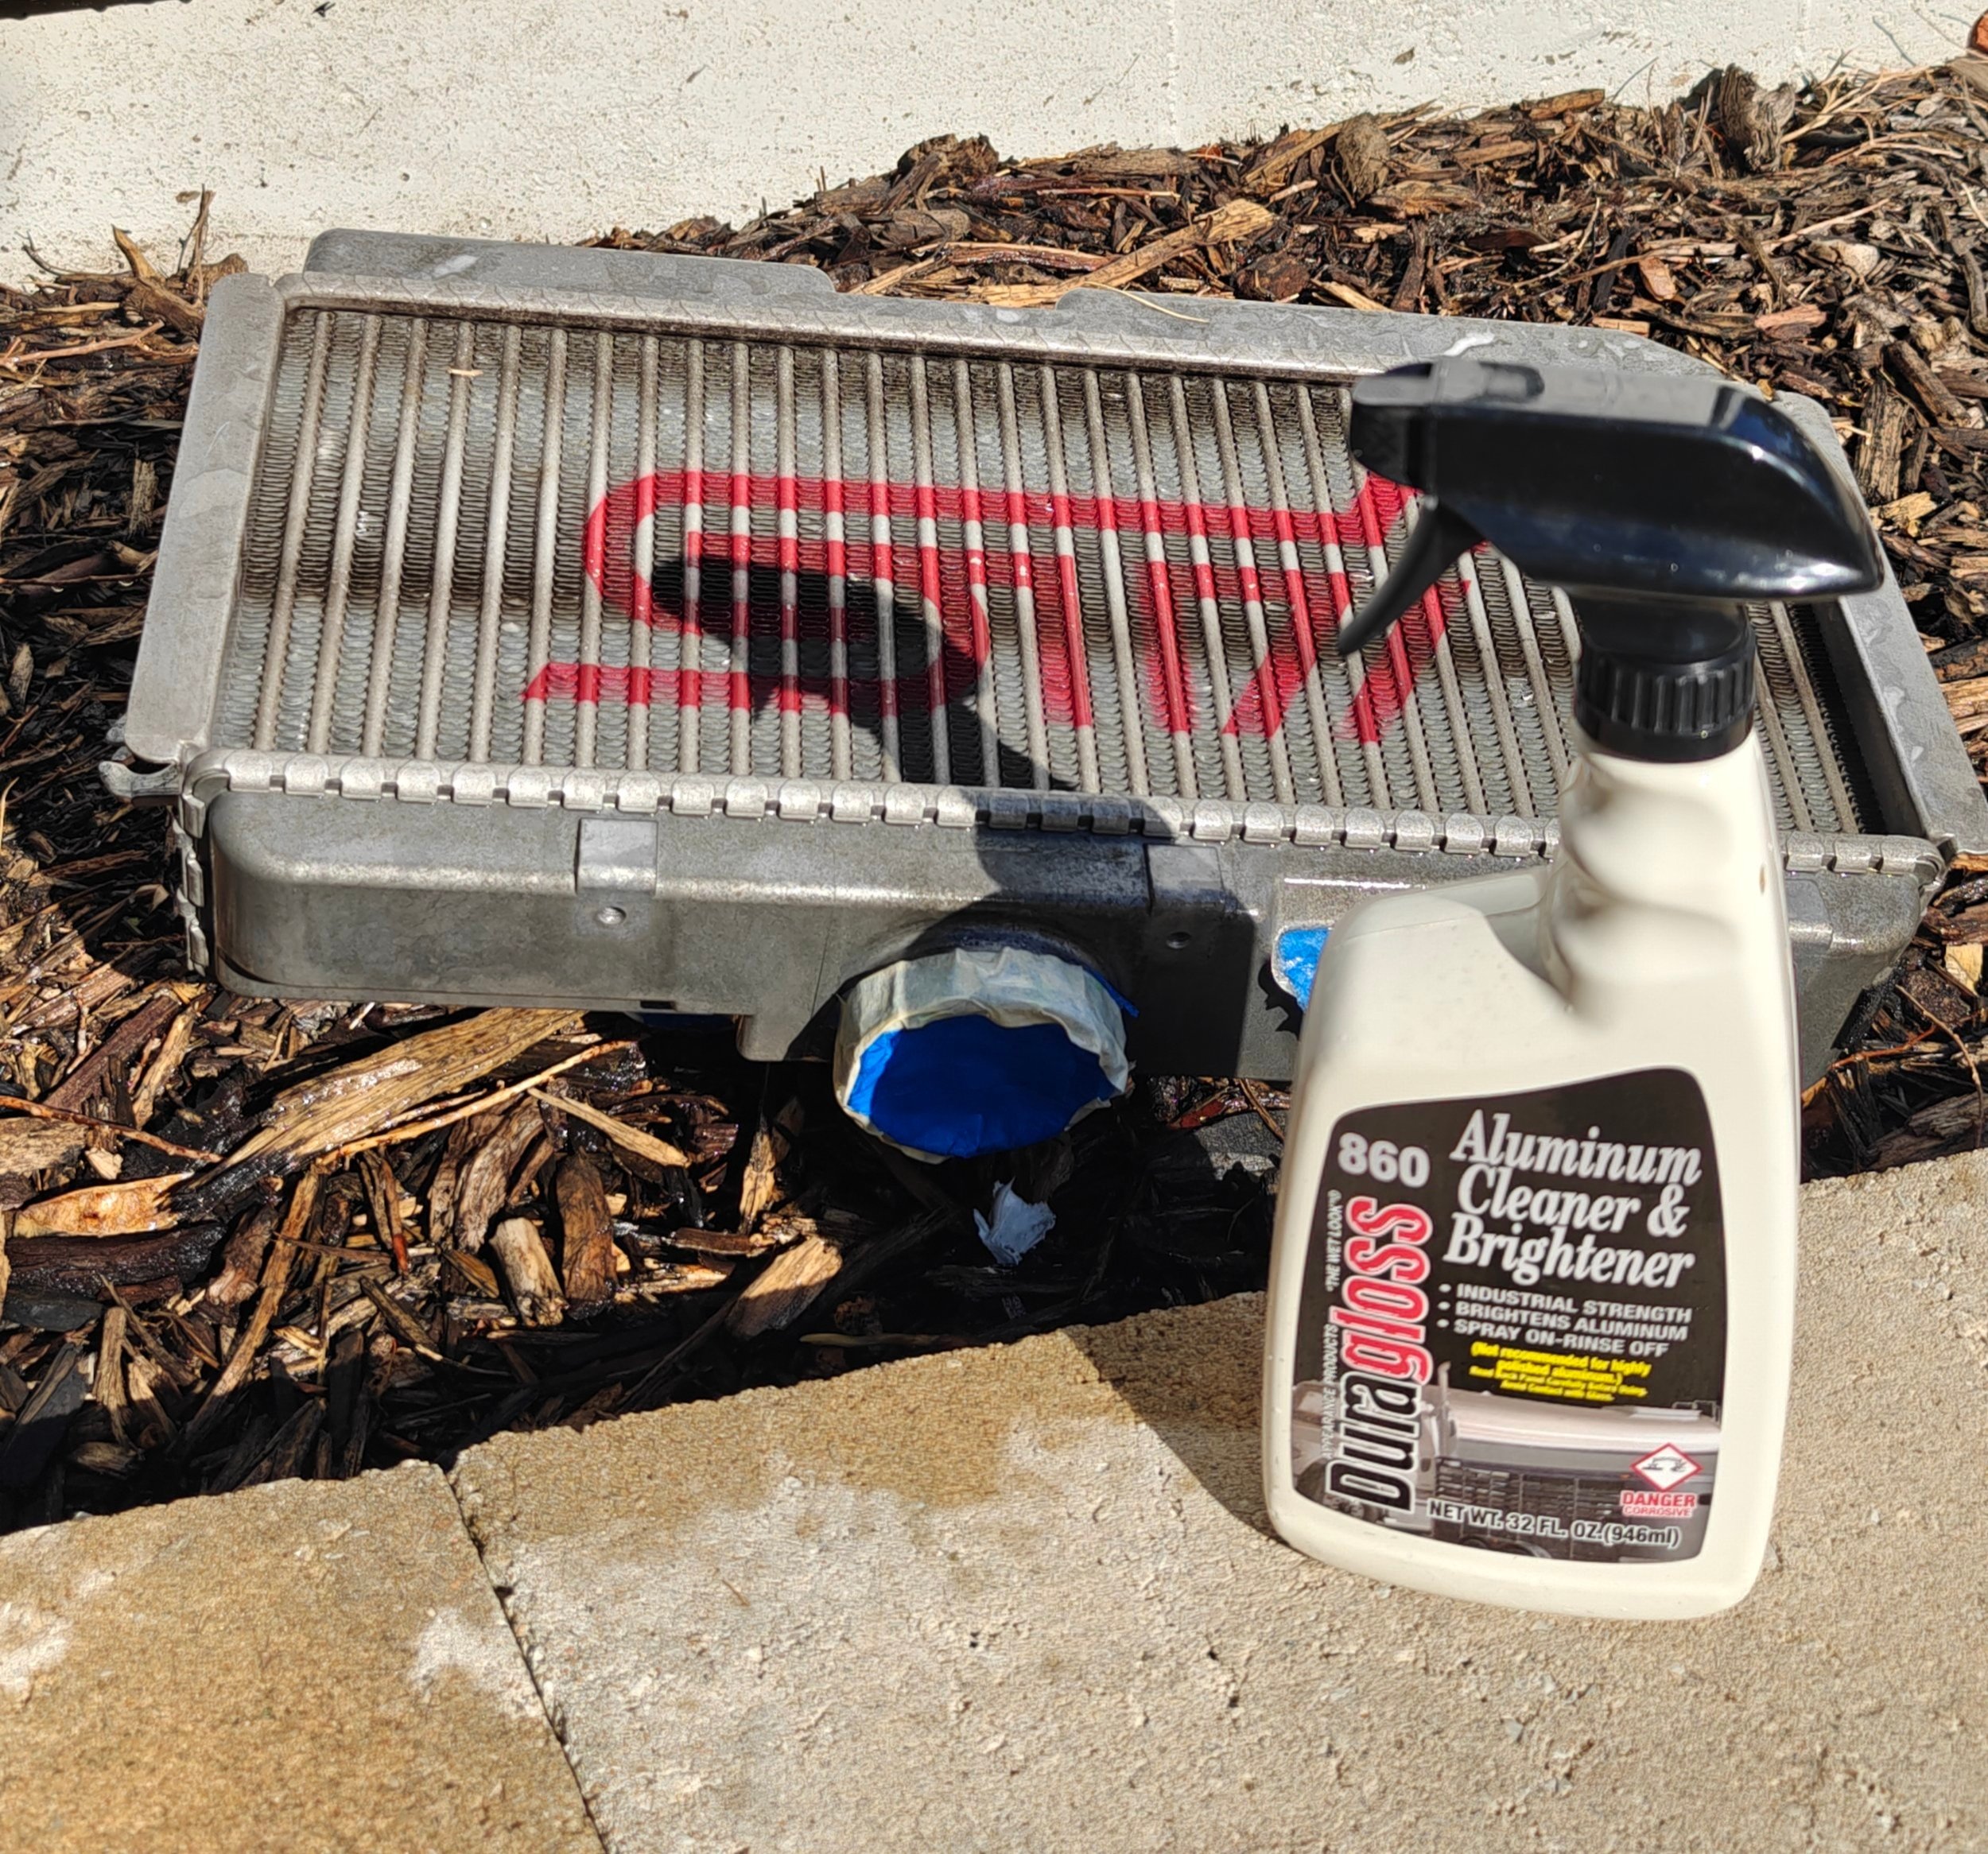
Duragloss 860 aluminum brightener/cleaner
(Alternative to above) Alumunew brightener and cleaner
Grey Pneumatic 3/8th socket set Gearwrench 3/8ths ratchet set
How to
Step one is removing your top mounting intercooler from your car. I have quite a few guides on removing and installing tmics. If you need help, you can find it right here. After it is removed when can start the rest of the process.
With the tmic removed you can start the project.
My first step was to mask off the openings with painters tape and towels. Then clean off any loose dirt and debris off the intercooler. I used a low pressure setting on my hose and a scrub brush to prep it for the brightener/cleaner product.
You can use either painter’s tape or microfiber towels to keep the cleaner and water from making it’s way inside the tmic.
Taped up and ready to go.
A light rinse and scrubbing helps clean off any surface contaminants before applying the aluminum cleaner.
With your respirator mask and gloves on you can start applying the cleaner to the locations to start the process. I preferred going heavy on the tanks of the intercooler and easy on the fins. What I found is that leaving the cleaner on would actually darken the tank areas. The fins on the other hand would lighten up. I was a little concerned of stripping off the STi paint, so I took it much easier on the fins.
It’s time to get to work. This also shows our before image of how the tmic looked. This is also your second warning for putting on your respirator and gloves before spraying.
In this image we can see the brightener+cleaner working hard. I used heavy layers on the tanks while going easy on the fins.
Each cleaner will be different, so take note of the time it should be left on. This you can rinse it off and see where you are. What you see above is after 3-4 coats and rinses. With the product I used you will see core brighten right up and the tanks will darken.
It took around 3 to 4 coats to get a uniform color on both the tanks and fins, but after this was complete I moved to scrubbing with the stainless steel brushes. I found that misting the tanks with water helped when scrubbing with the stainless steel brushes. When I ran out of water to scrub with, I would spray it once again and clean with a towel. Repeat this process till you have brought it to the level of shine you are after.
Now you probably aren’t too keen on the tanks and core mismatching in finish. My next step was to sprits the area with a water bottle and scrub it with a brush. This is what you will see.
Once the surface of the tank looks similar to the image above you can use your spray bottle to rinse it back off. This process will bring the allow the tanks to lighten in color. Continue until you are happy with the results.
While I could have continued and used other techniques to really perfect it. I was running out of daylight and I was pretty happy with the results.
I would assume if you are looking for a show quality finish you could finalize it with a high quality sand paper and then finish it off with a coating. For my everyday car I was pretty satisfied with the results and left it as is. Here are a couple side by side comparisons with two twenty year old top mount intercoolers.
Not a true before and after but we can see how a the Tnic in the foreground is much brighter, Plenty of the darker areas have been cleared away and it looks much more uniform.
Amazon links
Duragloss 860 aluminum brightener/cleaner
(Alternative to above) Alumunew brightener and cleaner
Grey Pneumatic 3/8th socket set Gearwrench 3/8ths ratchet set


