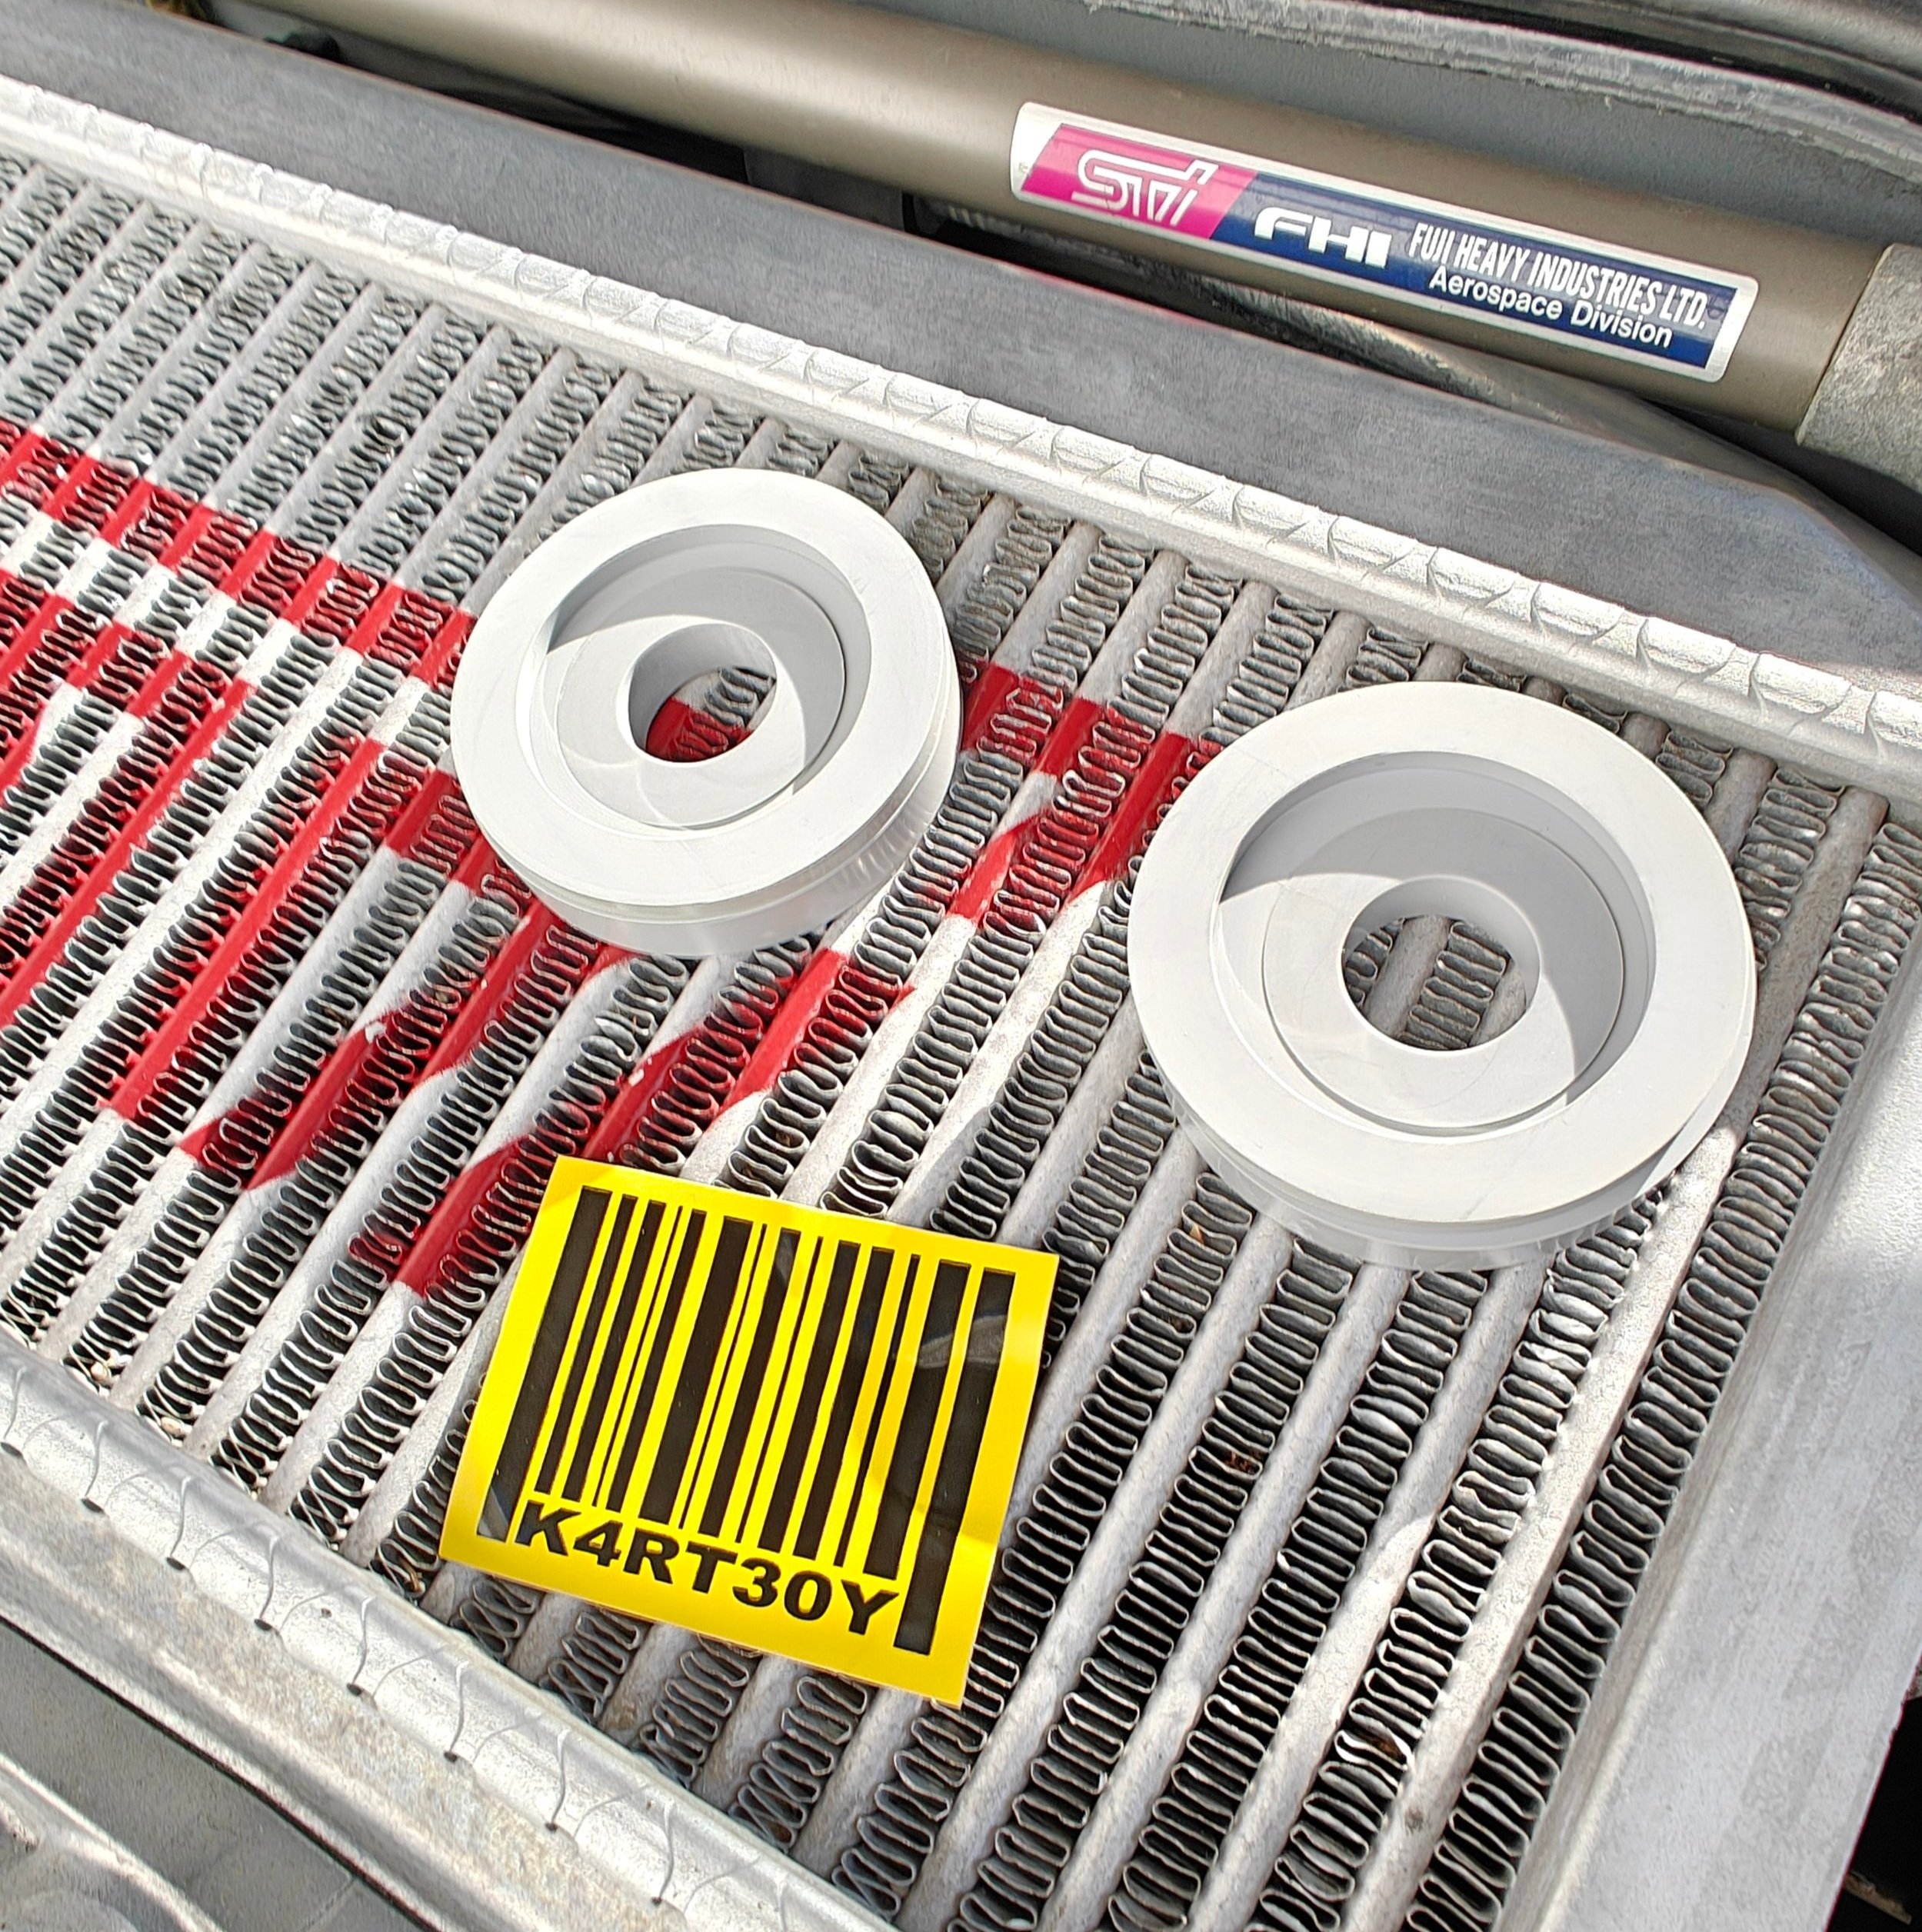
Kartboy outrigger bushing spacers install. Keeping that diff in it’s place!
While a fully prepped rally car seems like a great daily driver I think Subaru understood that the majority of their drivers wouldn’t be as accepting to a full race car. When designing a rally car for the street you have to make sacrifices for between performance and comfort. One place Subaru had to make a sacrifice was on the rear differential mounting bushings, while you could make these solid you would likely drive off many perspective buyers by all the noise and vibration coursing through the cabin.
If you haven’t added these spacers yet… these are going to have a huge effect on the drivetrain when shifting!
The outrigger bushings are the two bushings that make up a large T shaped support that helps keep the differential in its place. These two bushings are located near the sides of the car and a couple of feet in front of the diff. They are also there to keep unwanted noises and vibrations out of the cabin. These bushings are a touch on the soft side and so during rapid gear changes or acceleration you can often feel the bushings deflect which can be noted by a thunk as the differential overcomes the ability of the bushings to keep it in place. Another well commented on feeling is felt during a heavy acceleration at a stand still, this is typically referred to driveline “winding up”. Instead of the driveline staying put and allowing the power to put down it shifts under load which delays acceleration.
Here is your typical outrigger bushing. I was at a scrapyard picking up some parts and snagged this poto.
No need to worry though as Kartboy has figured out a couple of ways to take care of just this problem by offering two solutions. A set for those with daily driver and enjoyment on your mind referred to as the comfort set. Those who looking for a more track and race orientated product they can get the race version to really keep that diff in place. But enough with the background, lets get to the install!
Time Frame
This one is pretty straightforward and as long as nothing goes sideways, you are looking at around 40 minutes or less.
Tools
How to
This job can be done with the car on jack stands on simply on the ground even on my lowered but not that low Sti. If you have your vehicle stanced out, you might want to get a jack and some stands.
Even with my pretty low car I can easily get underneath it and replace these. So a jack is optional.
This is the area we are looking for. The outrigger bushings reside on the other side of the pinch weld.
Once you are at the rear door you you can look under the car and locate the bracket with two twelve mm bolts and one 17 mm bolt. You can now start removing either bolt, I generally work back and forth on both lowering the plate fairly equally. With the plate out of the way you will be able see the outrigger bushing where we will soon fit the bushing spacers.
Here we are. These three bolts need to be removed to access the bushing.
One bolt left to go!
Since I already had a previous set installed they will need to come out. Otherwise you will need to remove this bolt and allow the bracket to come down.
Next up we need to remove the upper bushing plate. You may need to pull down on the bushing to gain access to this plate, it has three tabs to prevent it from sliding around once installed. Once it is out we can set it aside,
There is a cover on top of the bushing that you cannot see. You will need to slide it off to install the top bushing spacer.
With the bushing spacers in your hand it is time to slather them up with silicone grease. This will help keep them from squeaking and making other unwanted noises. The thicker bushing can now be applied to the upper plate and placed back in its home. This can be tricky due to the space constraints. Once again pulling down on the bushing should allow you enough room to slide it in.
Older Superpro bushings being replaced by the new Kartboy version. On my GD Sti I will use the thicker bushing in the upper location and the thinner bushing on the bottom.
Here we are with the top bushing cover, slather it up in grease and add your thick spacer bushing.
The thinner bushing will go on the lower portion of the bushing and be supported by the plate. Once everything is lined up the bolts can now be installed again.
The lower bushing also needs some grease, and it is ready to be installed.
This is how it should look when you start to reinstall it. This extra support keeps the diff from rocking back and forth during hard shifts. Your diff should thank you for you hard work!
With this side done you can move to the other side and repeat the removal and install. And… that’s it, the job is complete. You can now go on a test drive and give the new bushings a test.
Kartboy.com
Kartboy Rear diff bushing set comfort
Amazon tool links
Amazon part links


